
UDM Setup Guide: Discovery and Basic Settings
Originally Posted: January 11th, 2021
When setting up a new UniFi device like the UniFi Dream Machine, the easiest way is often through the UniFi mobile app. This is going to be a very visual overview of the setup process and the basic configuration options of the UniFi Controller mobile app. My screenshots are from iOS version 6.5.0, but future versions and the Android version should be similar.
UniFi Device Discovery
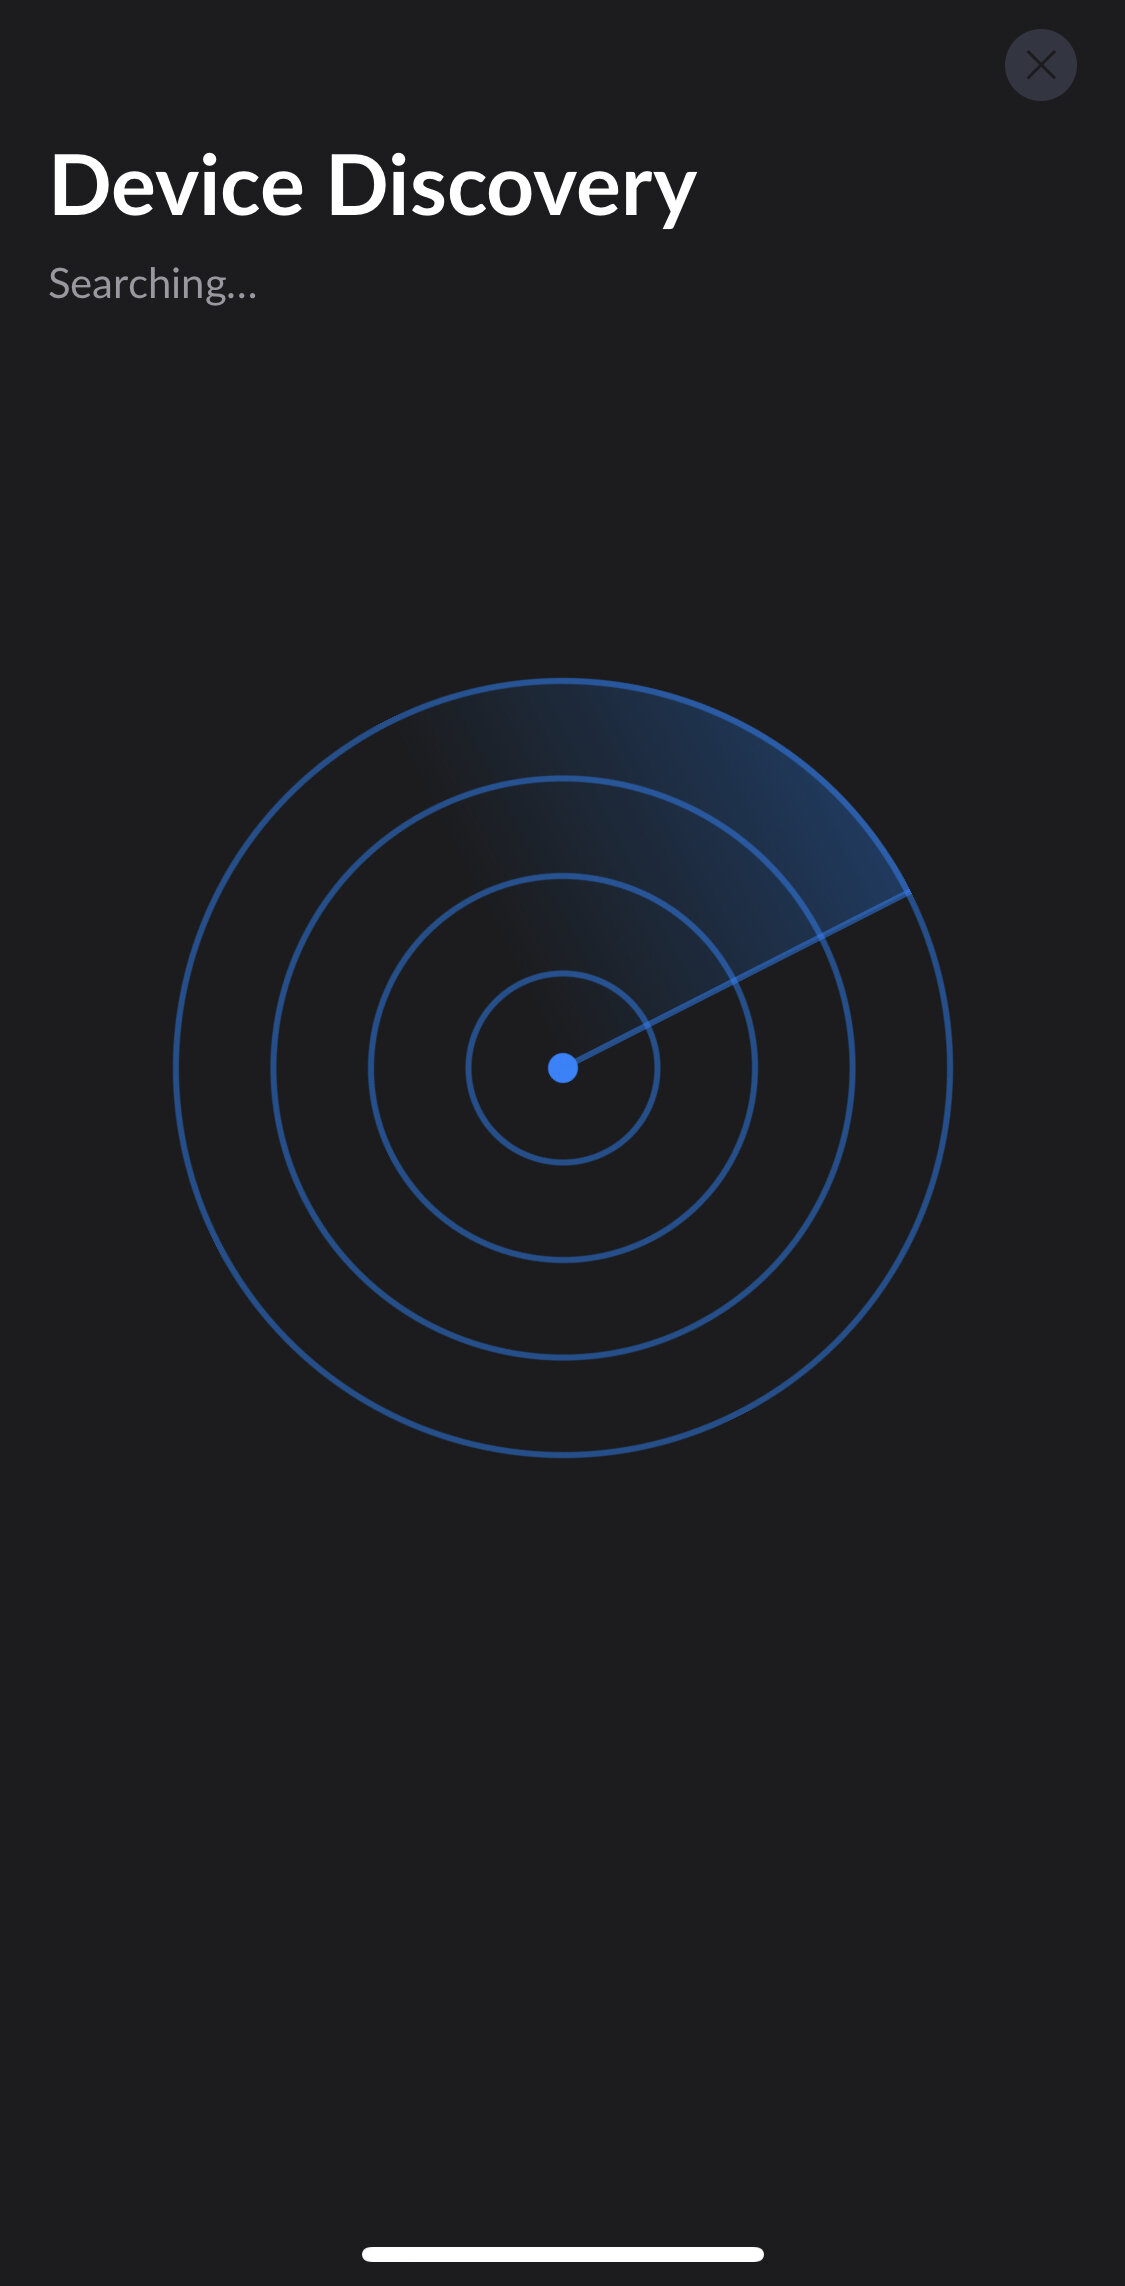
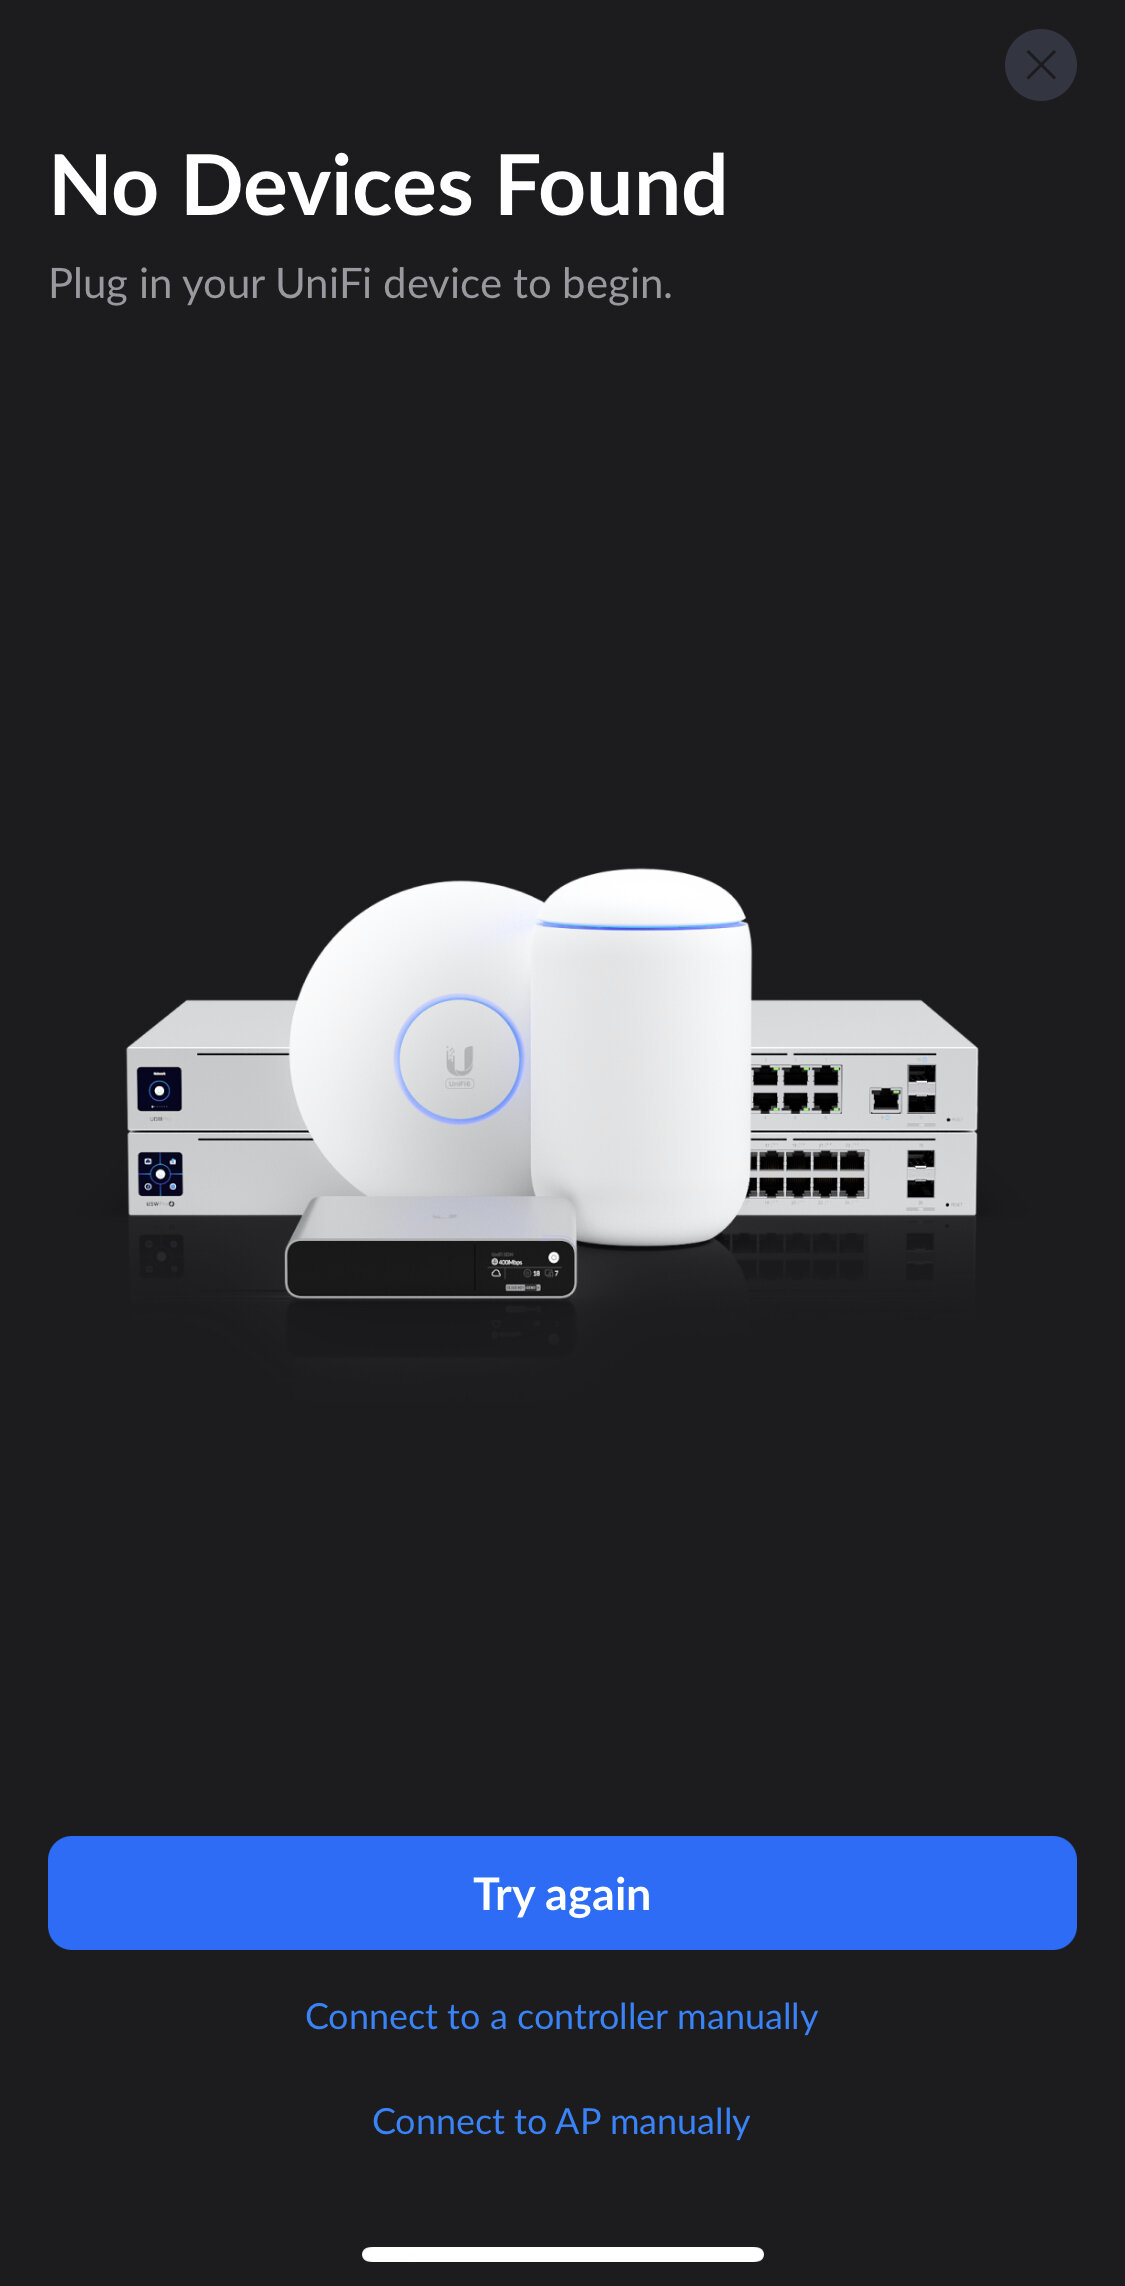
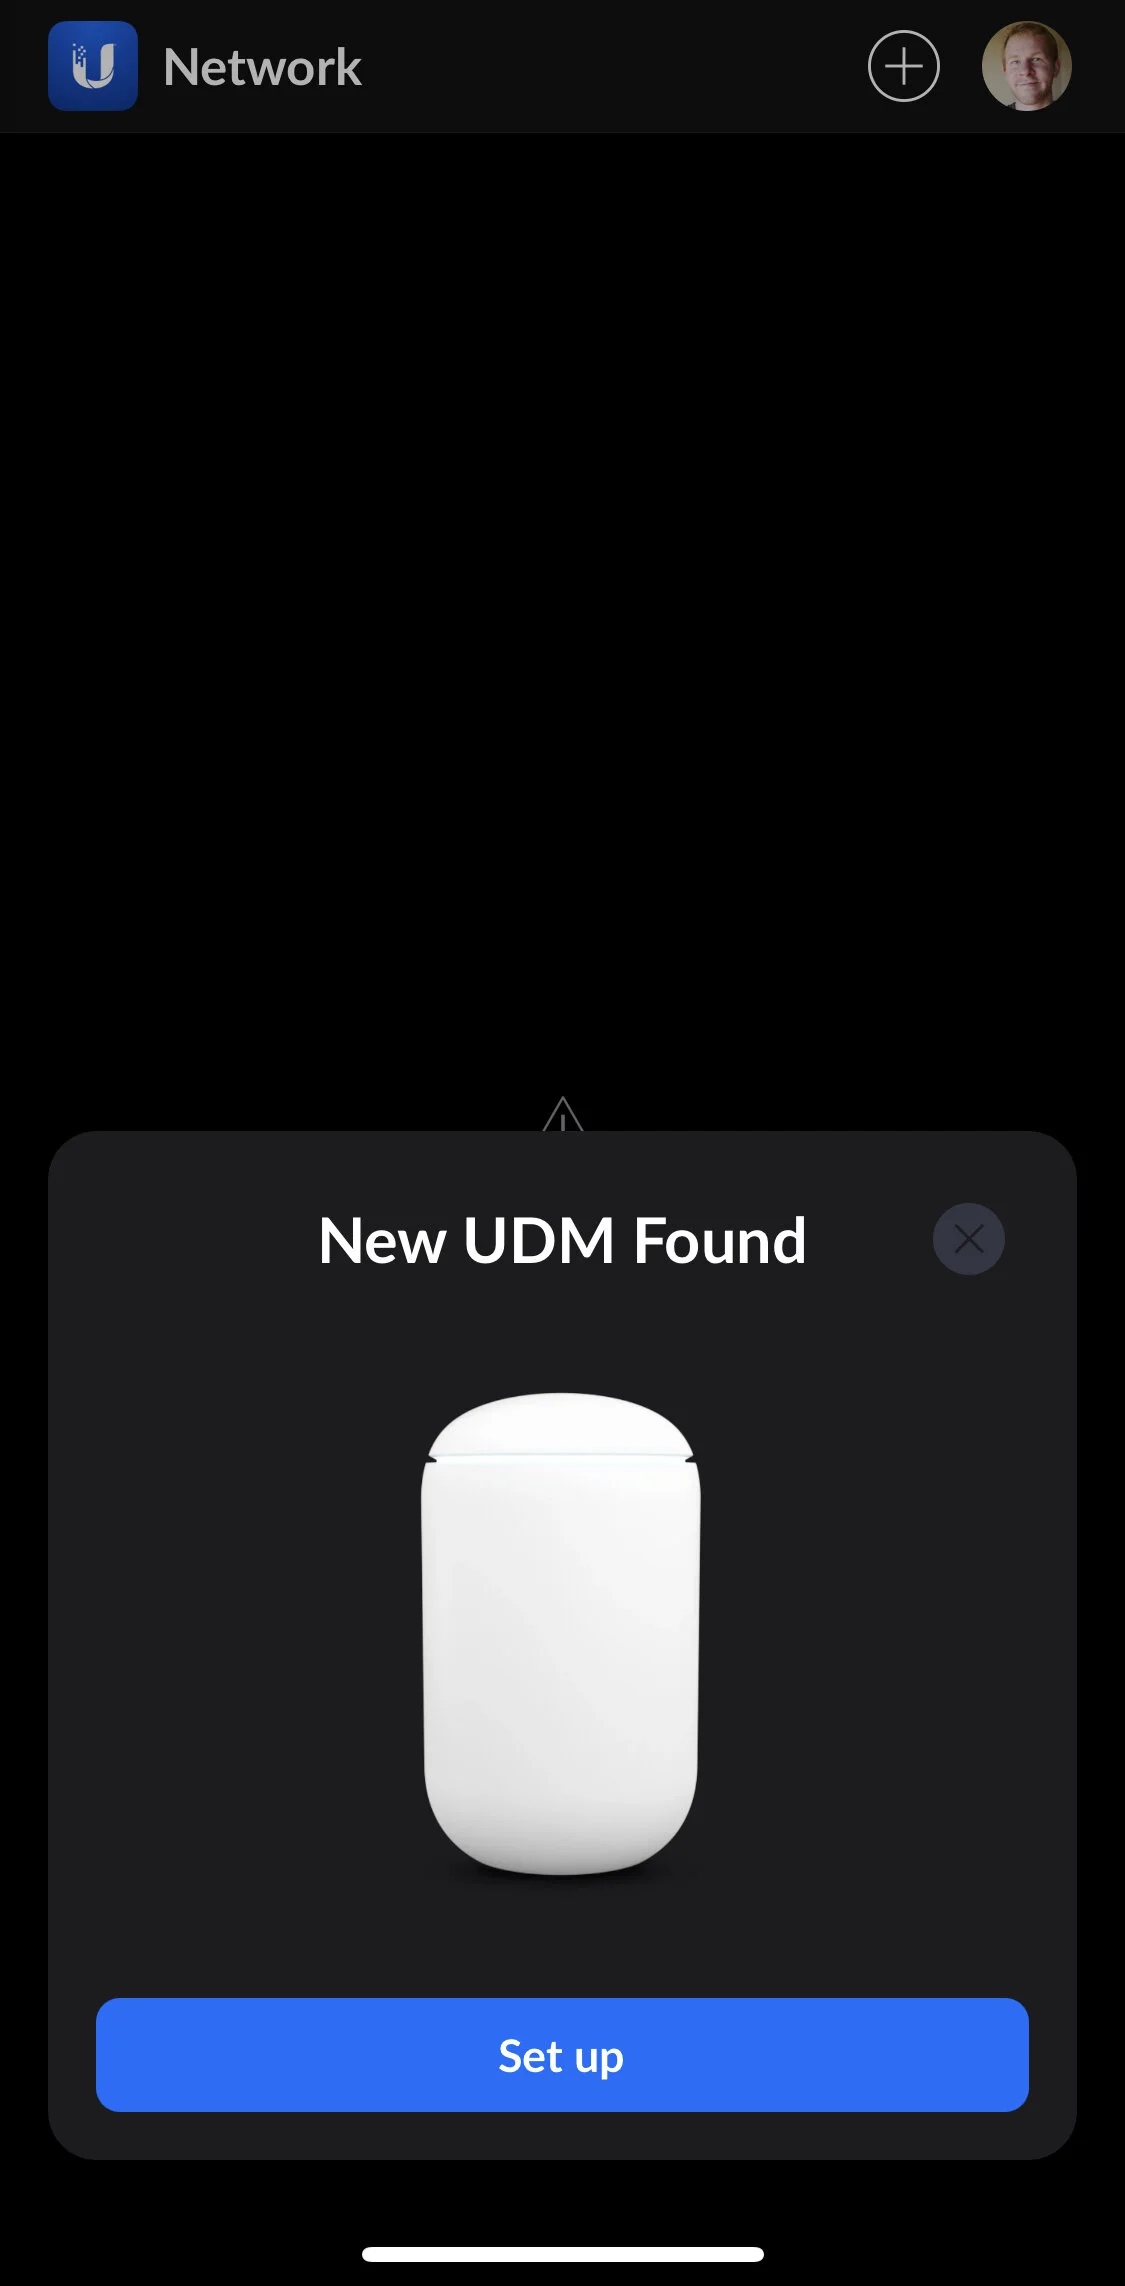
Let’s start with discovering a new UniFi device. In my example, I’m adding a UniFi Dream Machine. When plugging in a UDM for the first time, it takes a few minutes to boot up. You’ll have to wait until you hear the startup chime to begin. If you receive the “No Devices Found” error, wait a few minutes, or factory reset the UDM by holding in the reset button on the base of the UDM.

UDM Initial Setup
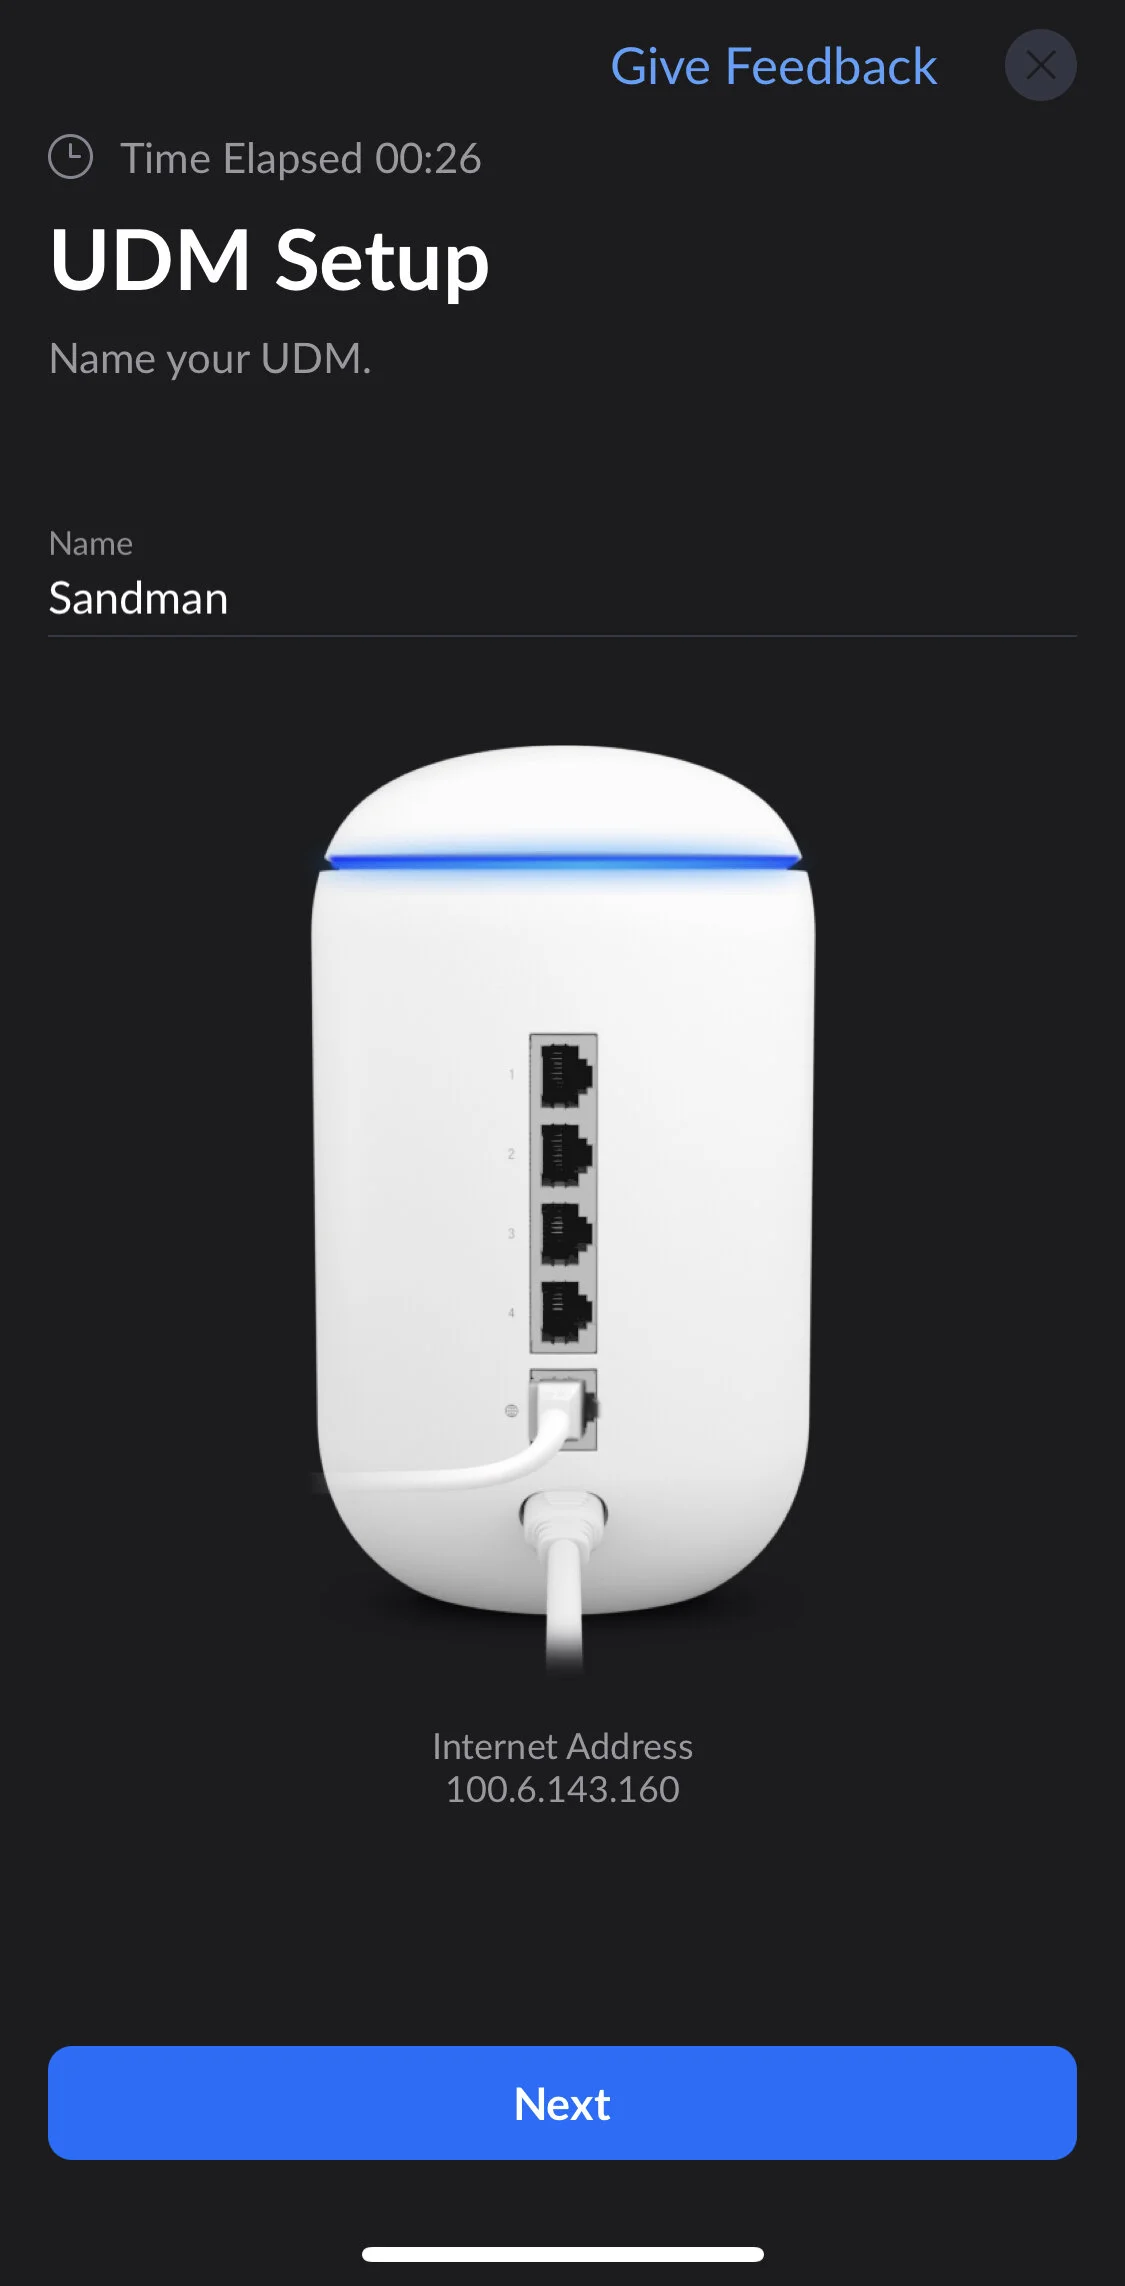
After you connect to the UDM, you’re guided through the basic setup wizard.
Name your UDM.
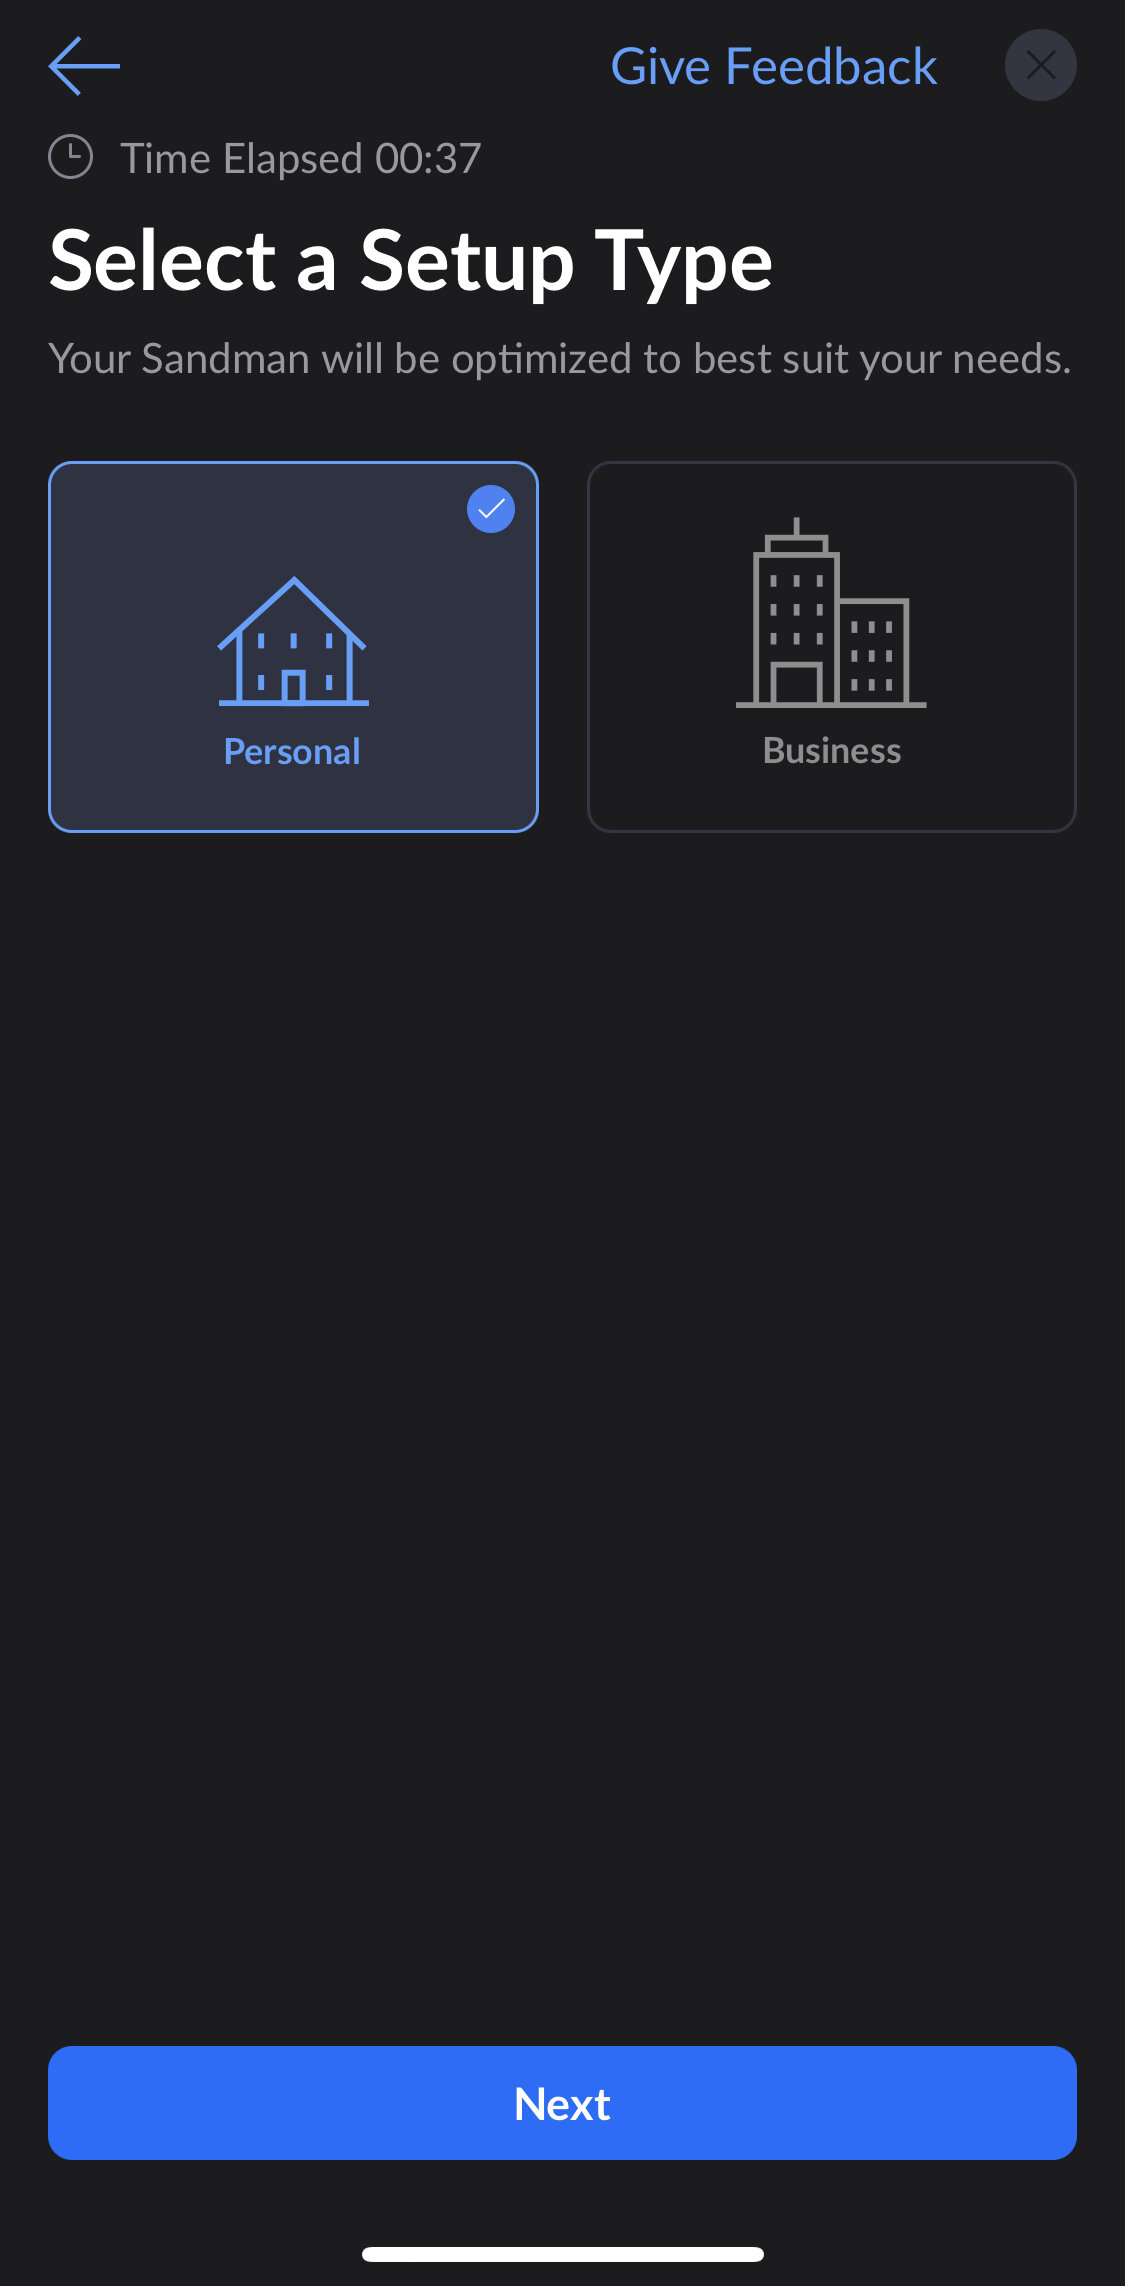
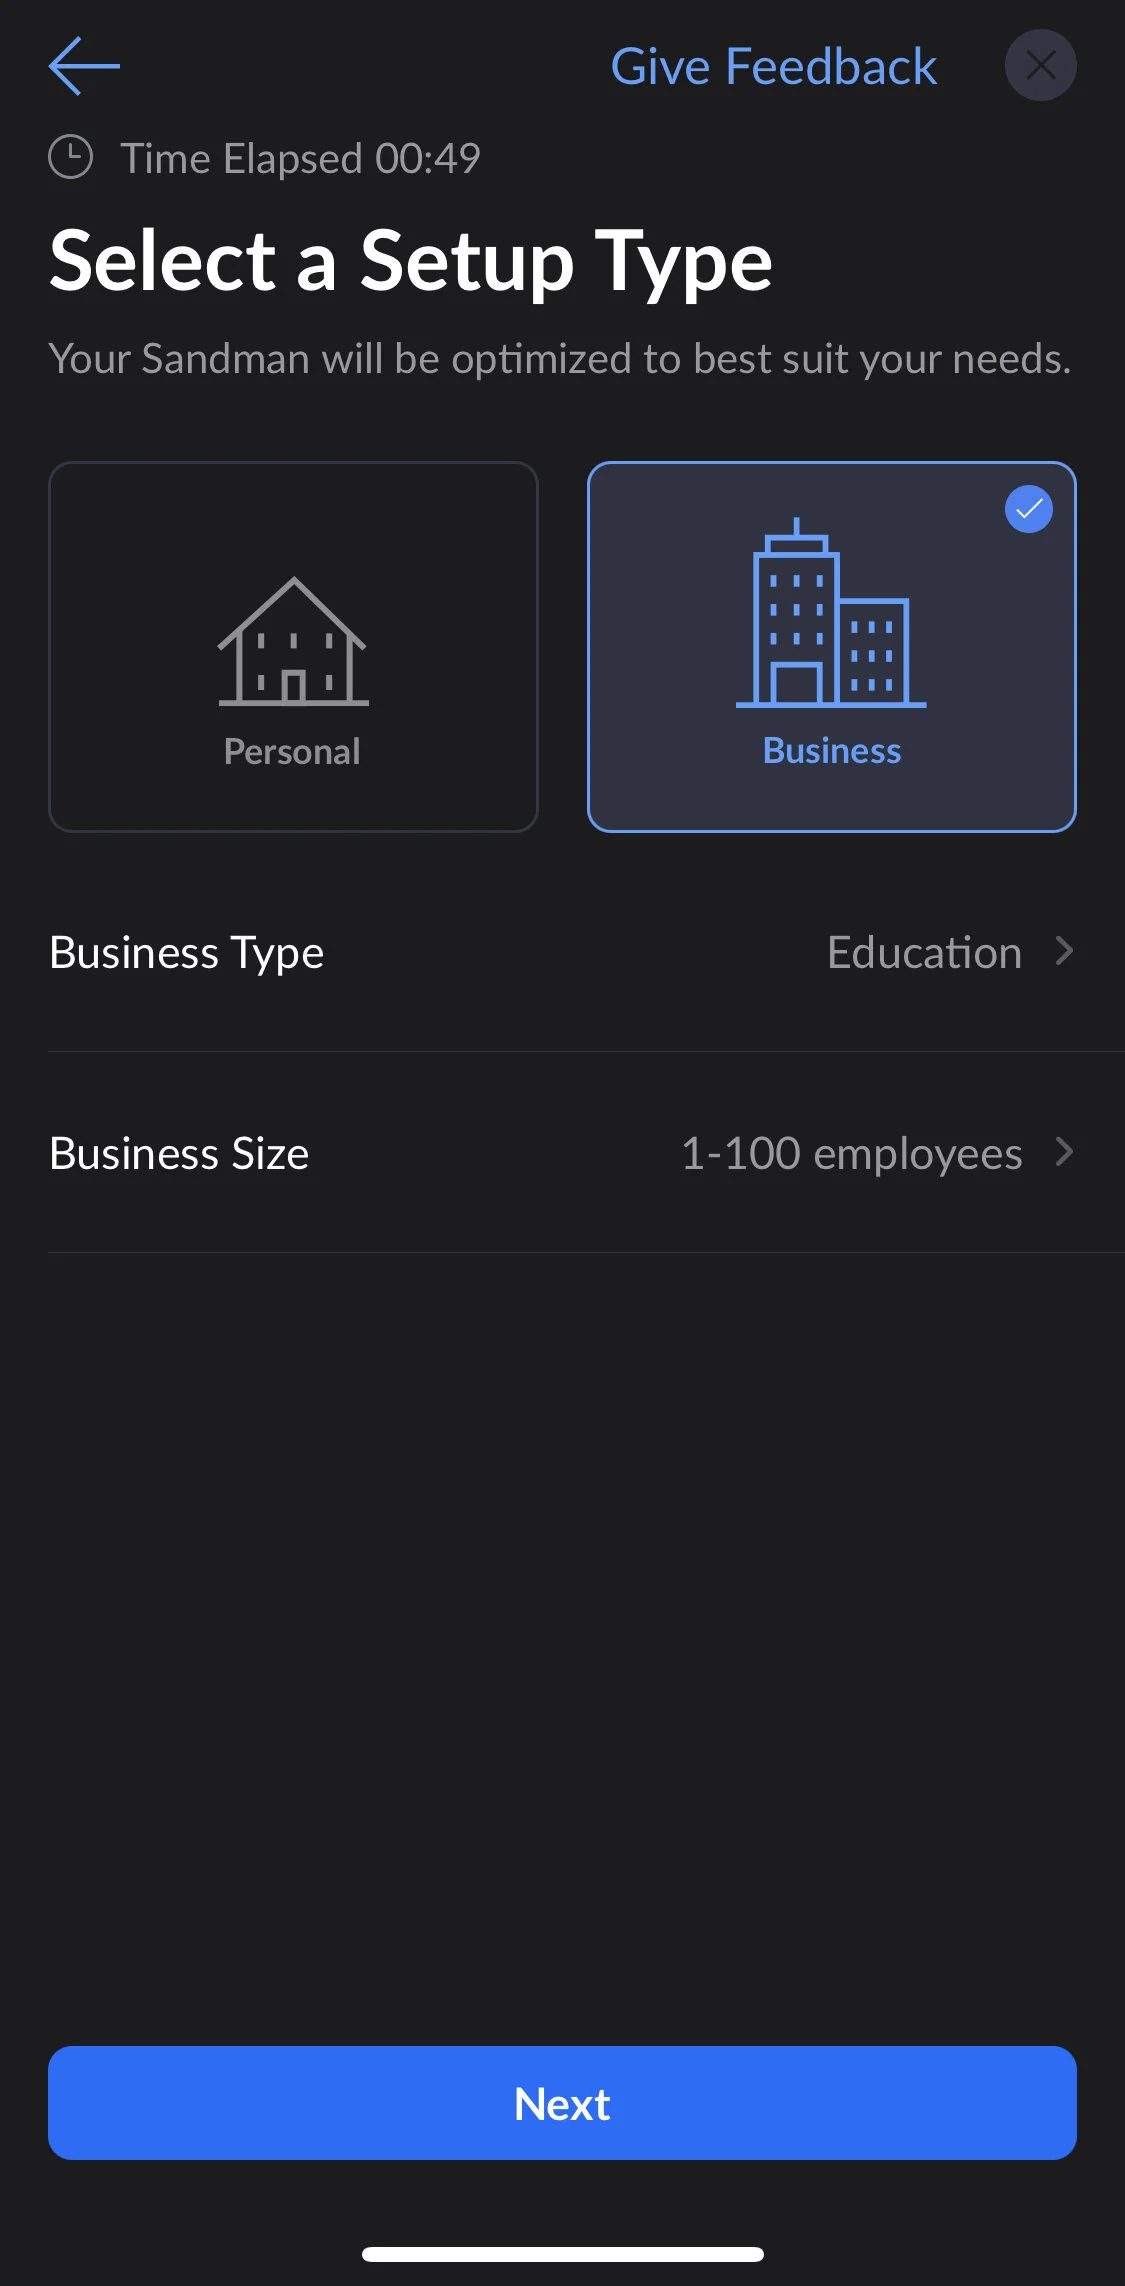
Pick your Setup Type: Personal or Business.
If you pick business, you have to pick business type and number of employees. Setup is the same otherwise.
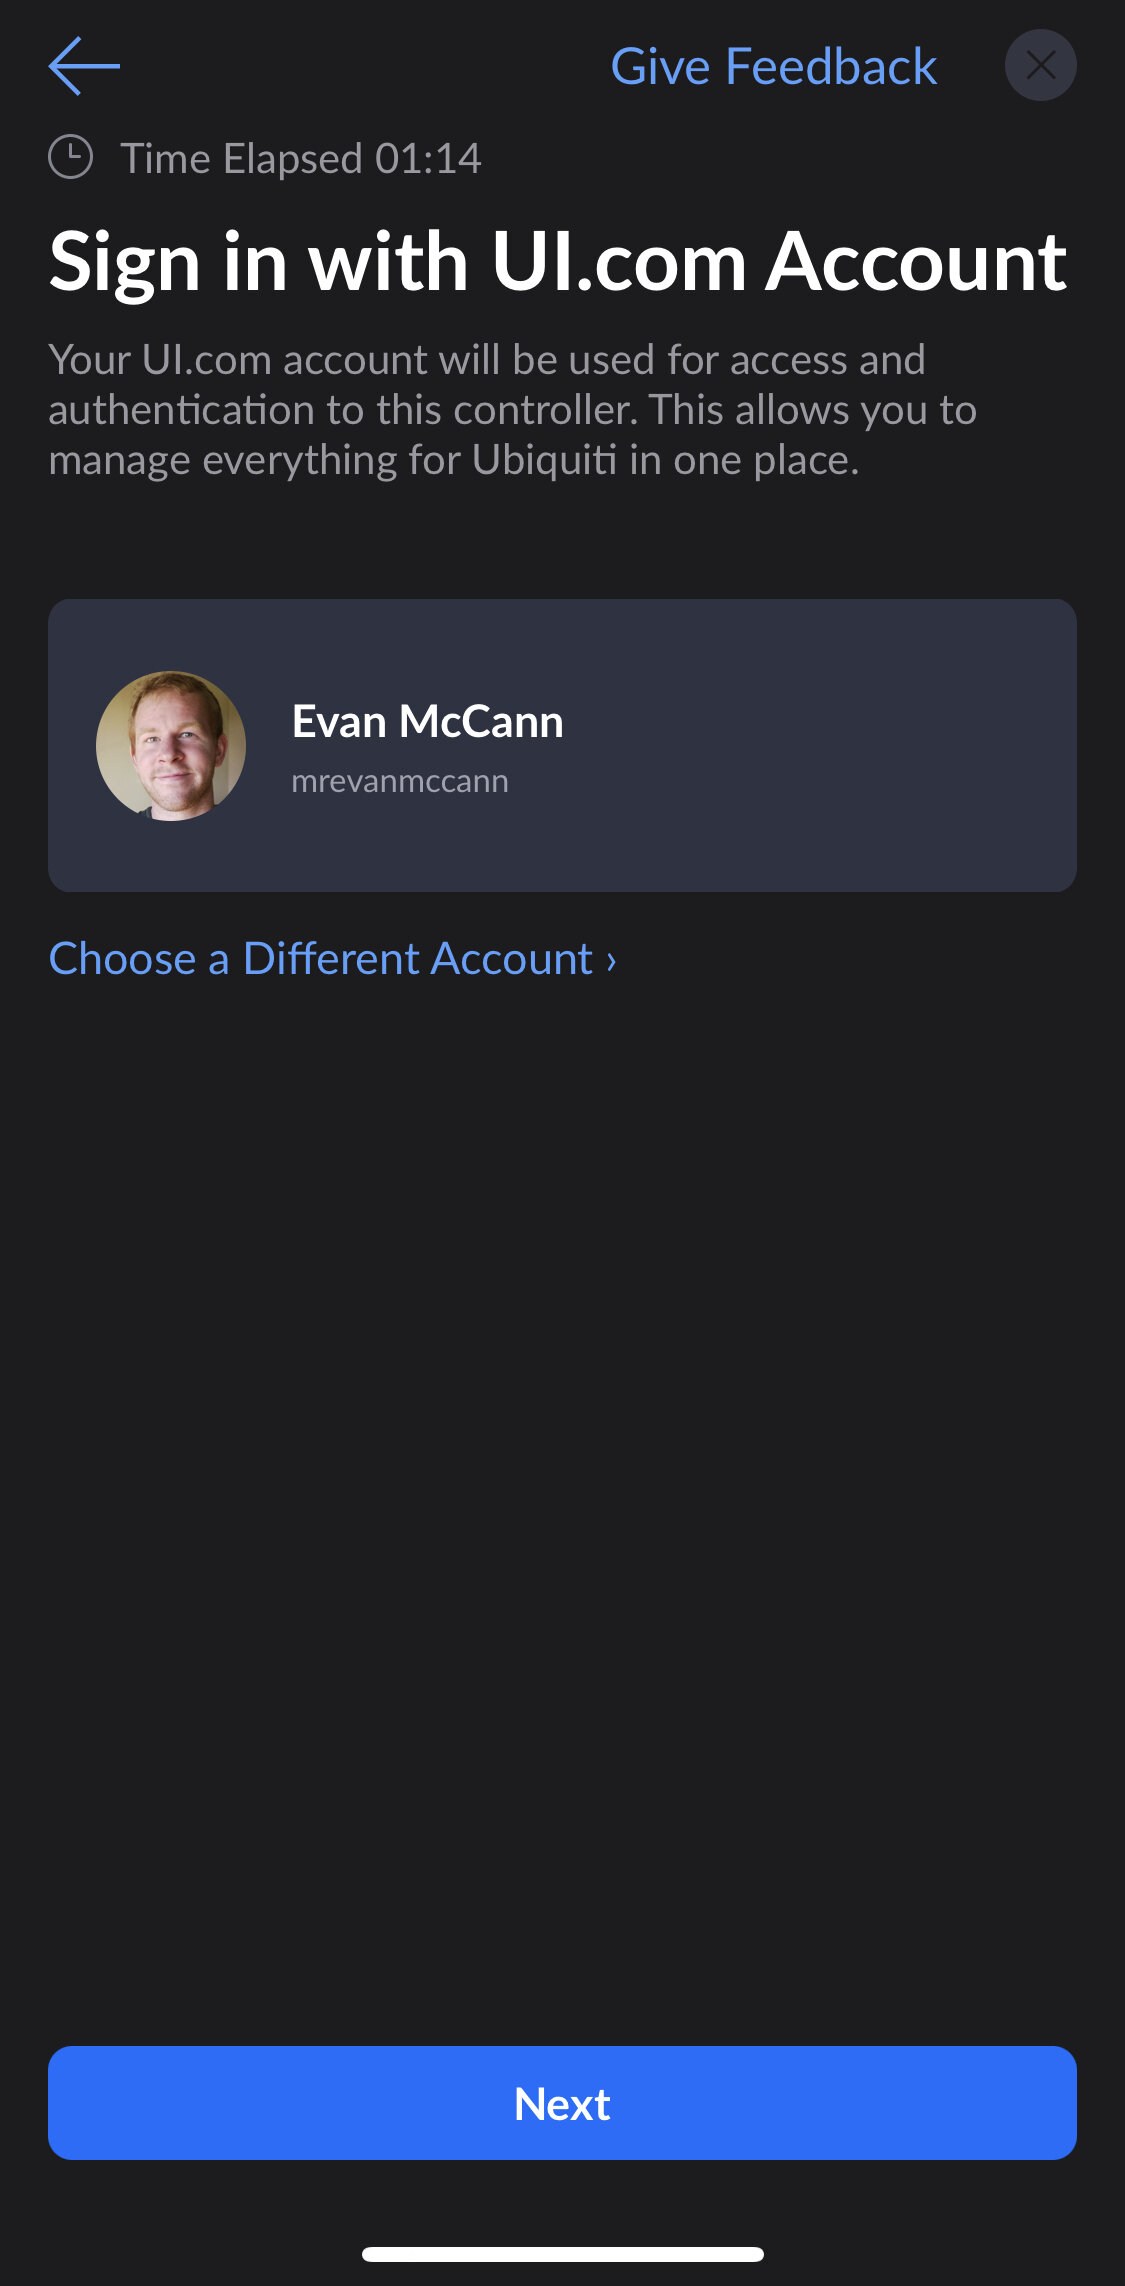
Login with your UI.com account, or create one.
A UI.com account is required for setup, and this is what enables cloud management access.
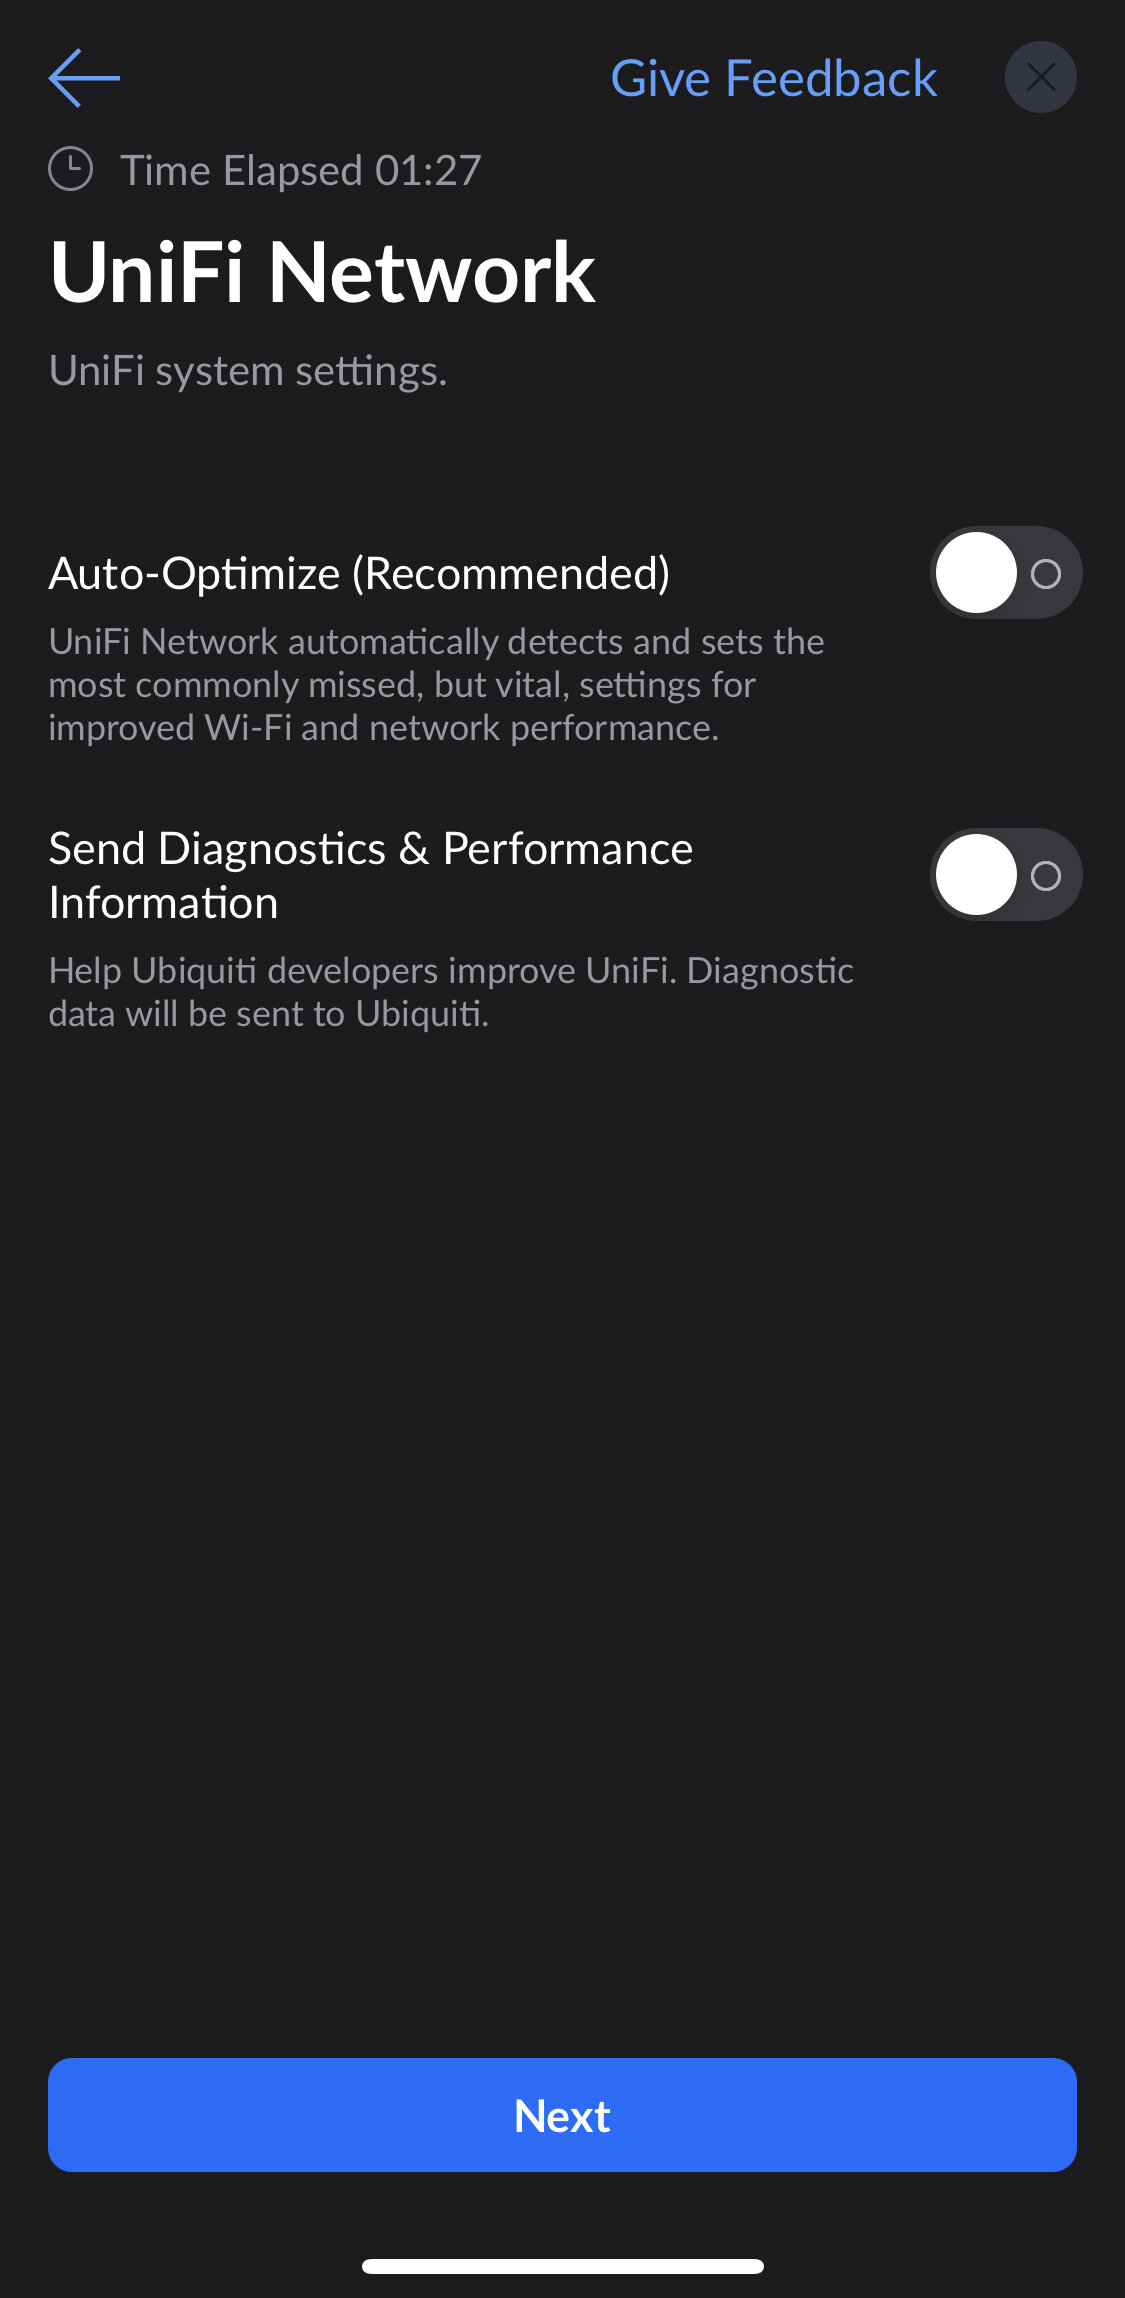
Auto Optimize and Diagnostics.
I like to disable Auto Optimize. This setting can cause issues for some people, and I prefer to be in complete control of all my network settings.
I like that diagnostics defaults to off now. When this feature was introduced and opt-out, Ubiquiti received a lot of negative feedback.
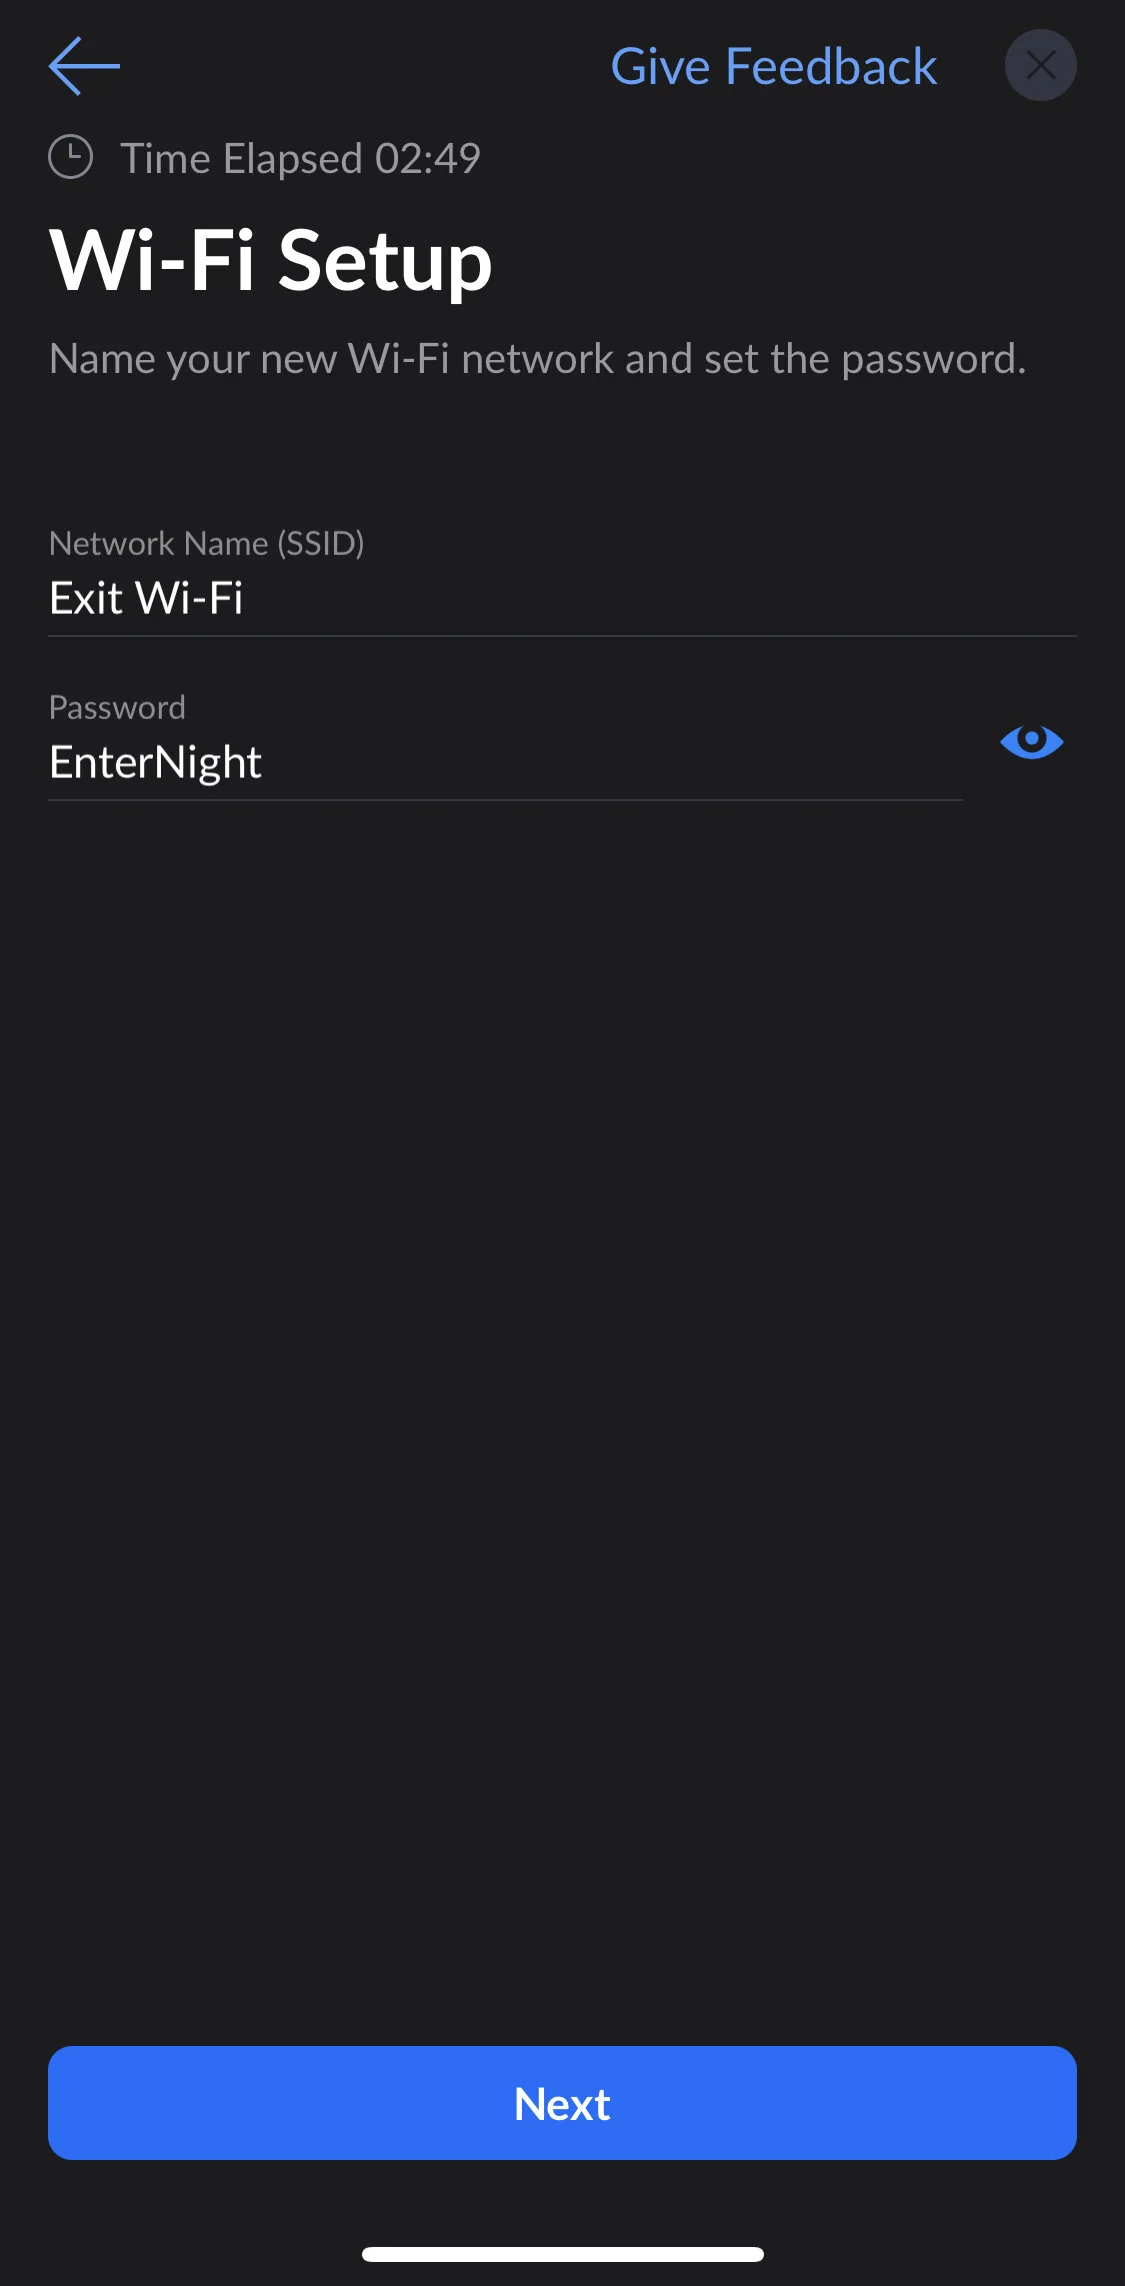
Name your Wi-Fi network, and create your WPA2-personal password.
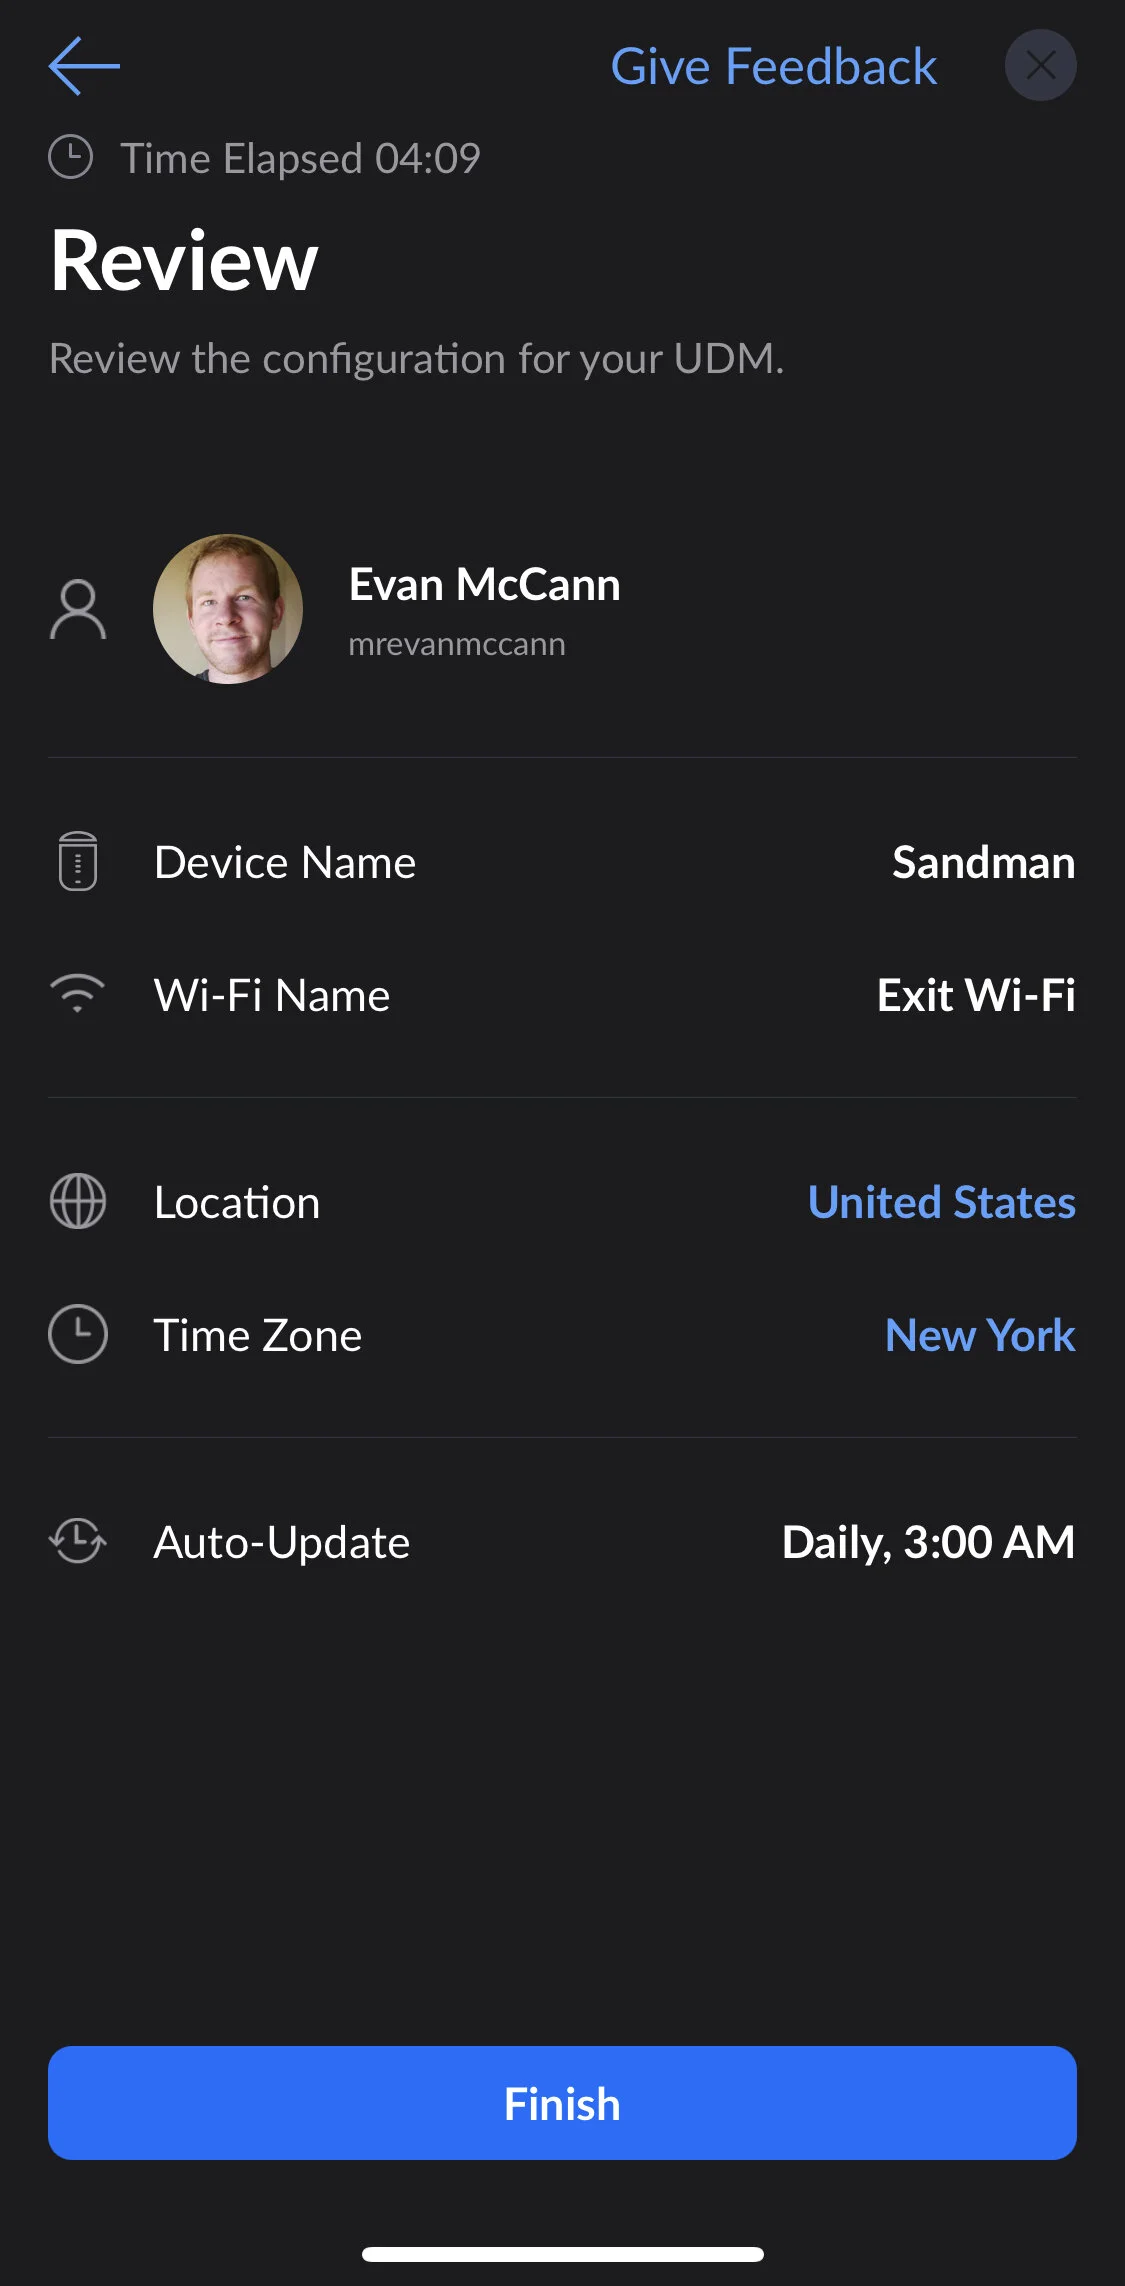
Pick your update schedule.
By default, the UDM will check for updates every day at 3 AM. You can change this to weekly, or disable auto-updates entirely.
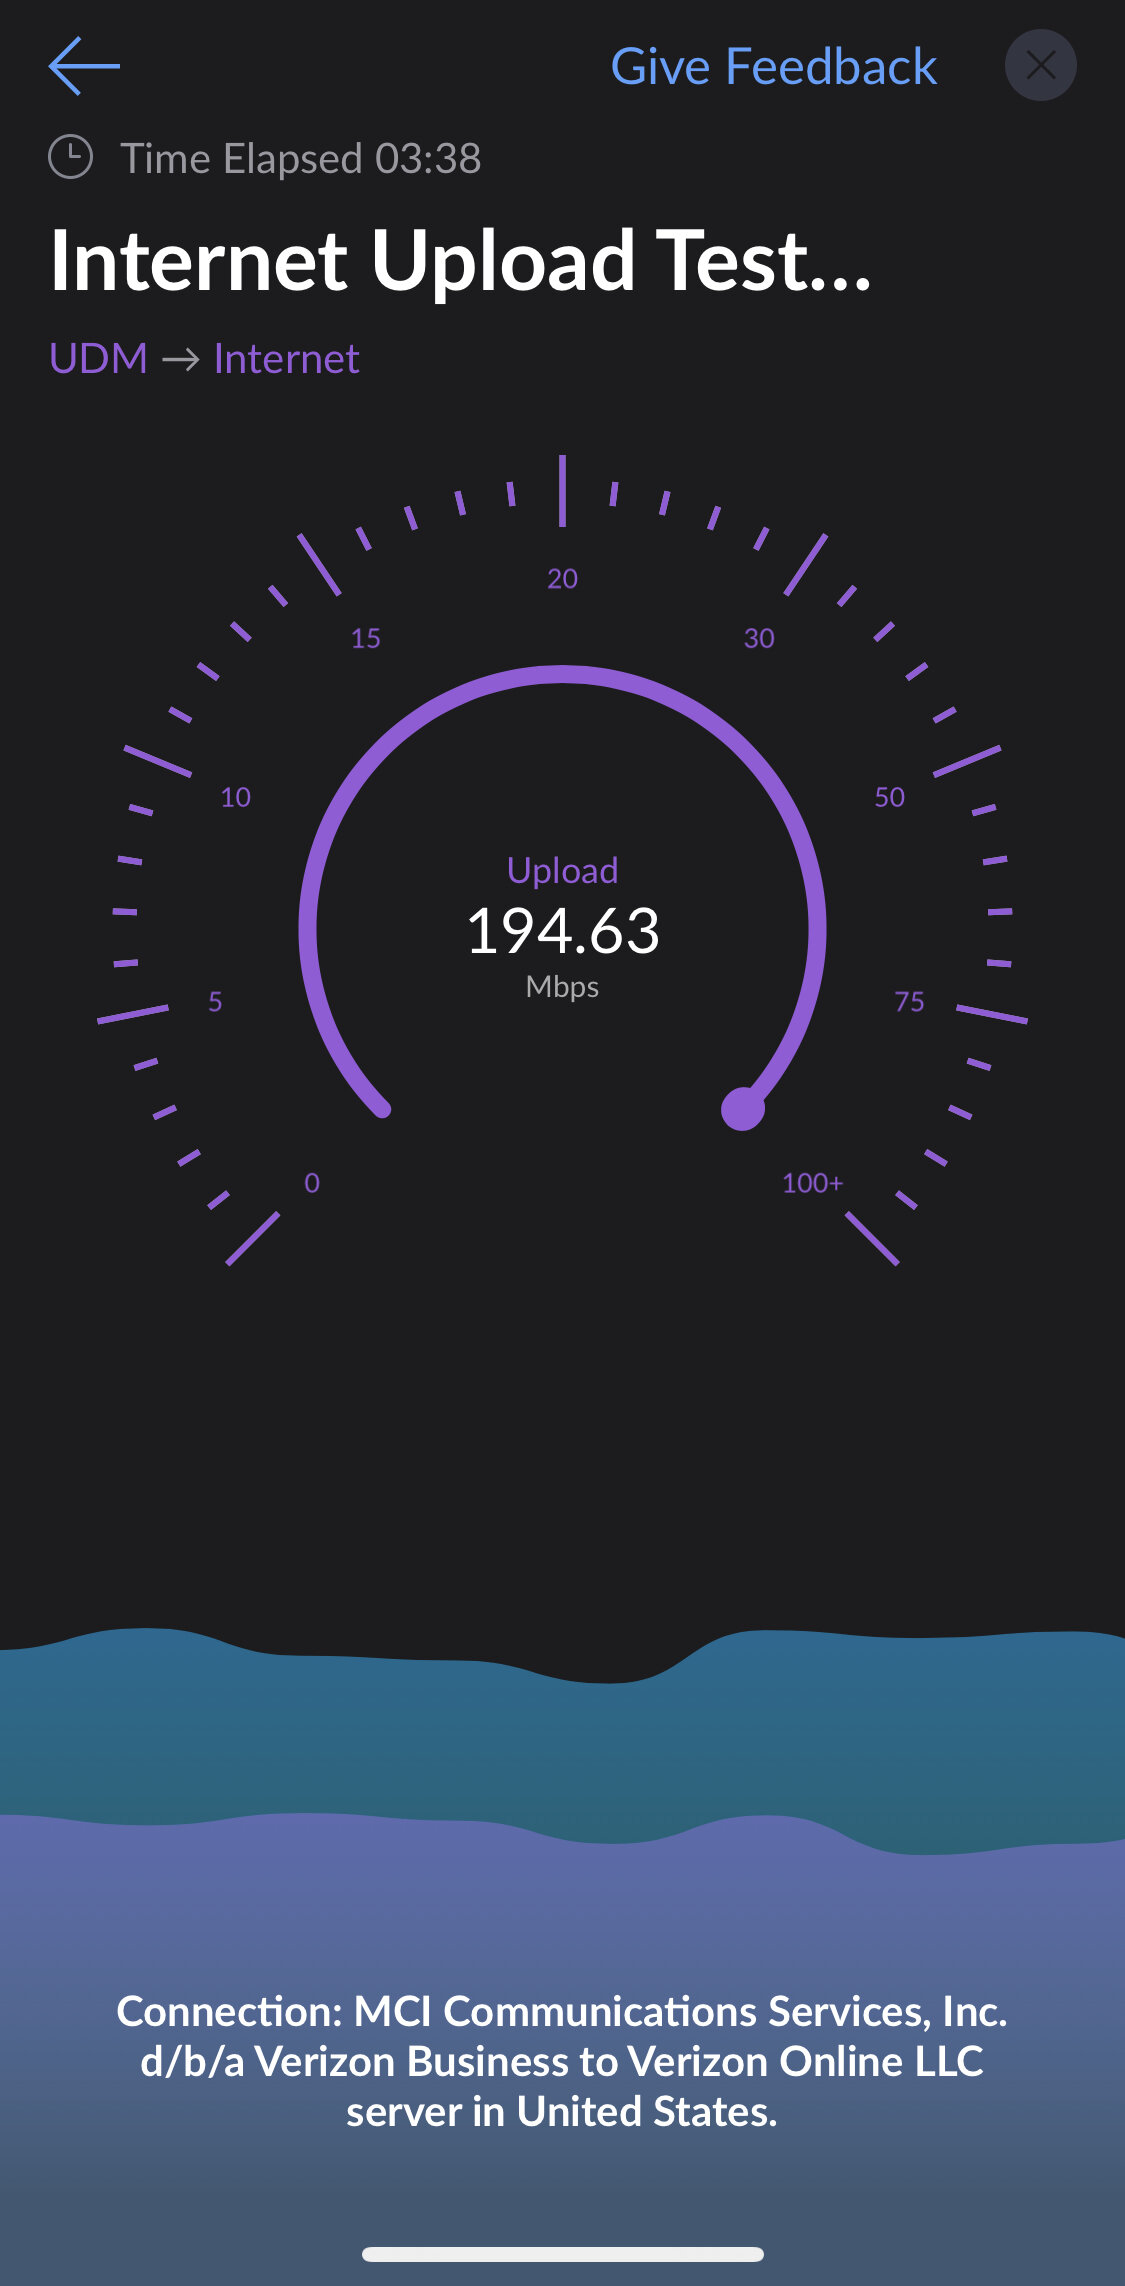
Allow the speed test to complete, and adjust the numbers to match your Internet speed, if necessary.
These settings can affect your Smart Queues auto-QoS, so it’s important that your ISP’s speed is set correctly.
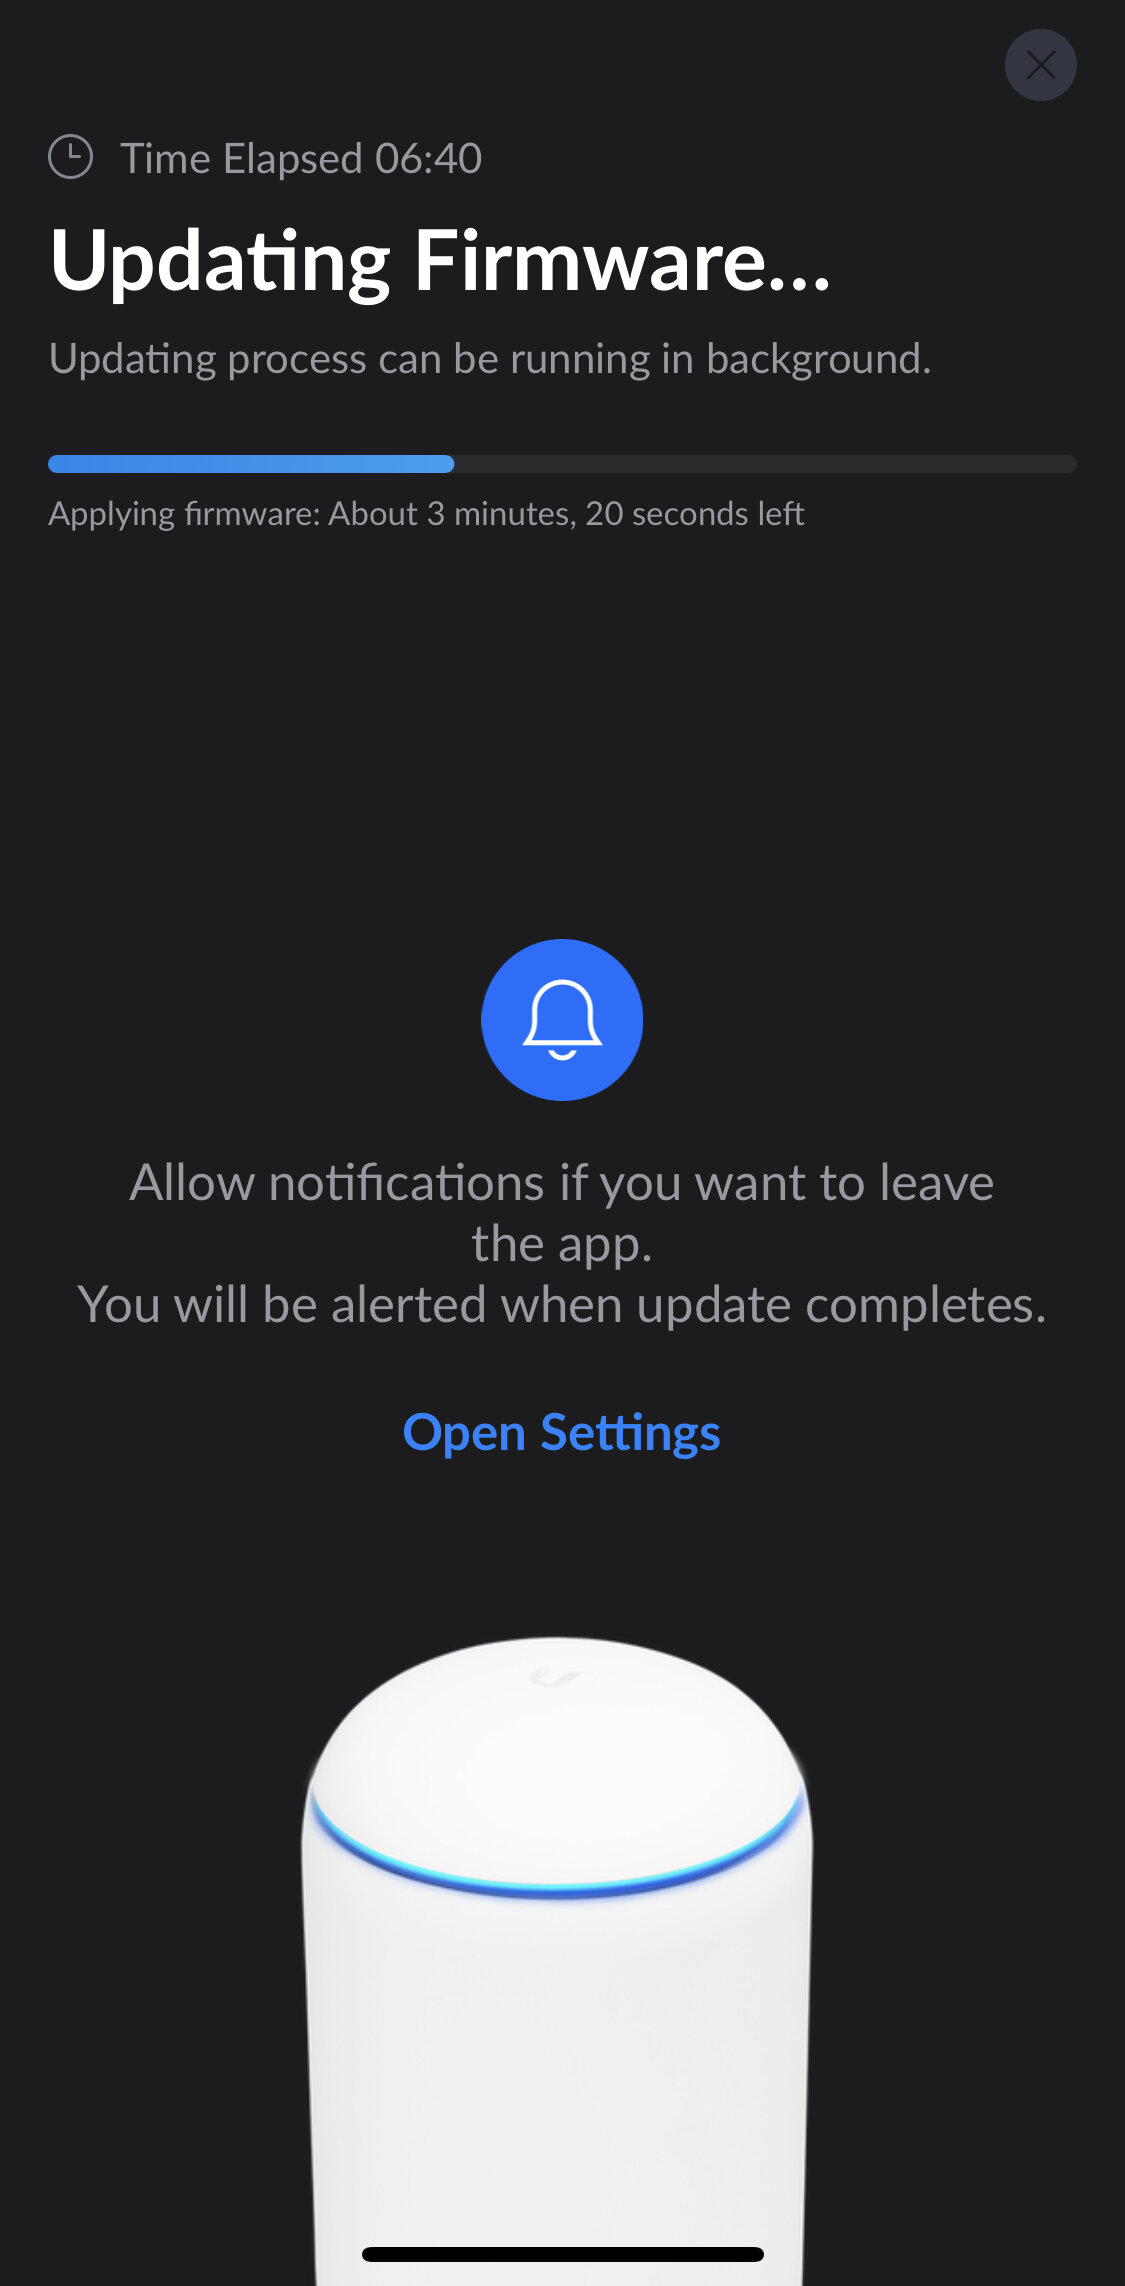
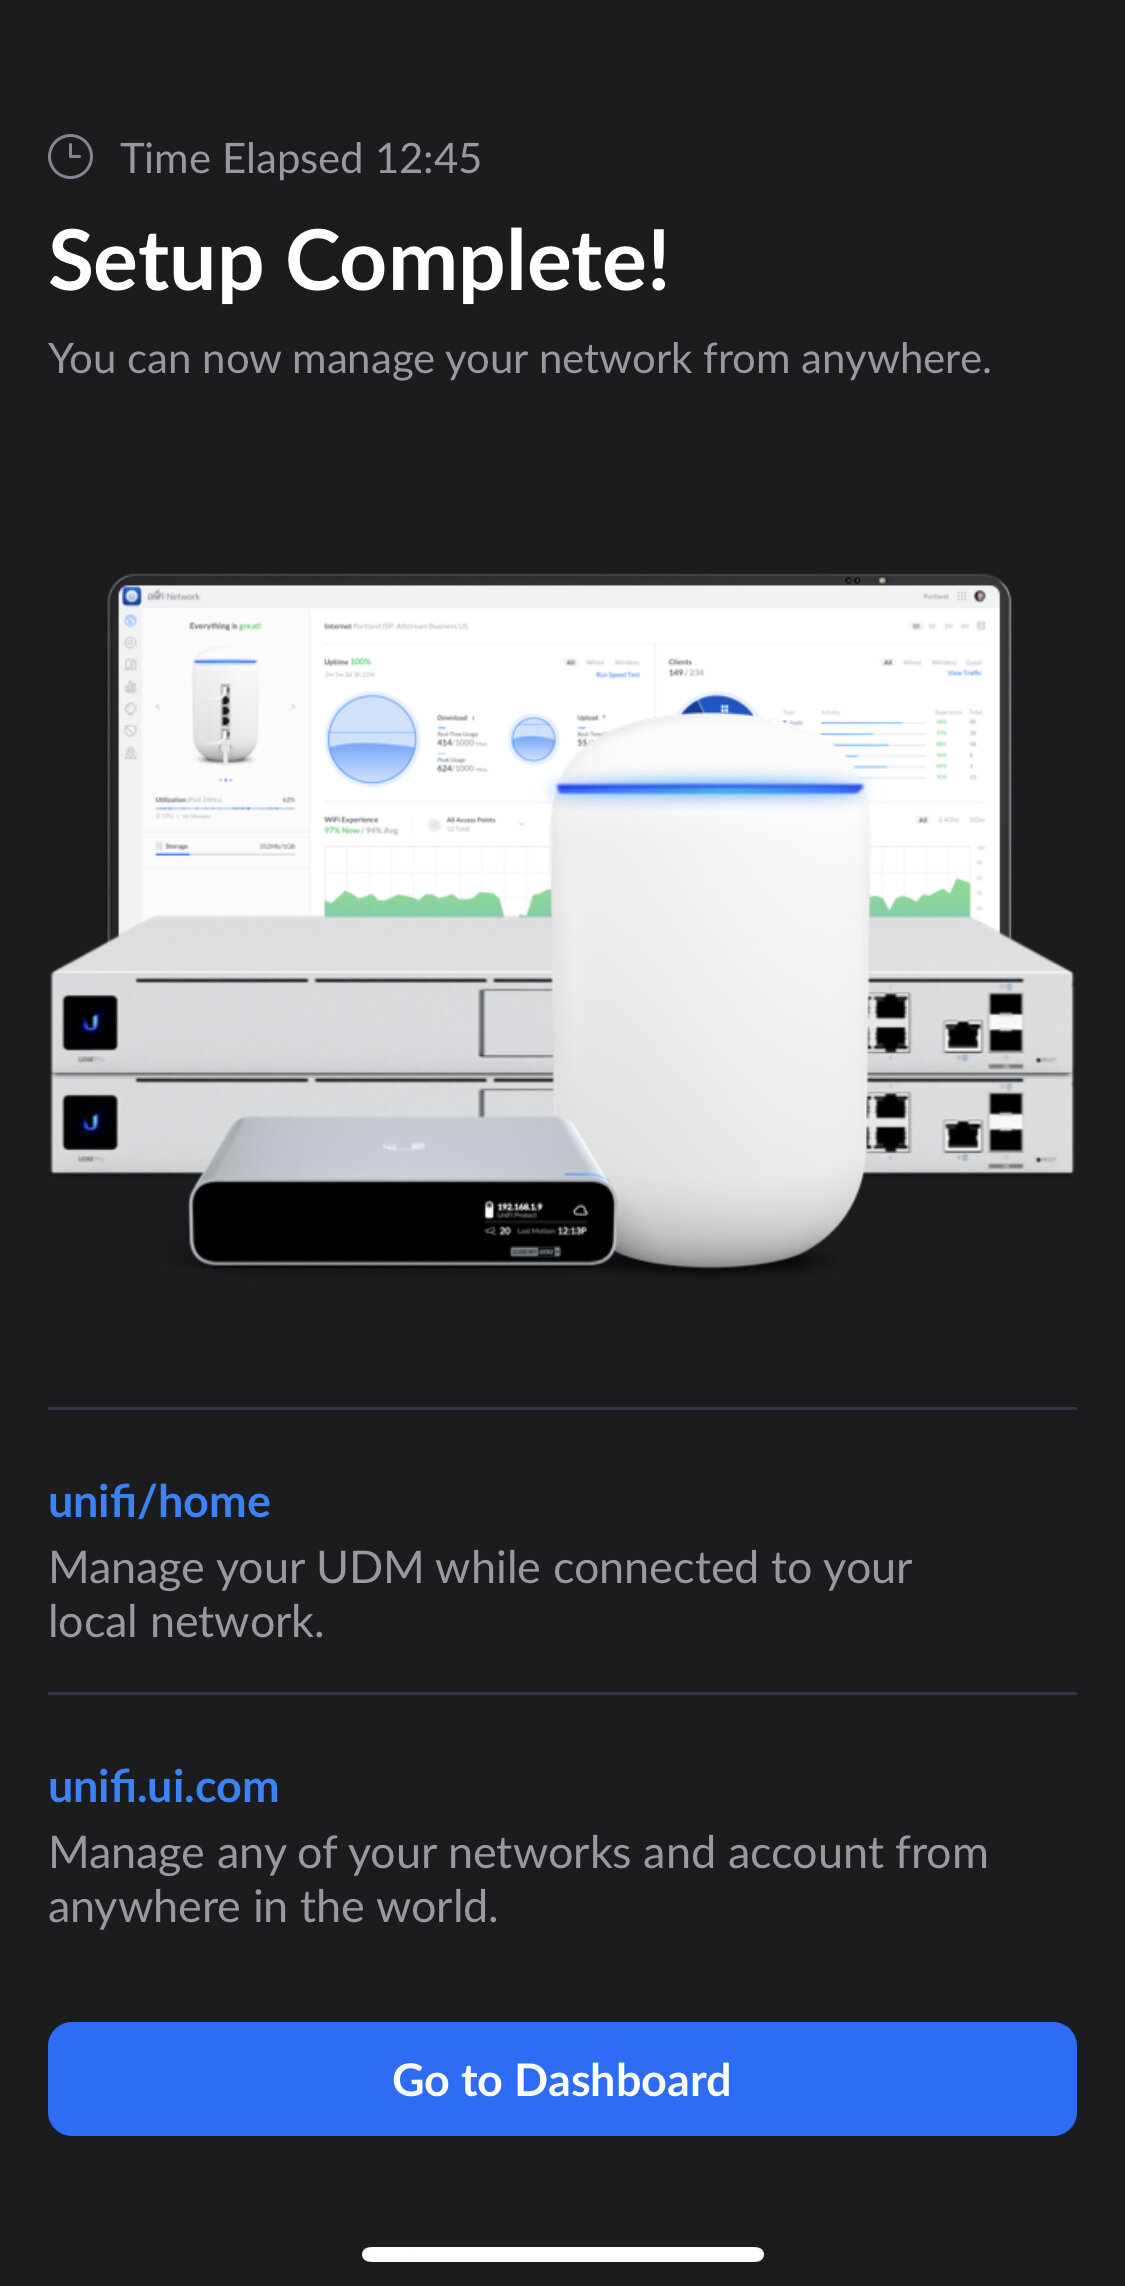
Click finish and wait for settings to apply.
Firmware updates will apply if there are any available.
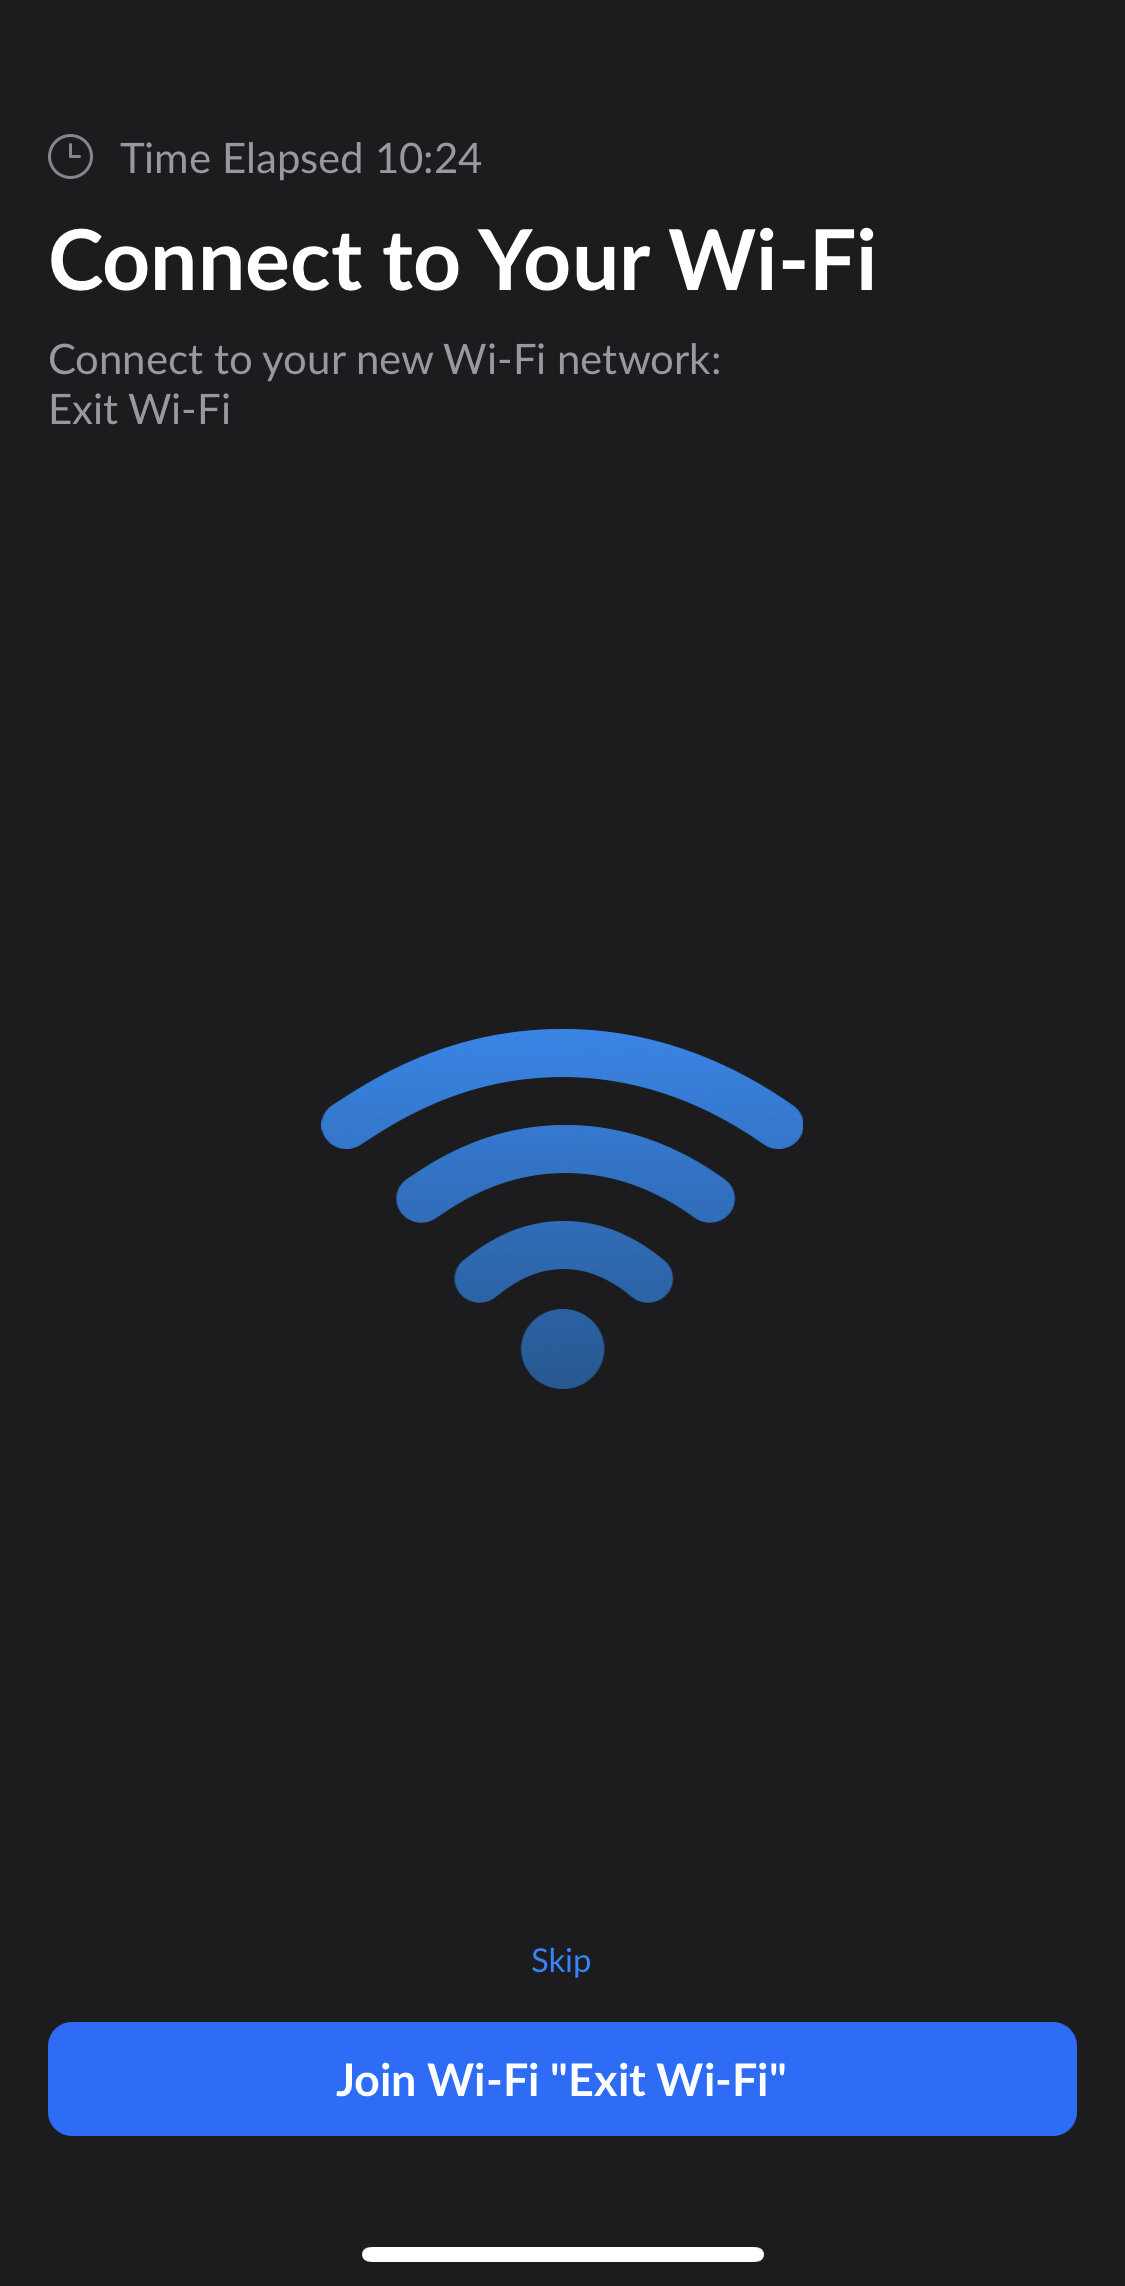
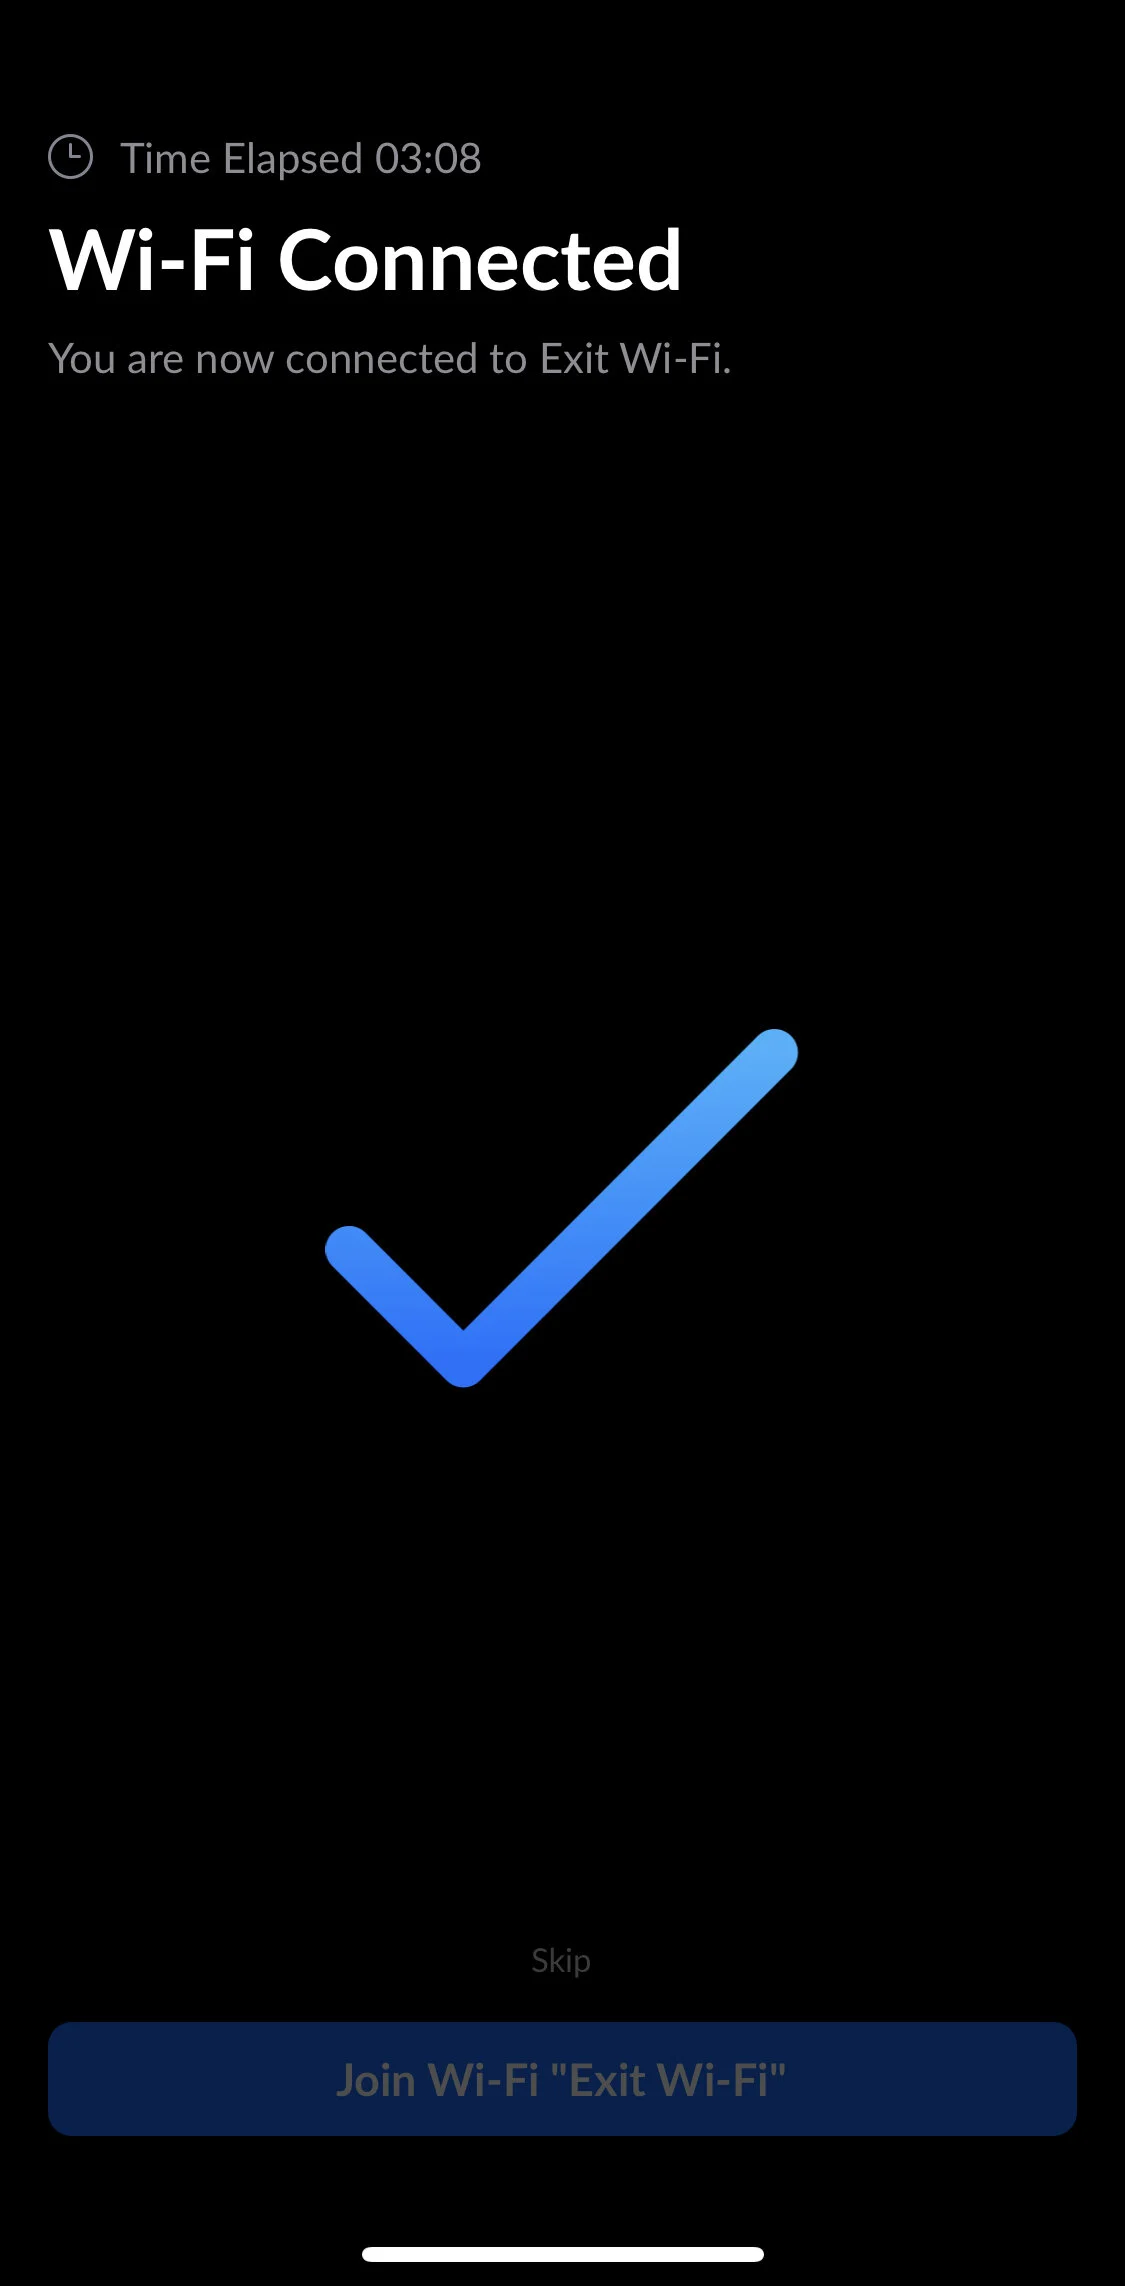
You will be prompted to join the Wi-Fi network you created.
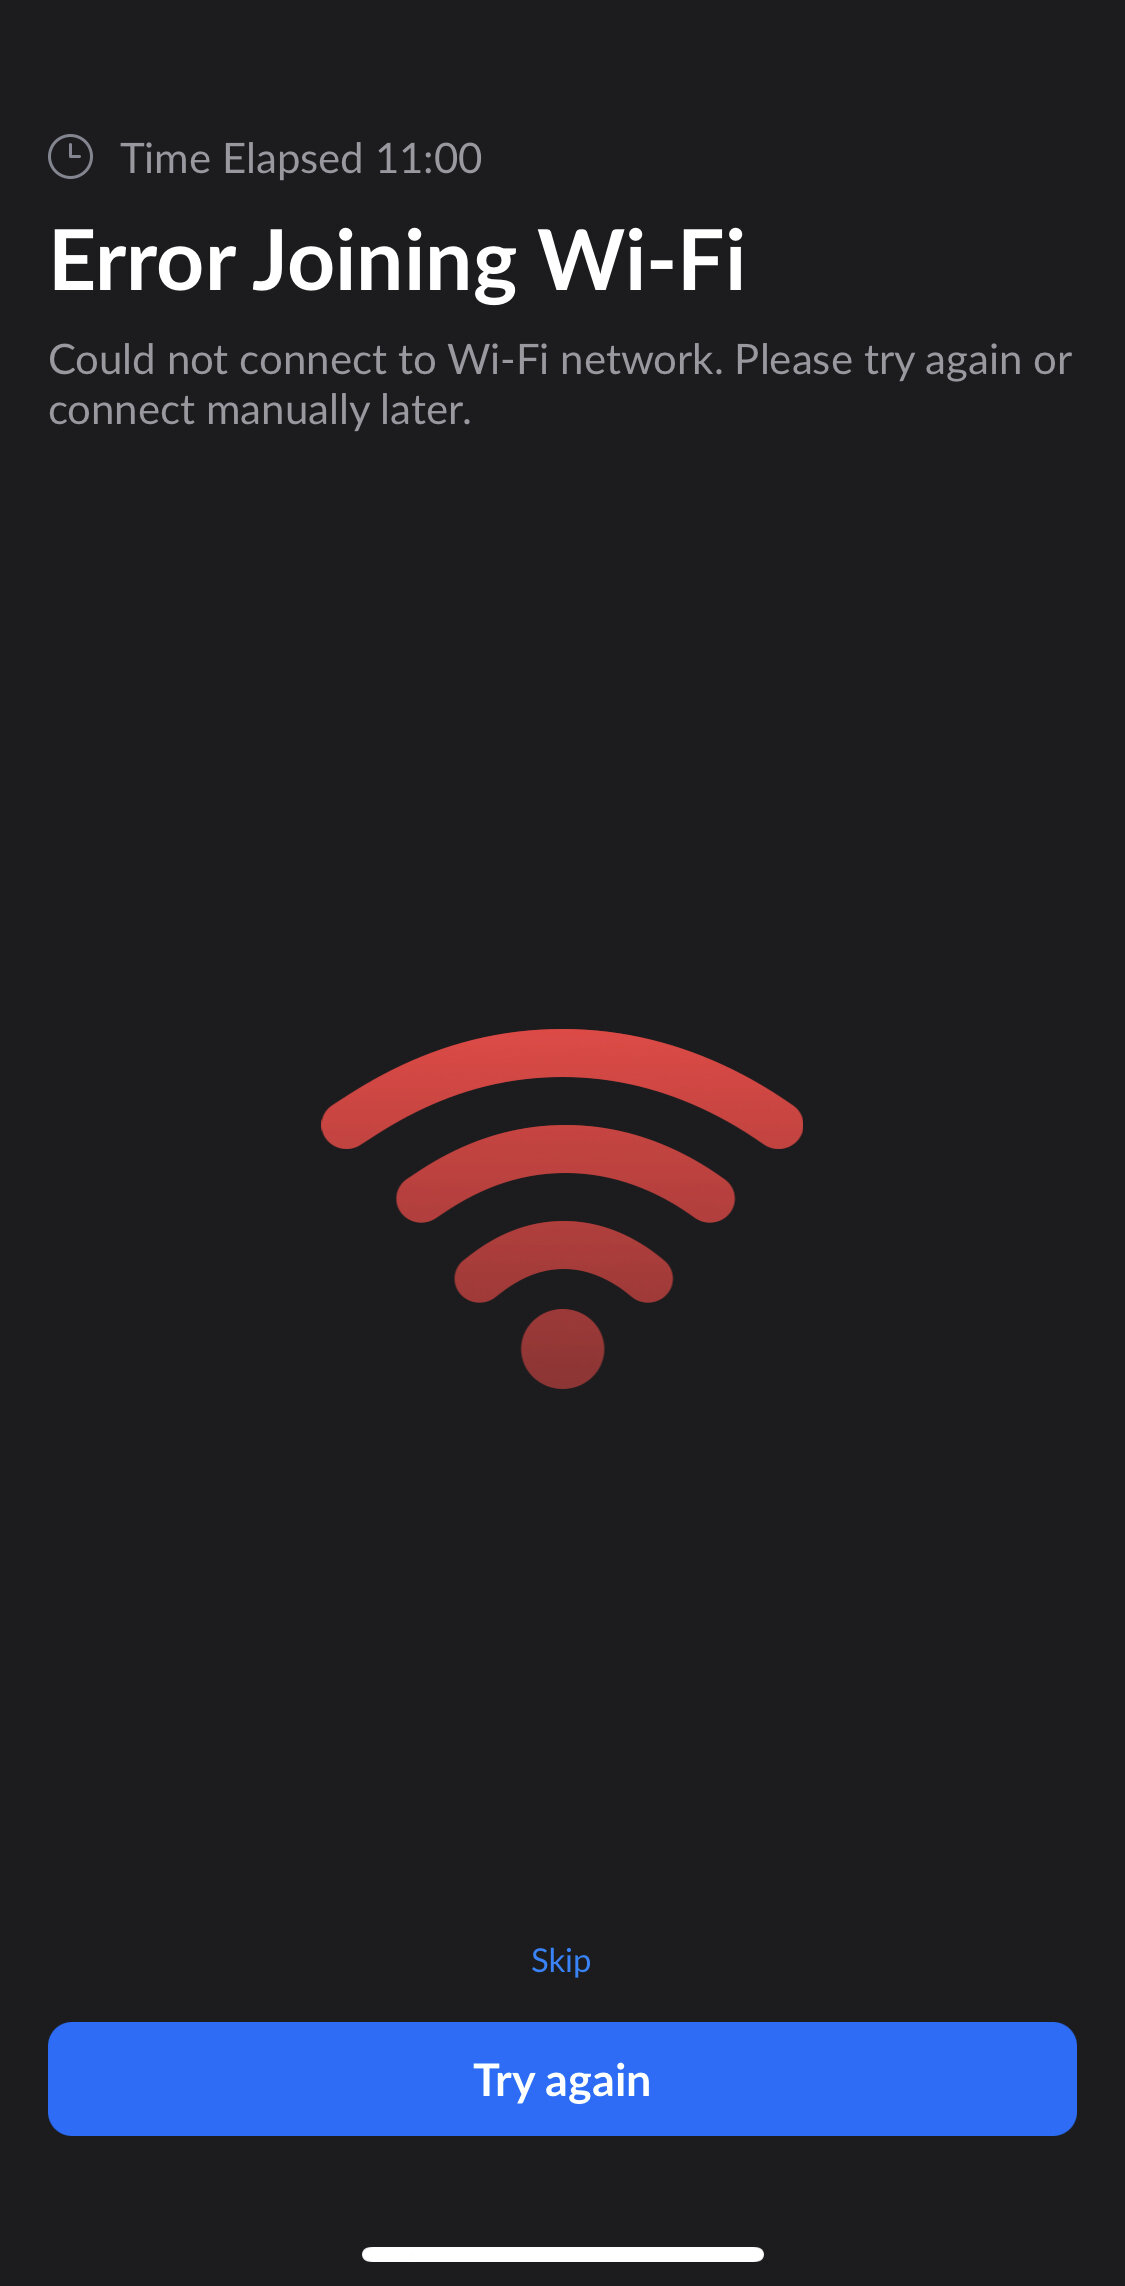
If you get an error, you may need to manually join the network.
After this, the basic setup is complete. You can use the mobile app to adjust settings and view details of your network, or you can use the regular web interface. The web interface is available locally at the IP of the UDM (default 192.168.1.1), or via the cloud portal at unifi.ui.com.


Controller Basics
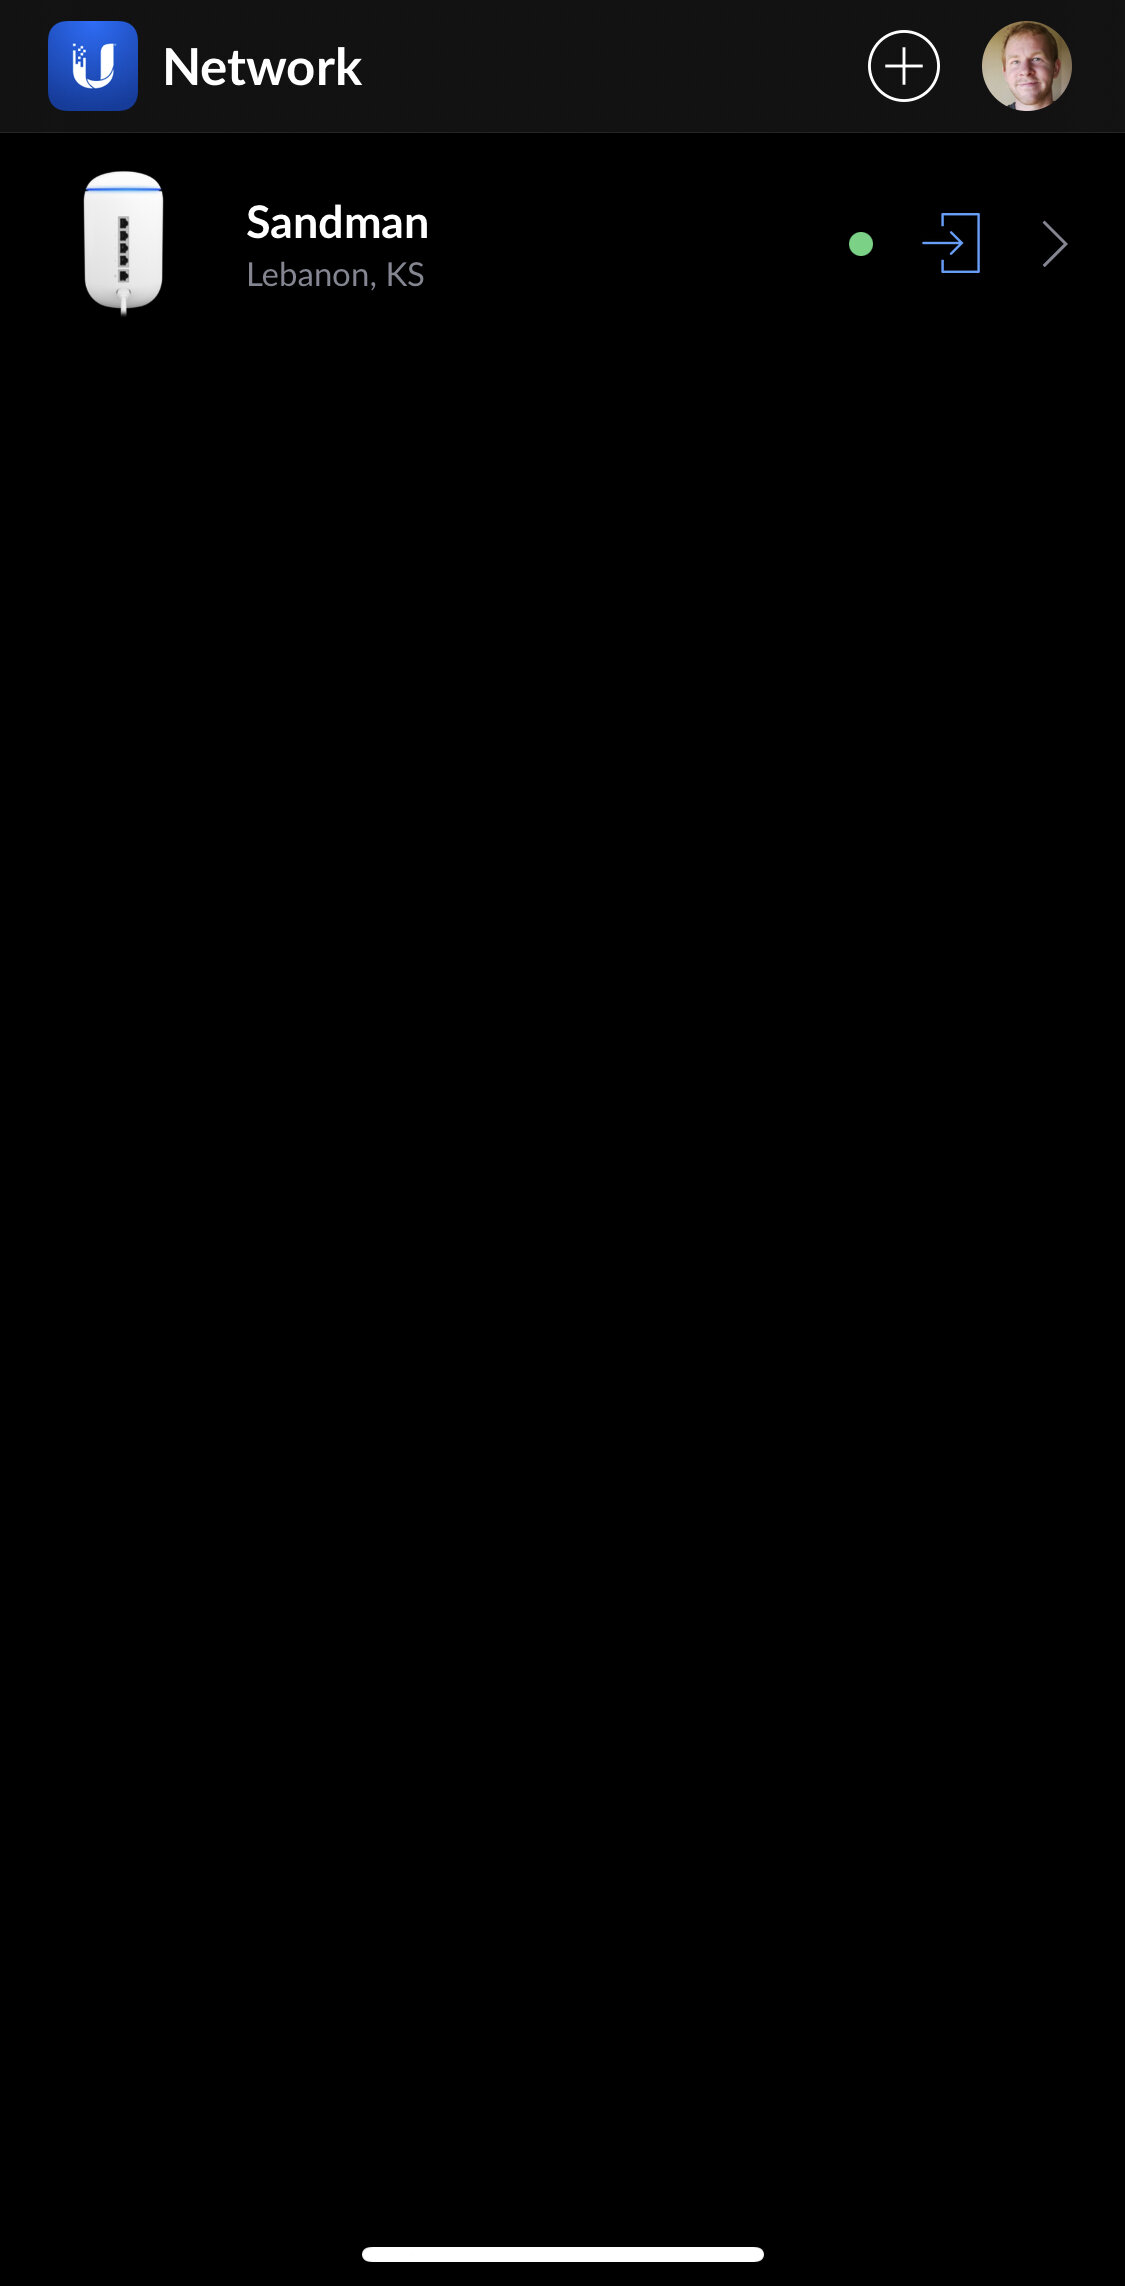
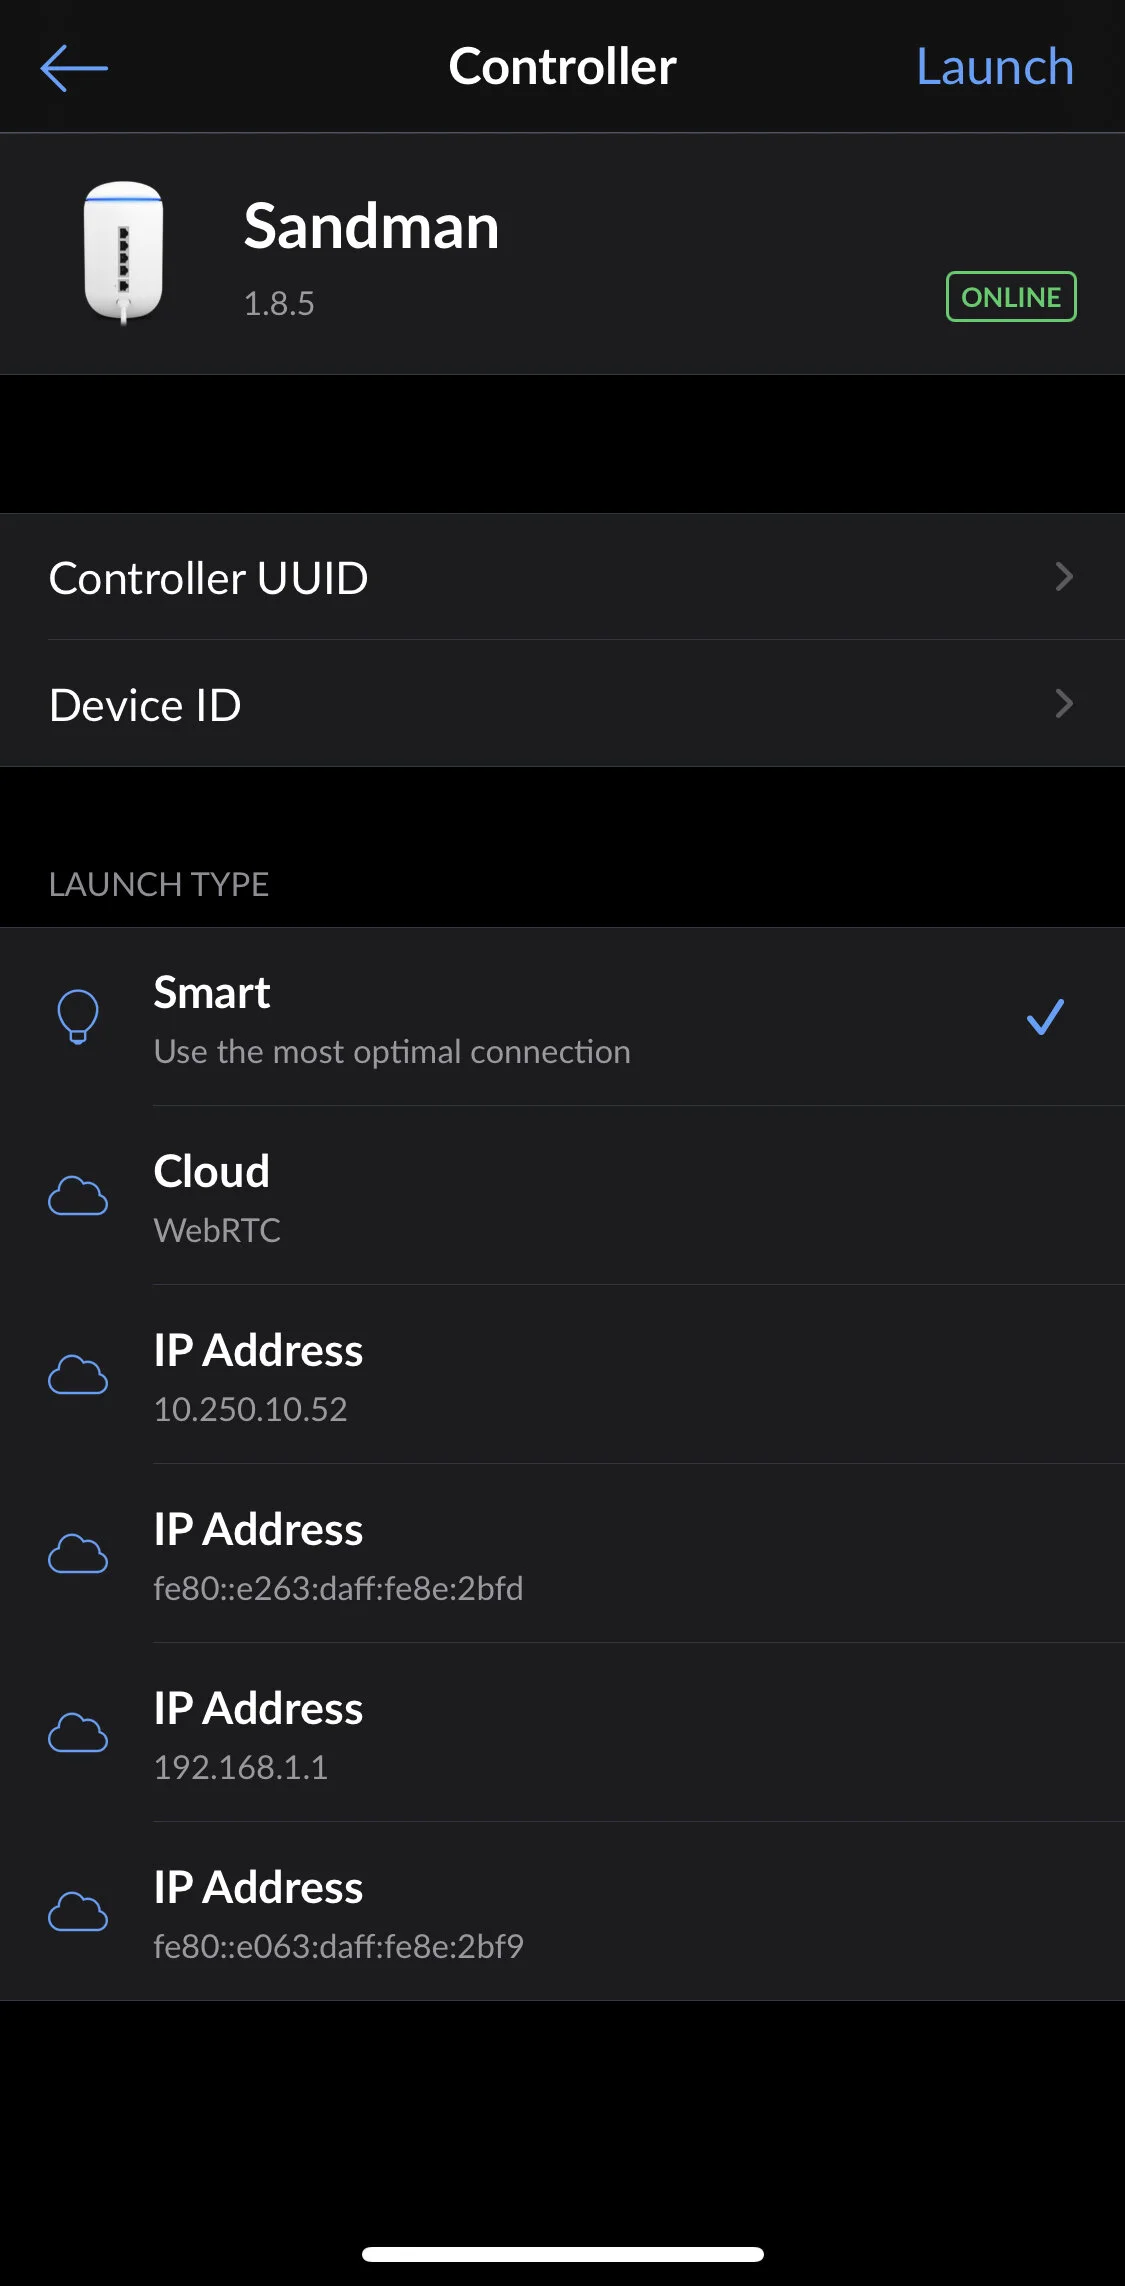
By default, the UniFi Controller in the UDM connects using the “smart” connection option, which tries all available methods to access it. When you’re connected to the UDM it will access it locally. When you’re not, it will access it via WebRTC thanks to Ubiquiti’s free cloud management.
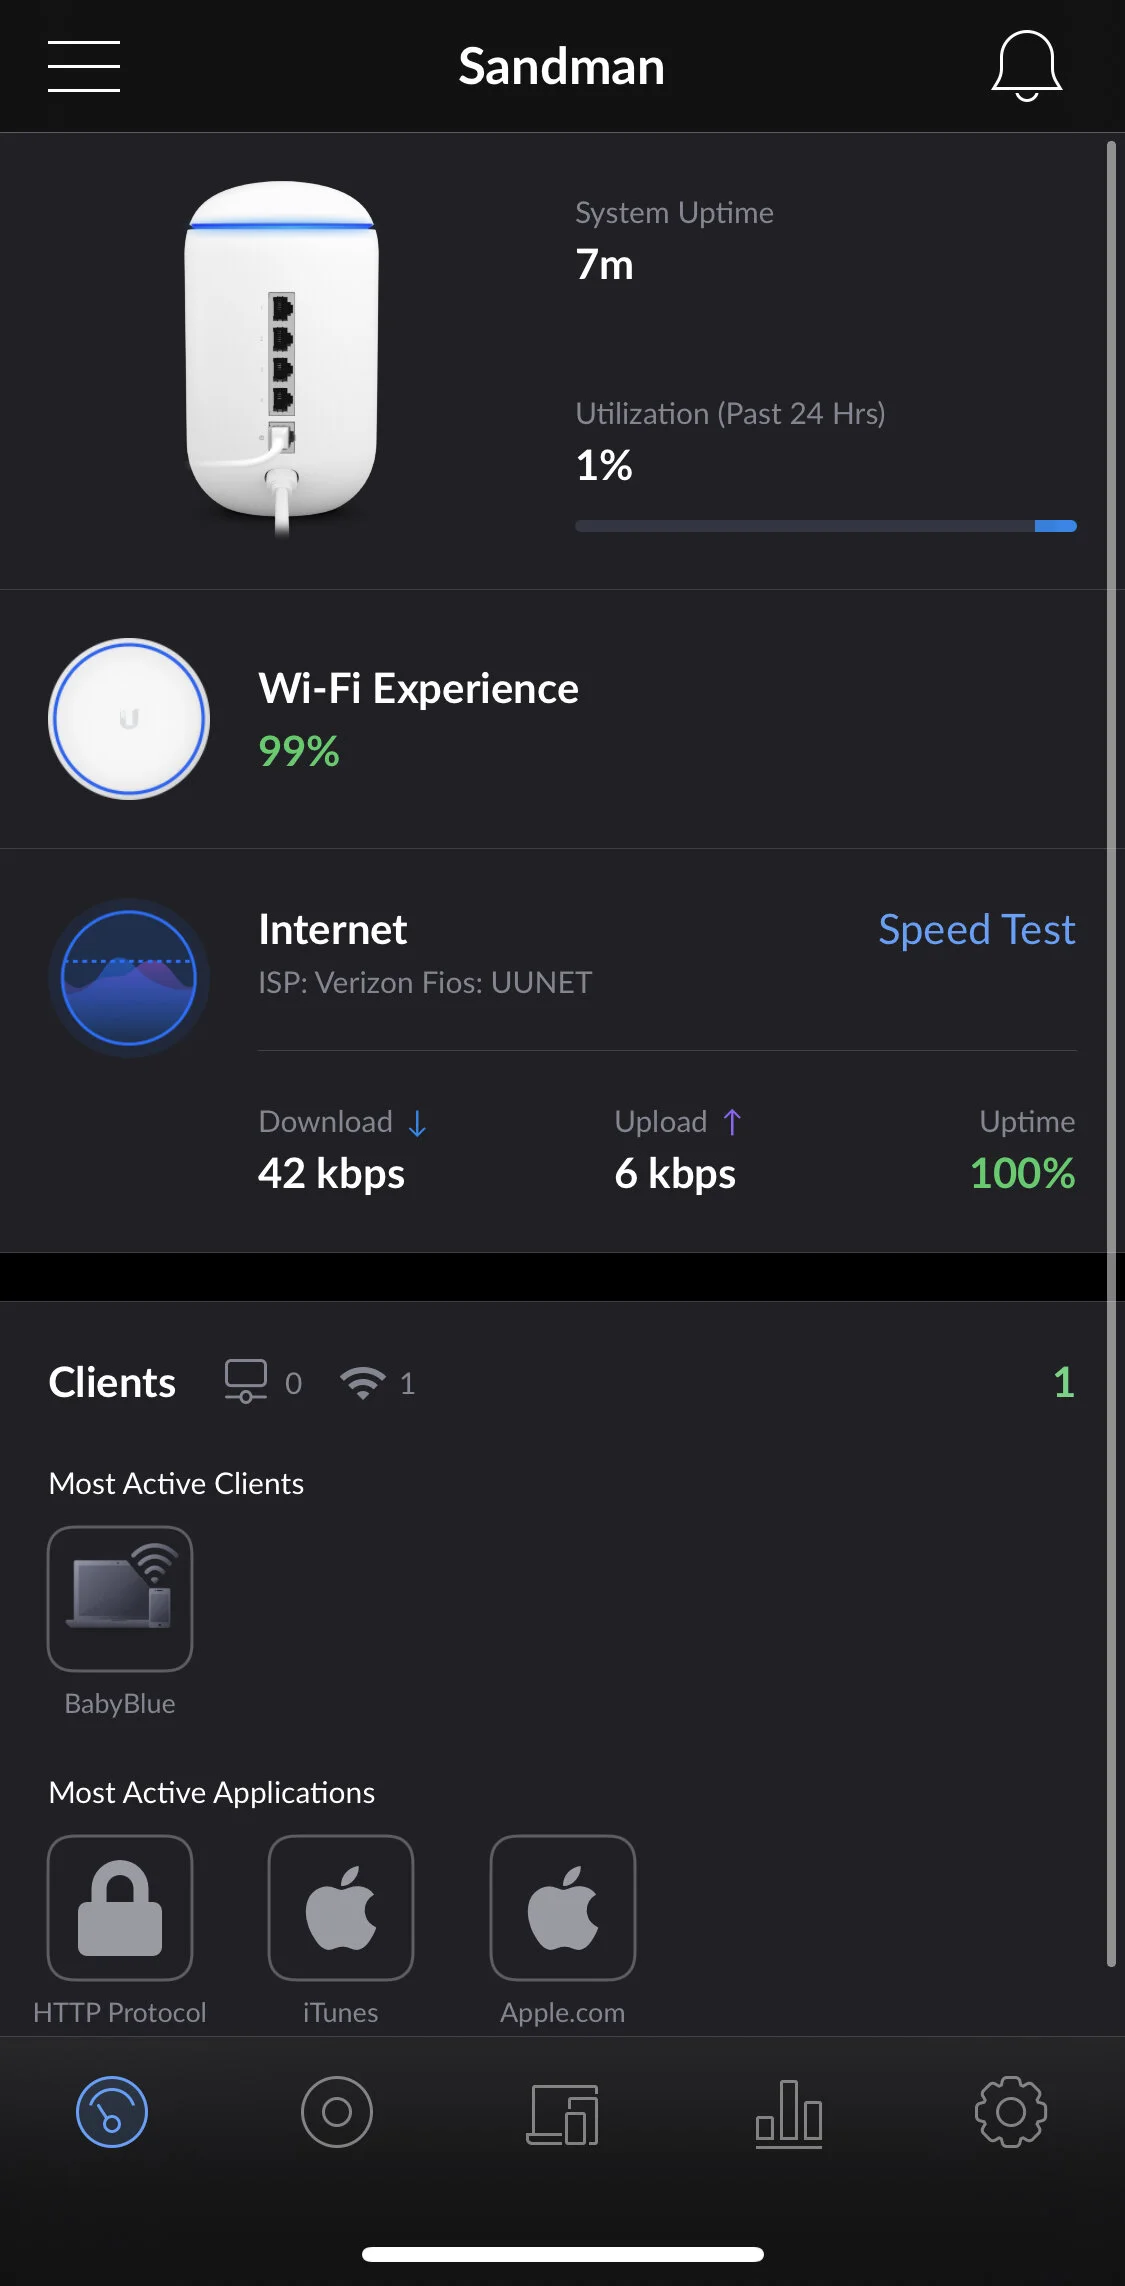
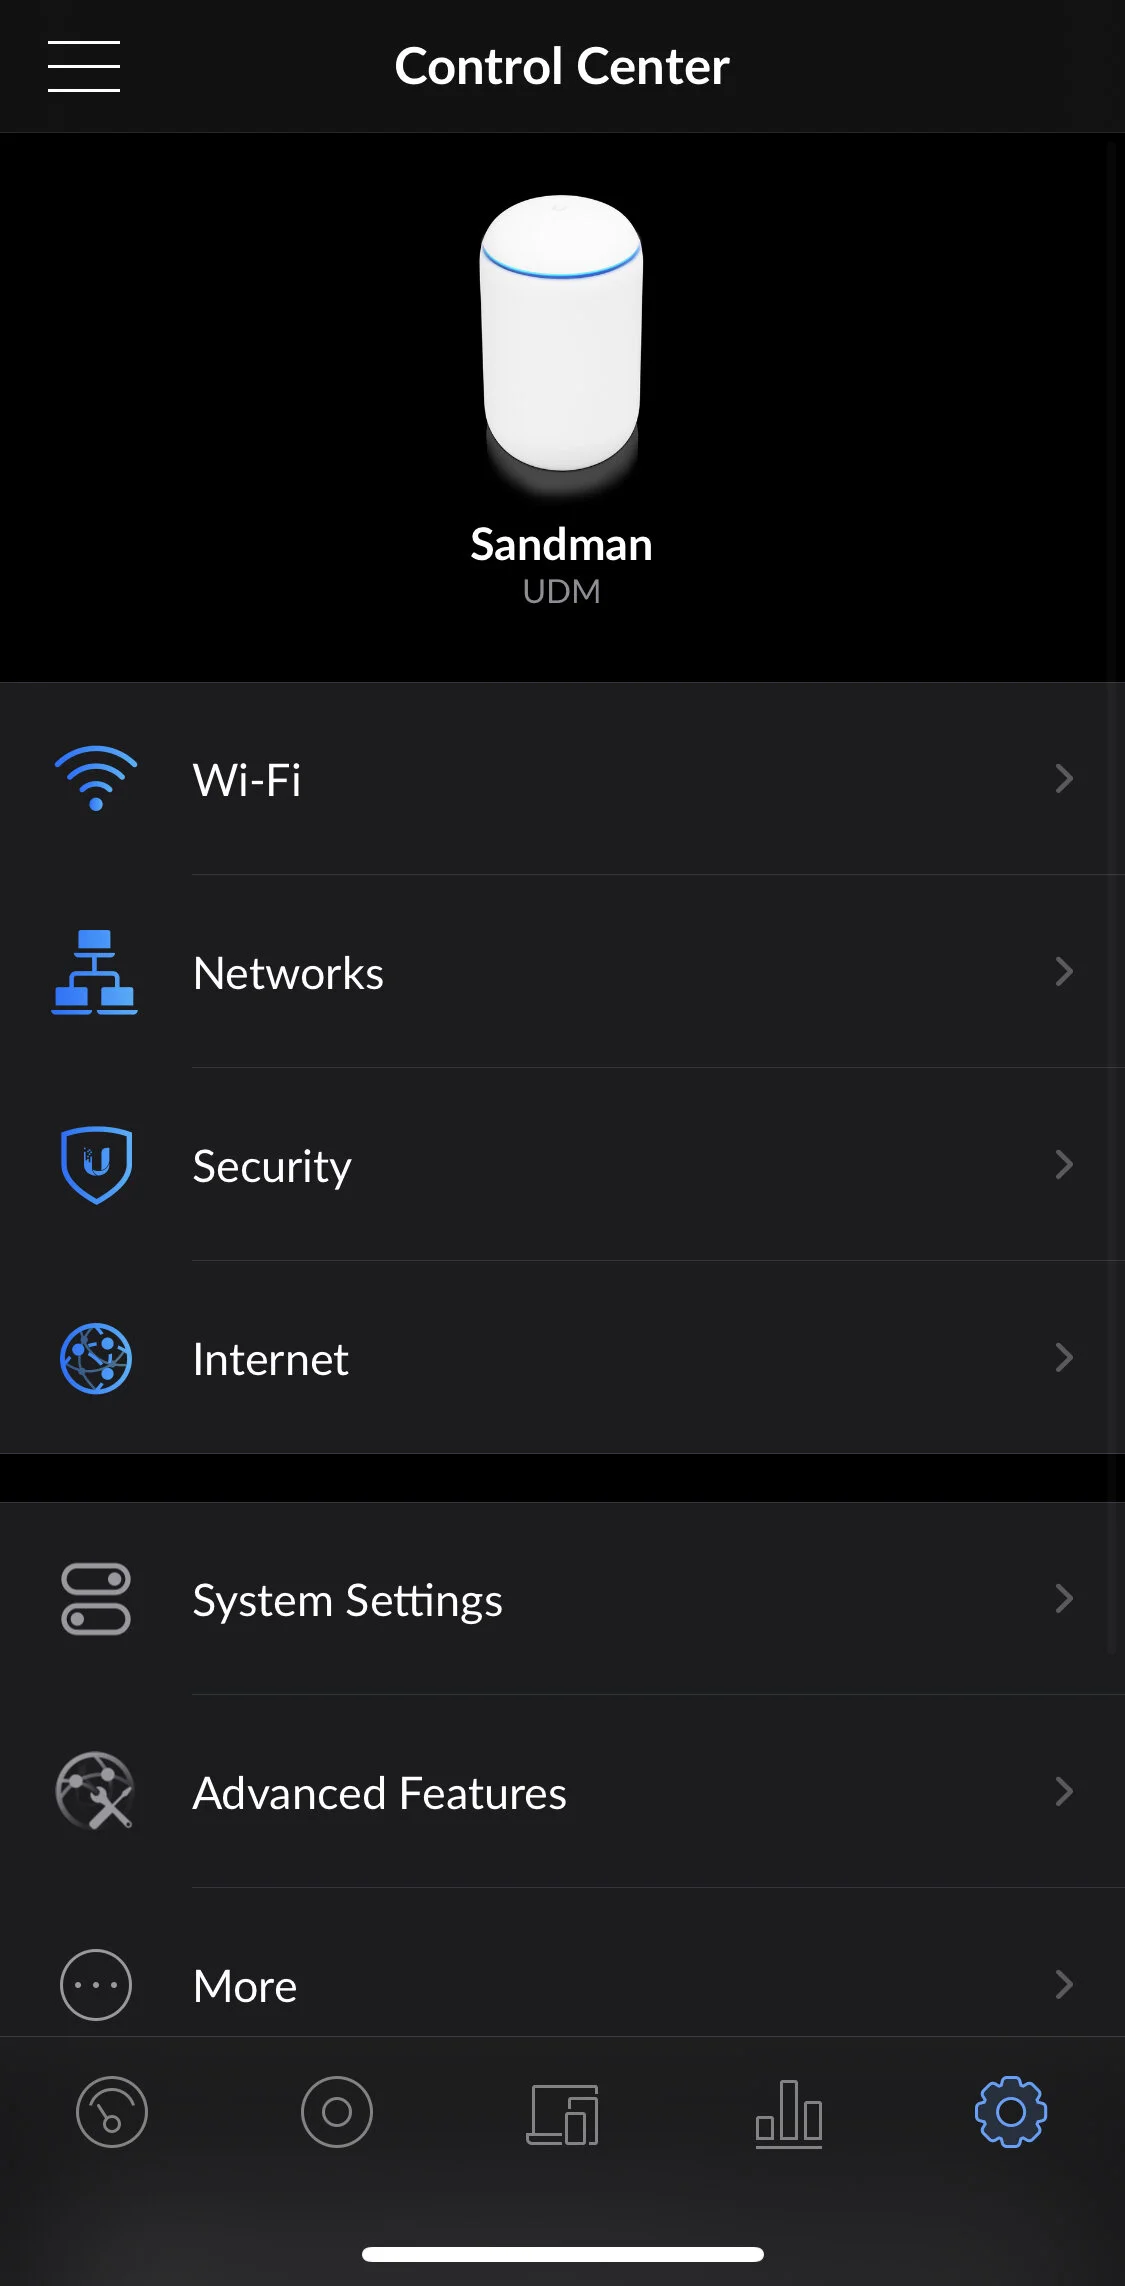
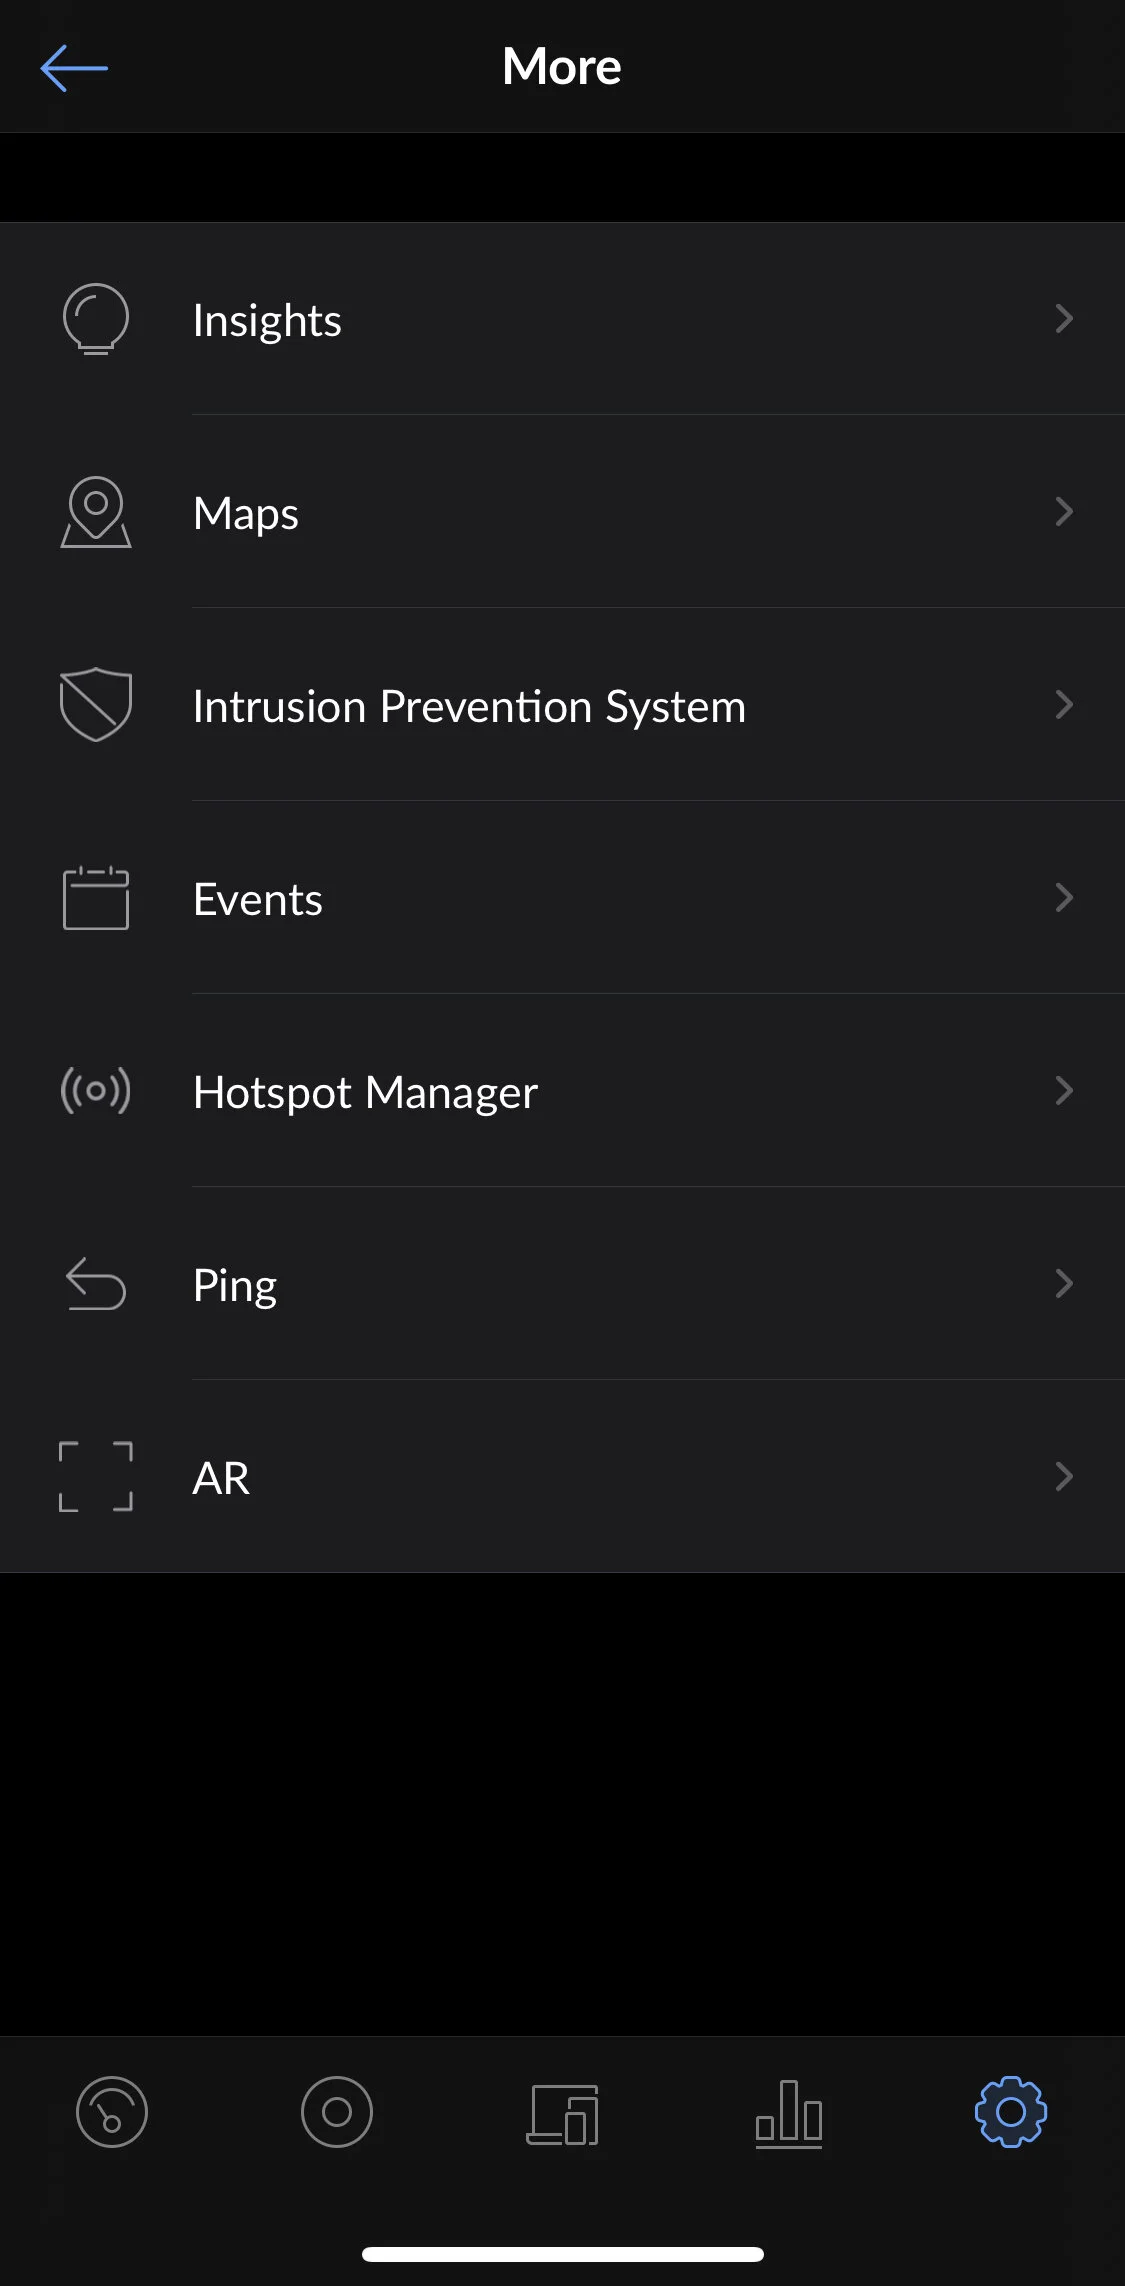
Once you’ve accessed the Controller, there are tabs along the bottom:
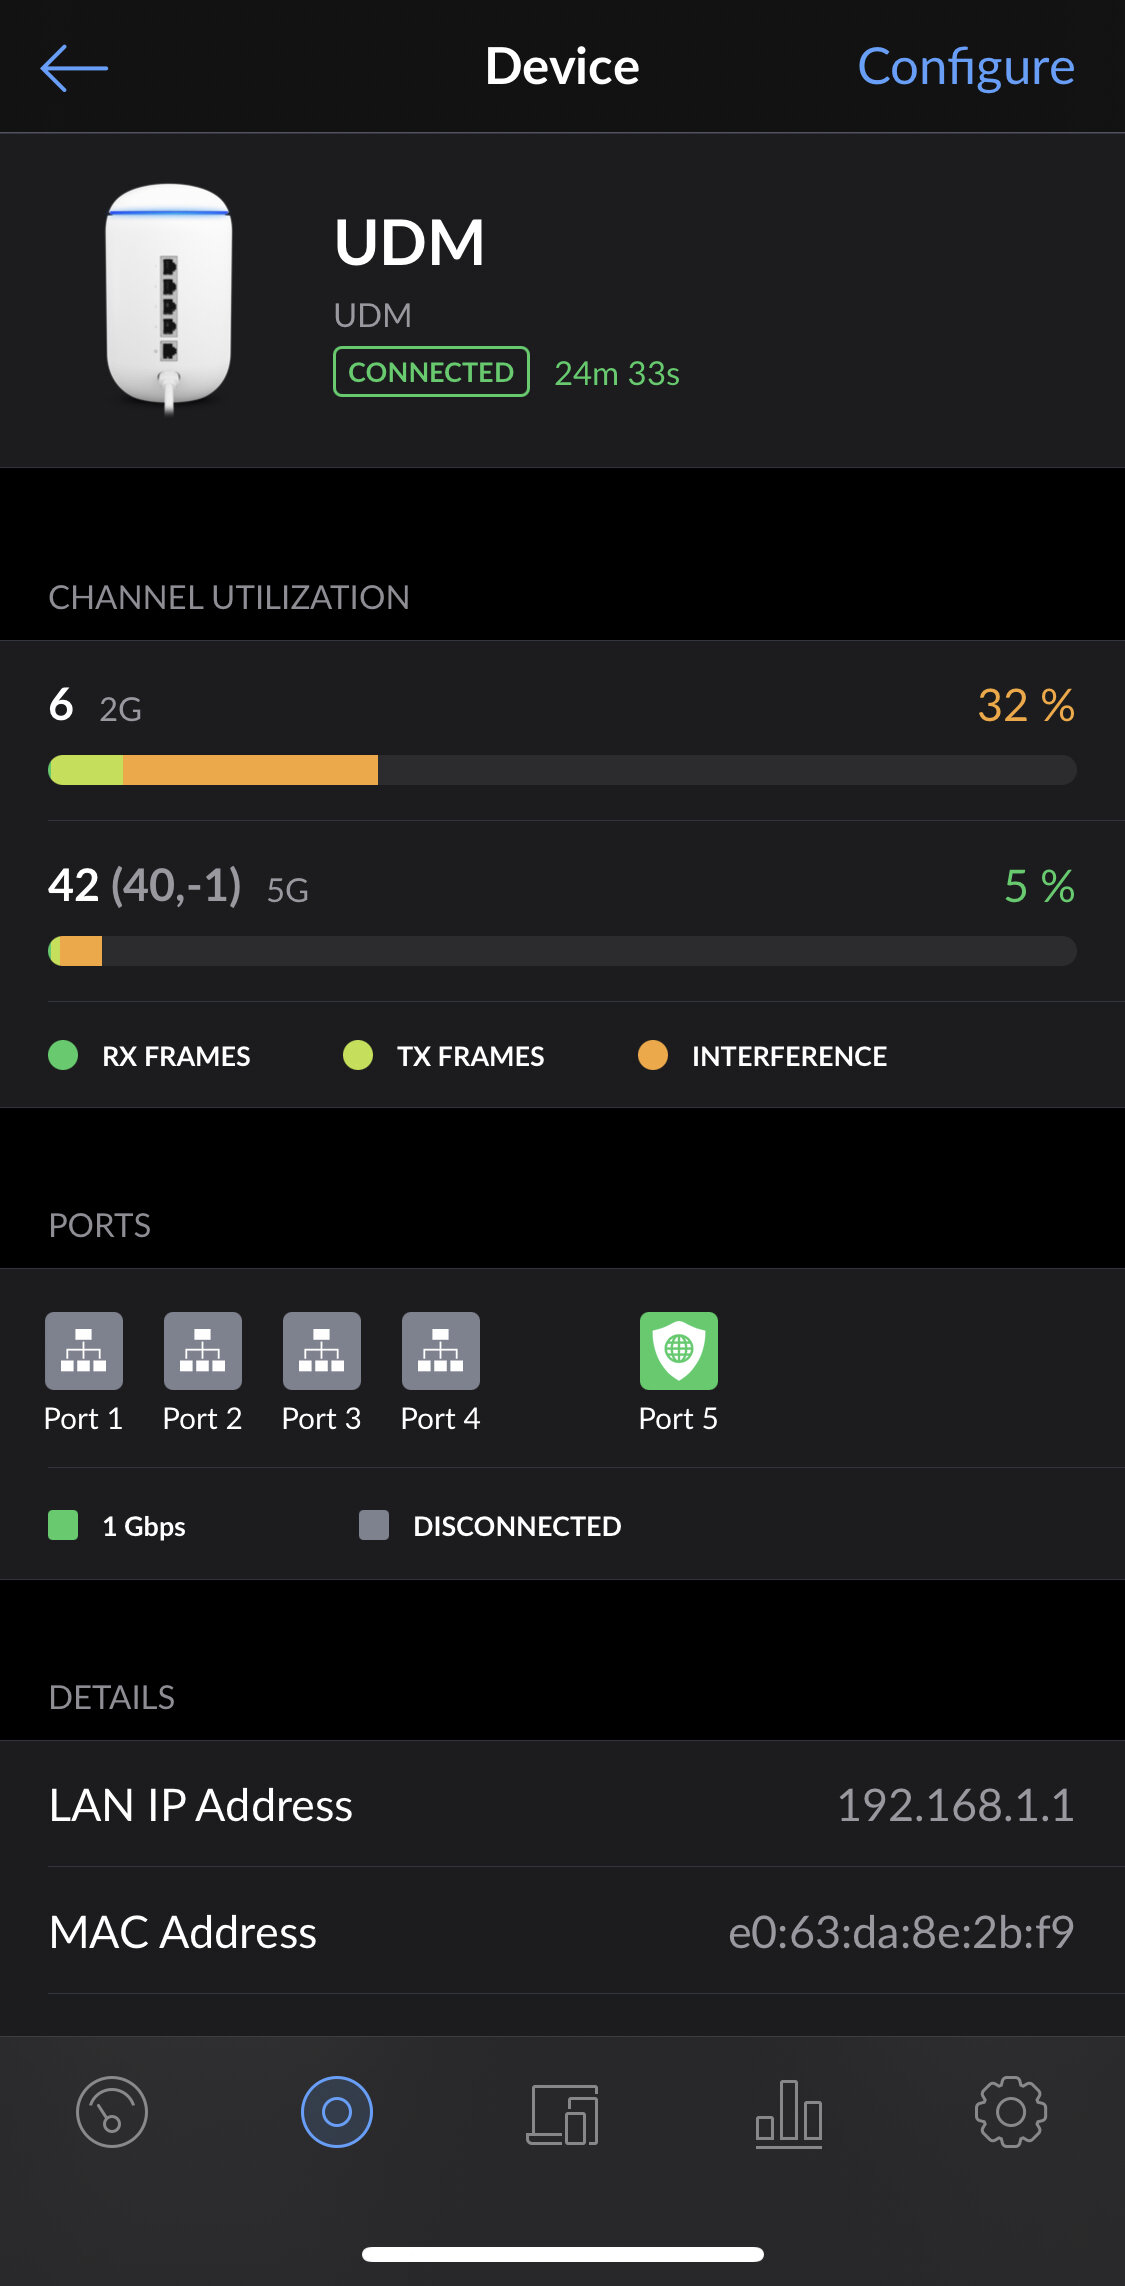
Dashboard: Overview of the UDM, connected clients, Internet status, and other general information.
Devices: View your UDM and any other UniFi devices you have joined to it: Access Points, Switches, etc.
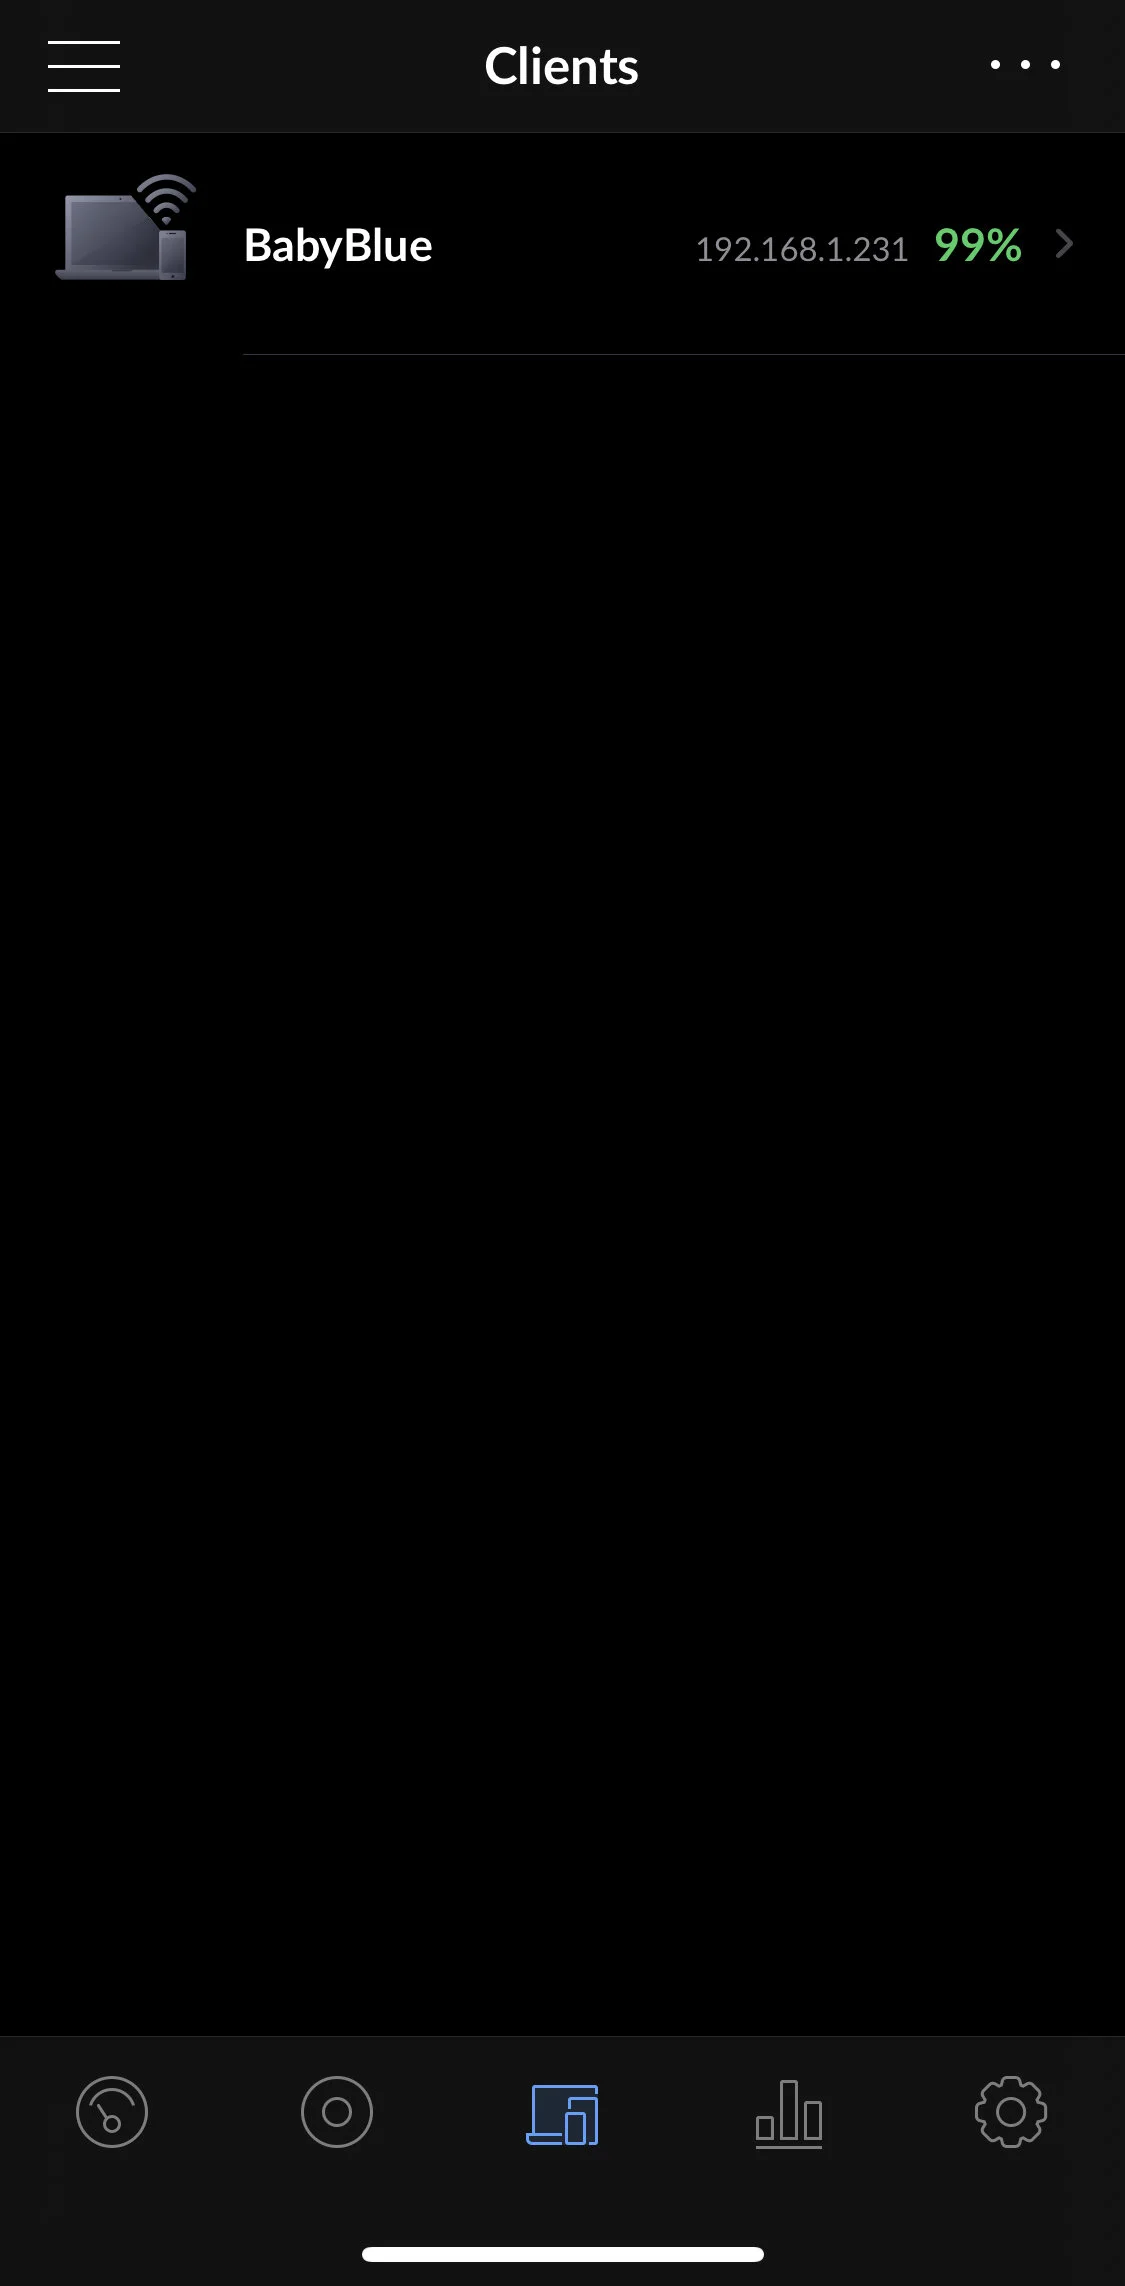
Clients: View all connected wired and wireless clients, and adjust settings for them.
Statistics: View Deep Packet Inspection data, client usage, and traffic statistics.
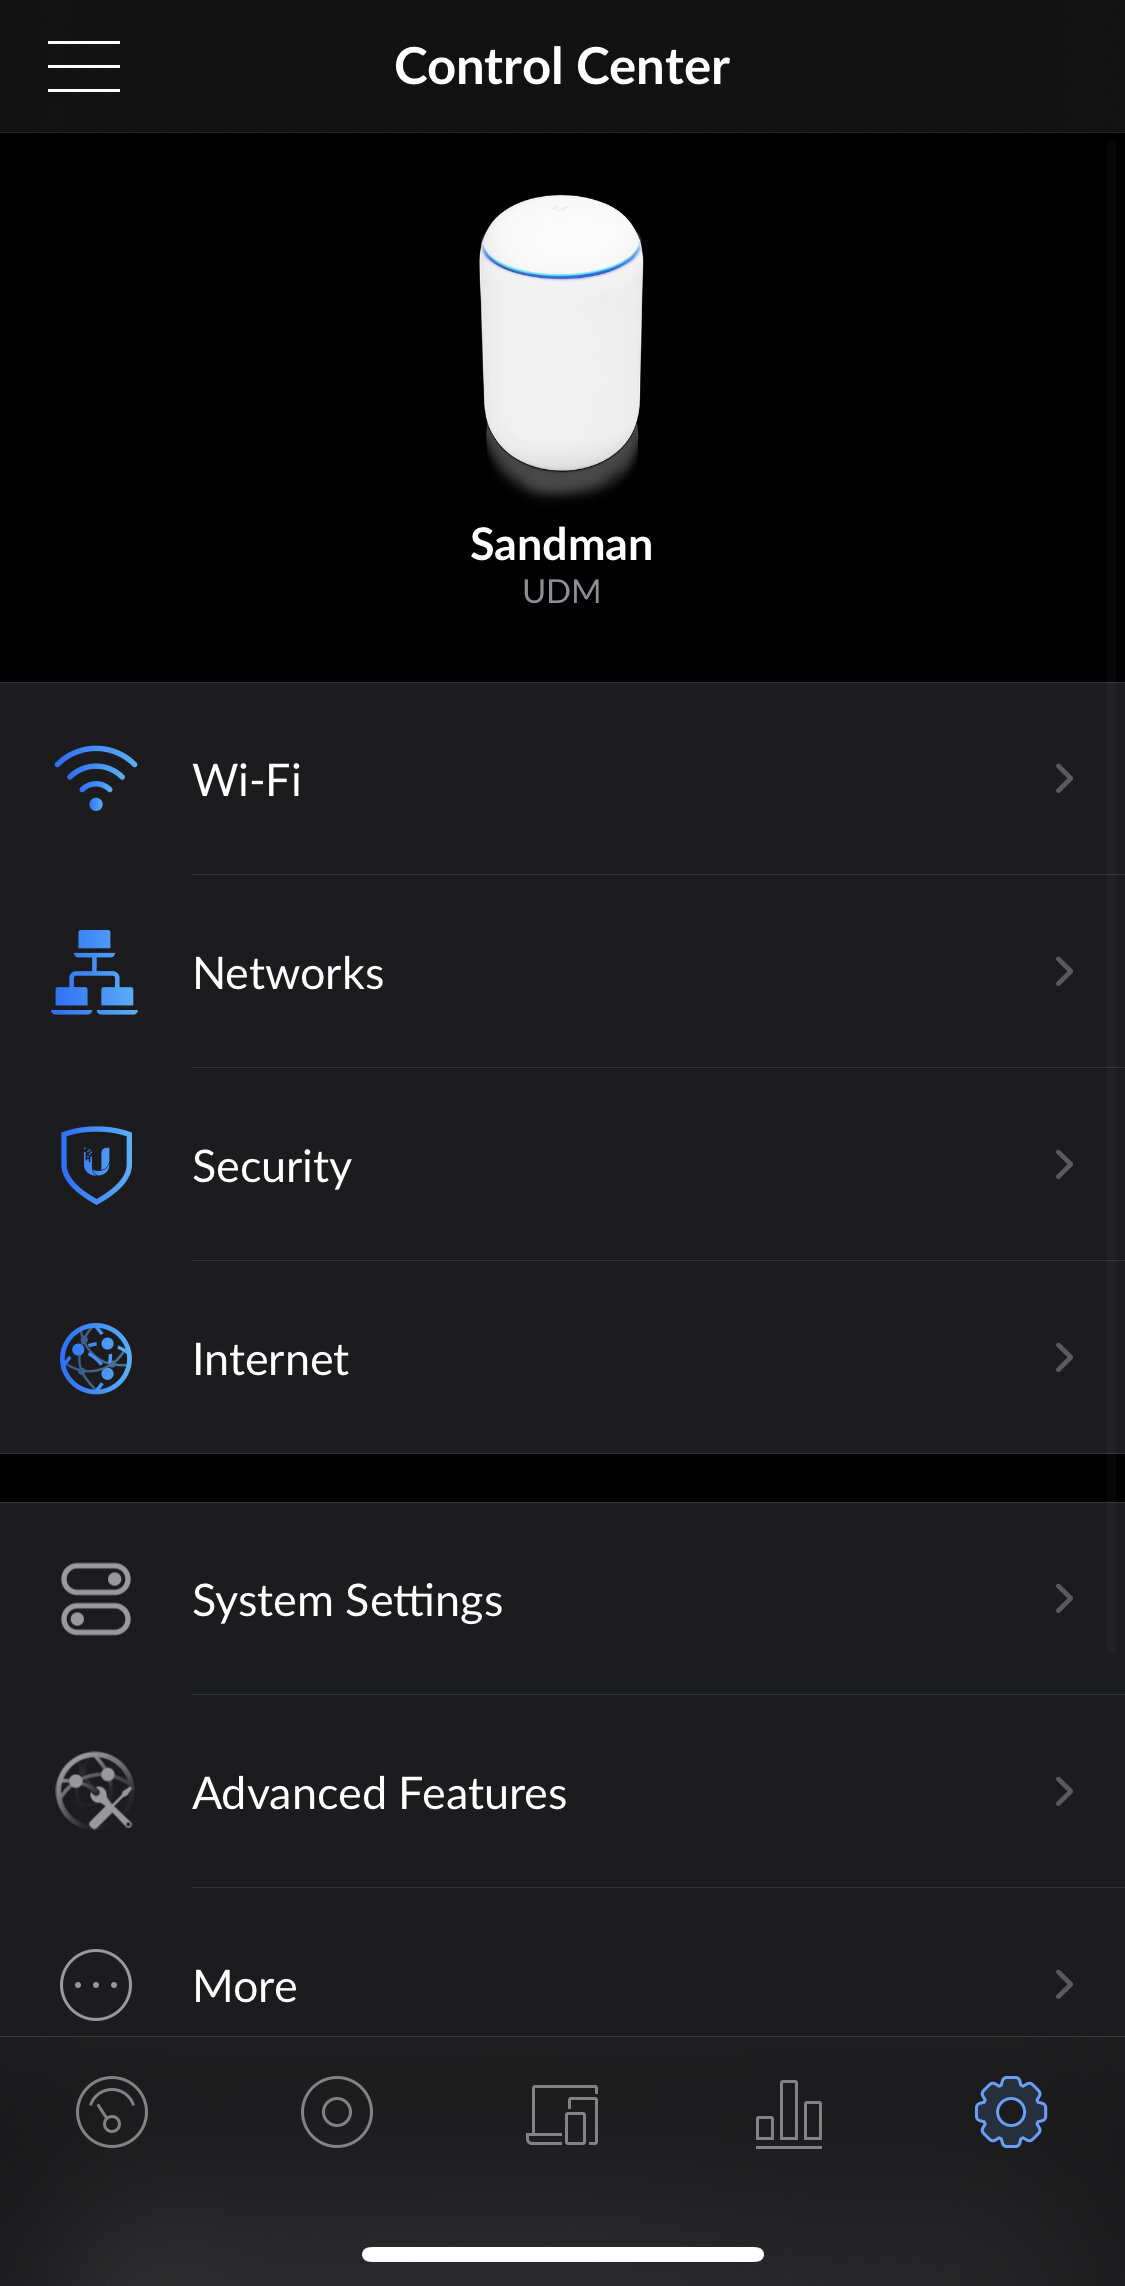
Control Center: Controller-wide settings.
Create and adjust wired and wireless networks.
Adjust security and Internet settings.
Adjust system settings, preferences and advanced features.


Controller Settings: Creating New Wireless and Wired Networks
To Create A New Wireless Network:
Click on the gear icon in the lower right to access Control Center.
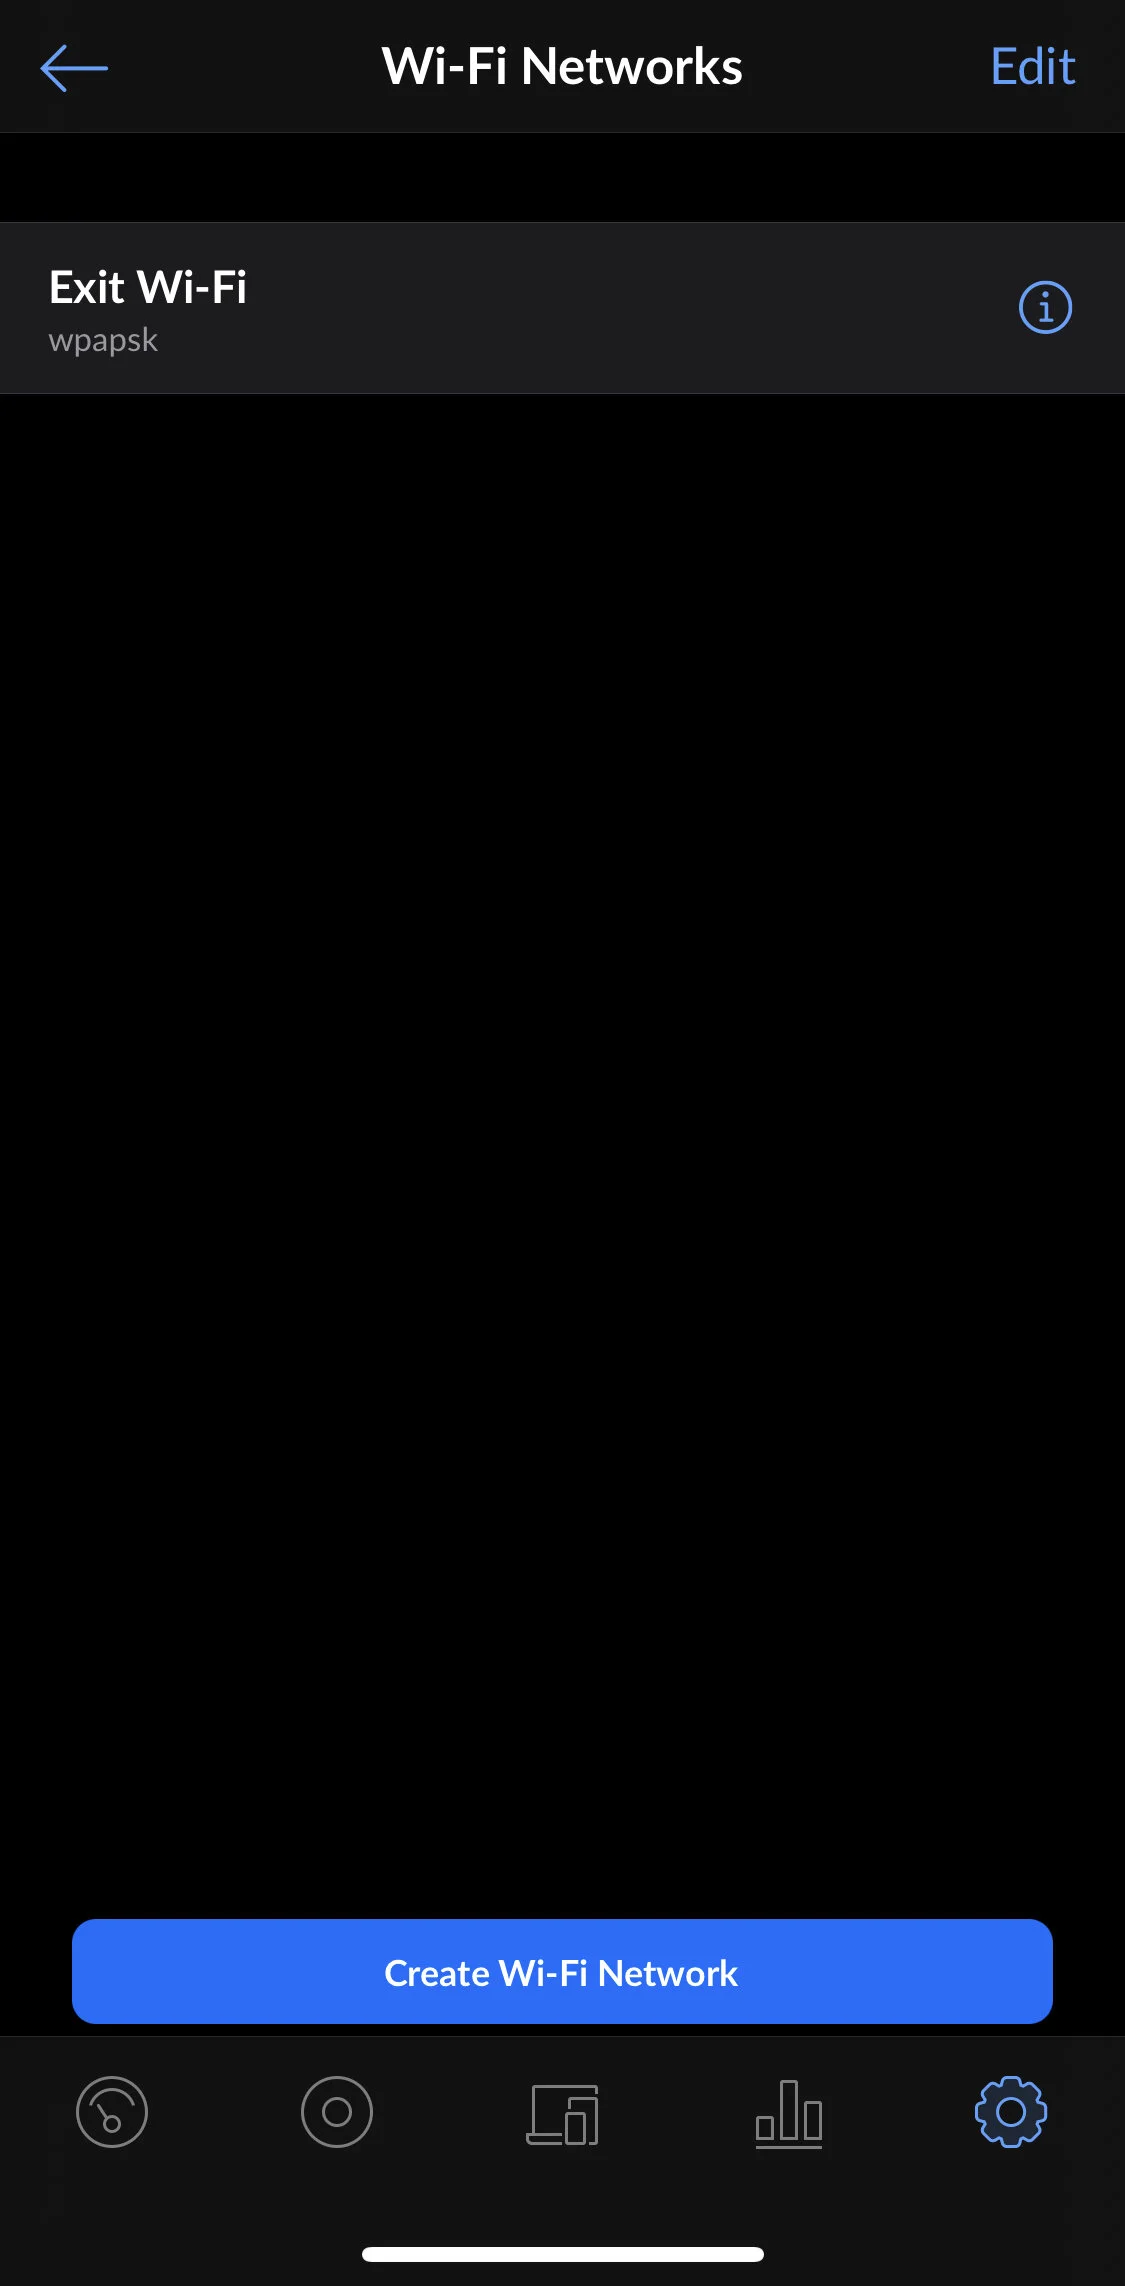
Click on Wi-Fi.
Click on Create New Network.
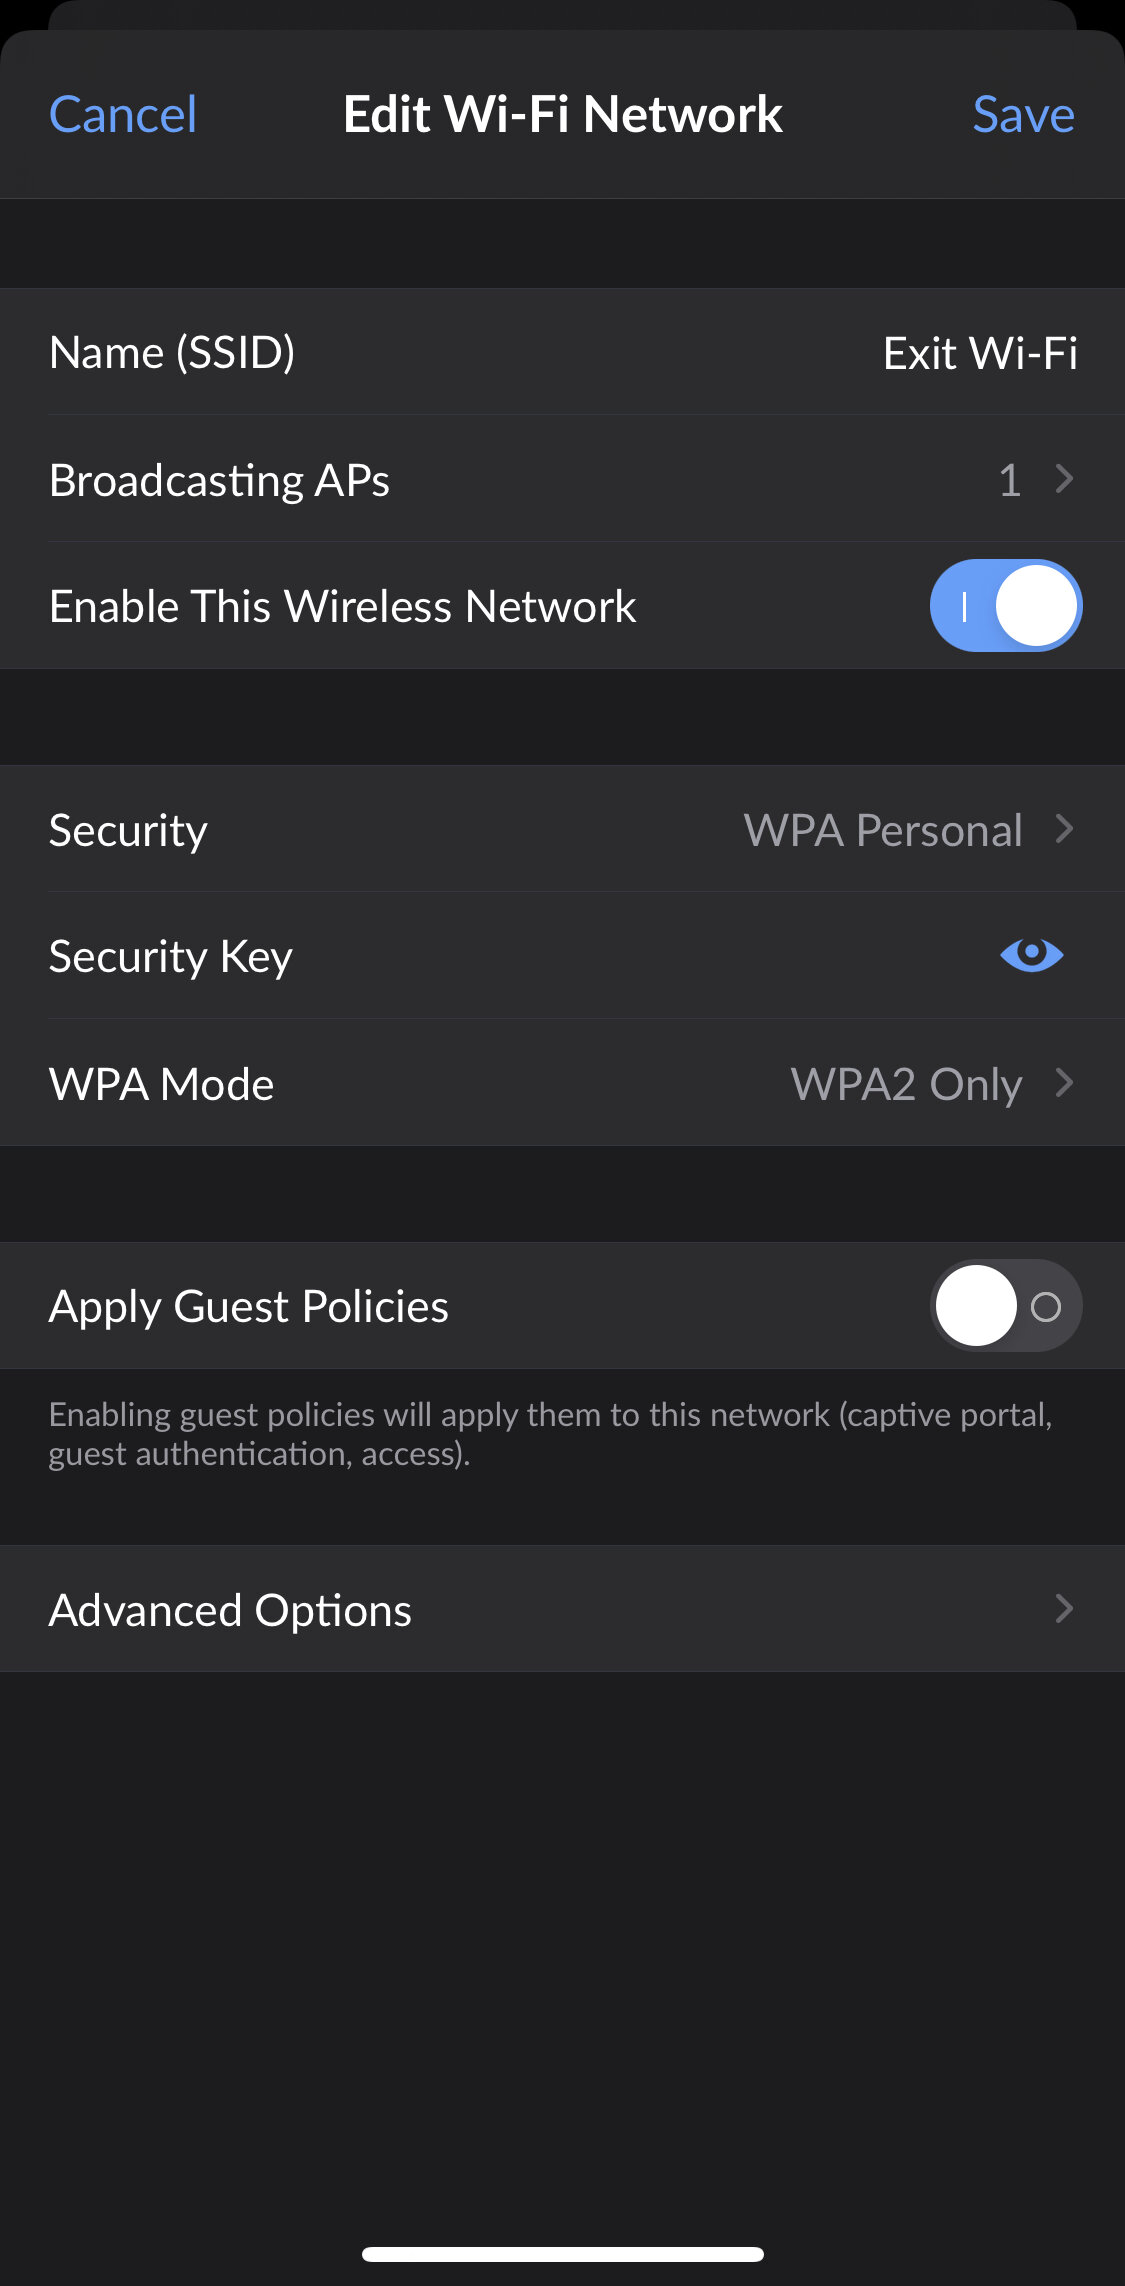
Pick a name (SSID).
Pick the APs that should broadcast this network. By default all APs at the site will broadcast it.
Choose if this network should be enabled.
Pick a security method and password.
Open means there is no password, good for guest networks.
WEP is a legacy option which is insecure and should not be used.
WPA Personal is the normal option, which uses a pre-shared key as a password.
WPA Enterprise (802.1X) relies on a username and password. You’ll need to setup a RADIUS server (Control Center -> Advanced Features -> RADIUS), and create RADIUS profiles and users for this option to work.
Choose if your default guest policies such as captive portal and client isolation apply to this network.
You can’t adjust the guest policies in the mobile app, those settings are only available in the full web interface.
You can apply a client group (Create them in Control Center -> Advanced Features -> Client Groups) to limit bandwidth, though.
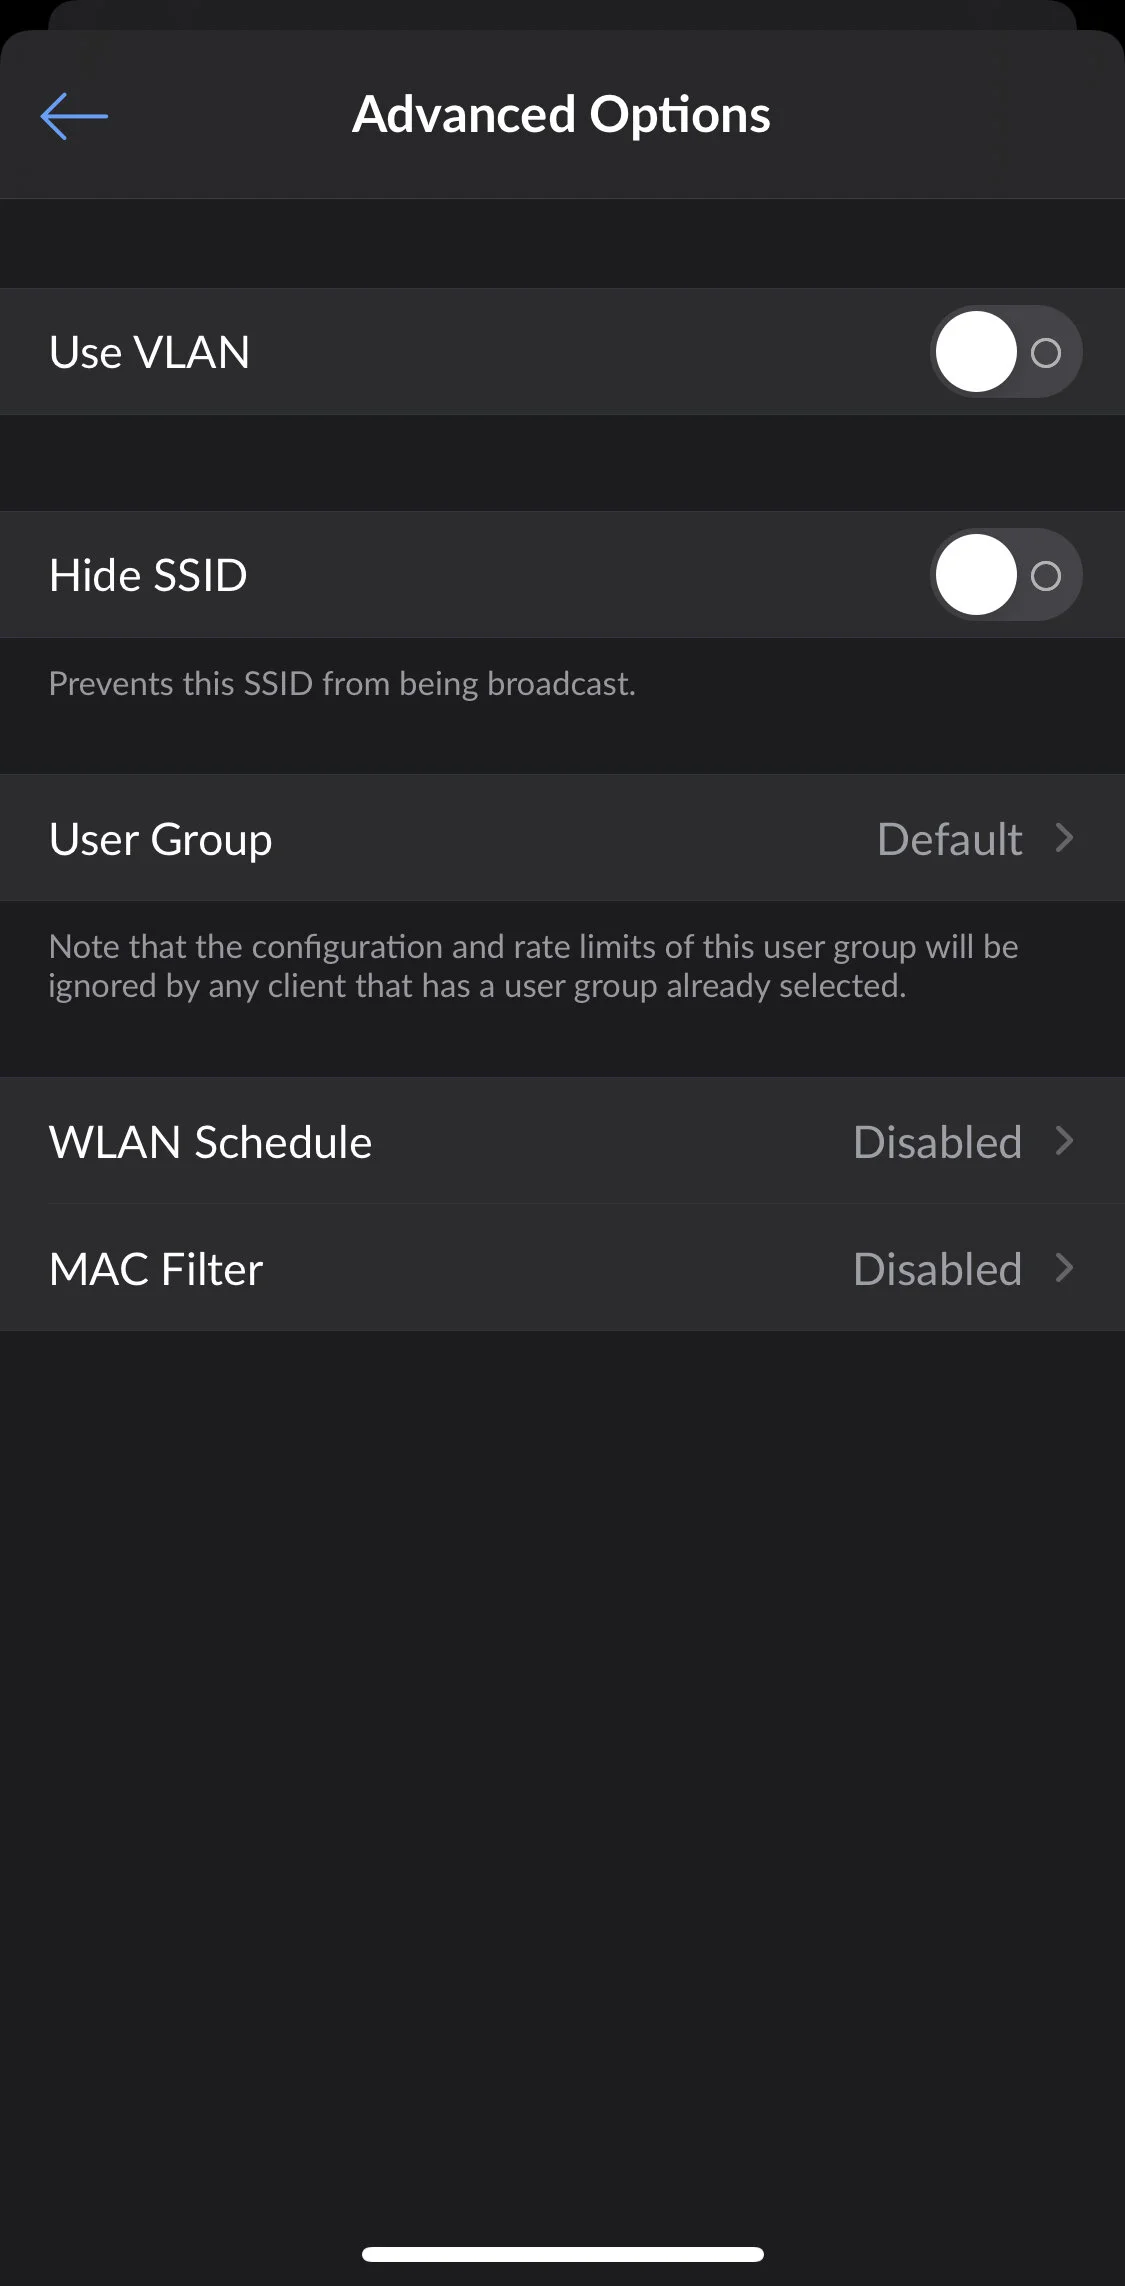
Advanced options:
Specify a VLAN ID, if needed.
Hide the SSID, which I do not recommend. Hiding your network doesn’t help security.
Apply a user group to limit bandwidth for users of this network.
By default, users are not limited.
Enable a WLAN schedule. This will automatically enable and disable the network at a certain time of day.
Enable a MAC filter to whitelist or blacklist specific devices from the network.
To Create A New Local Network:
I’m not going to go over Remote User or Site-to-Site VPNs here, I will address that in a separate article. I covered the basic setup of an L2TP remote user VPN in my UniFi Dream Machine review.
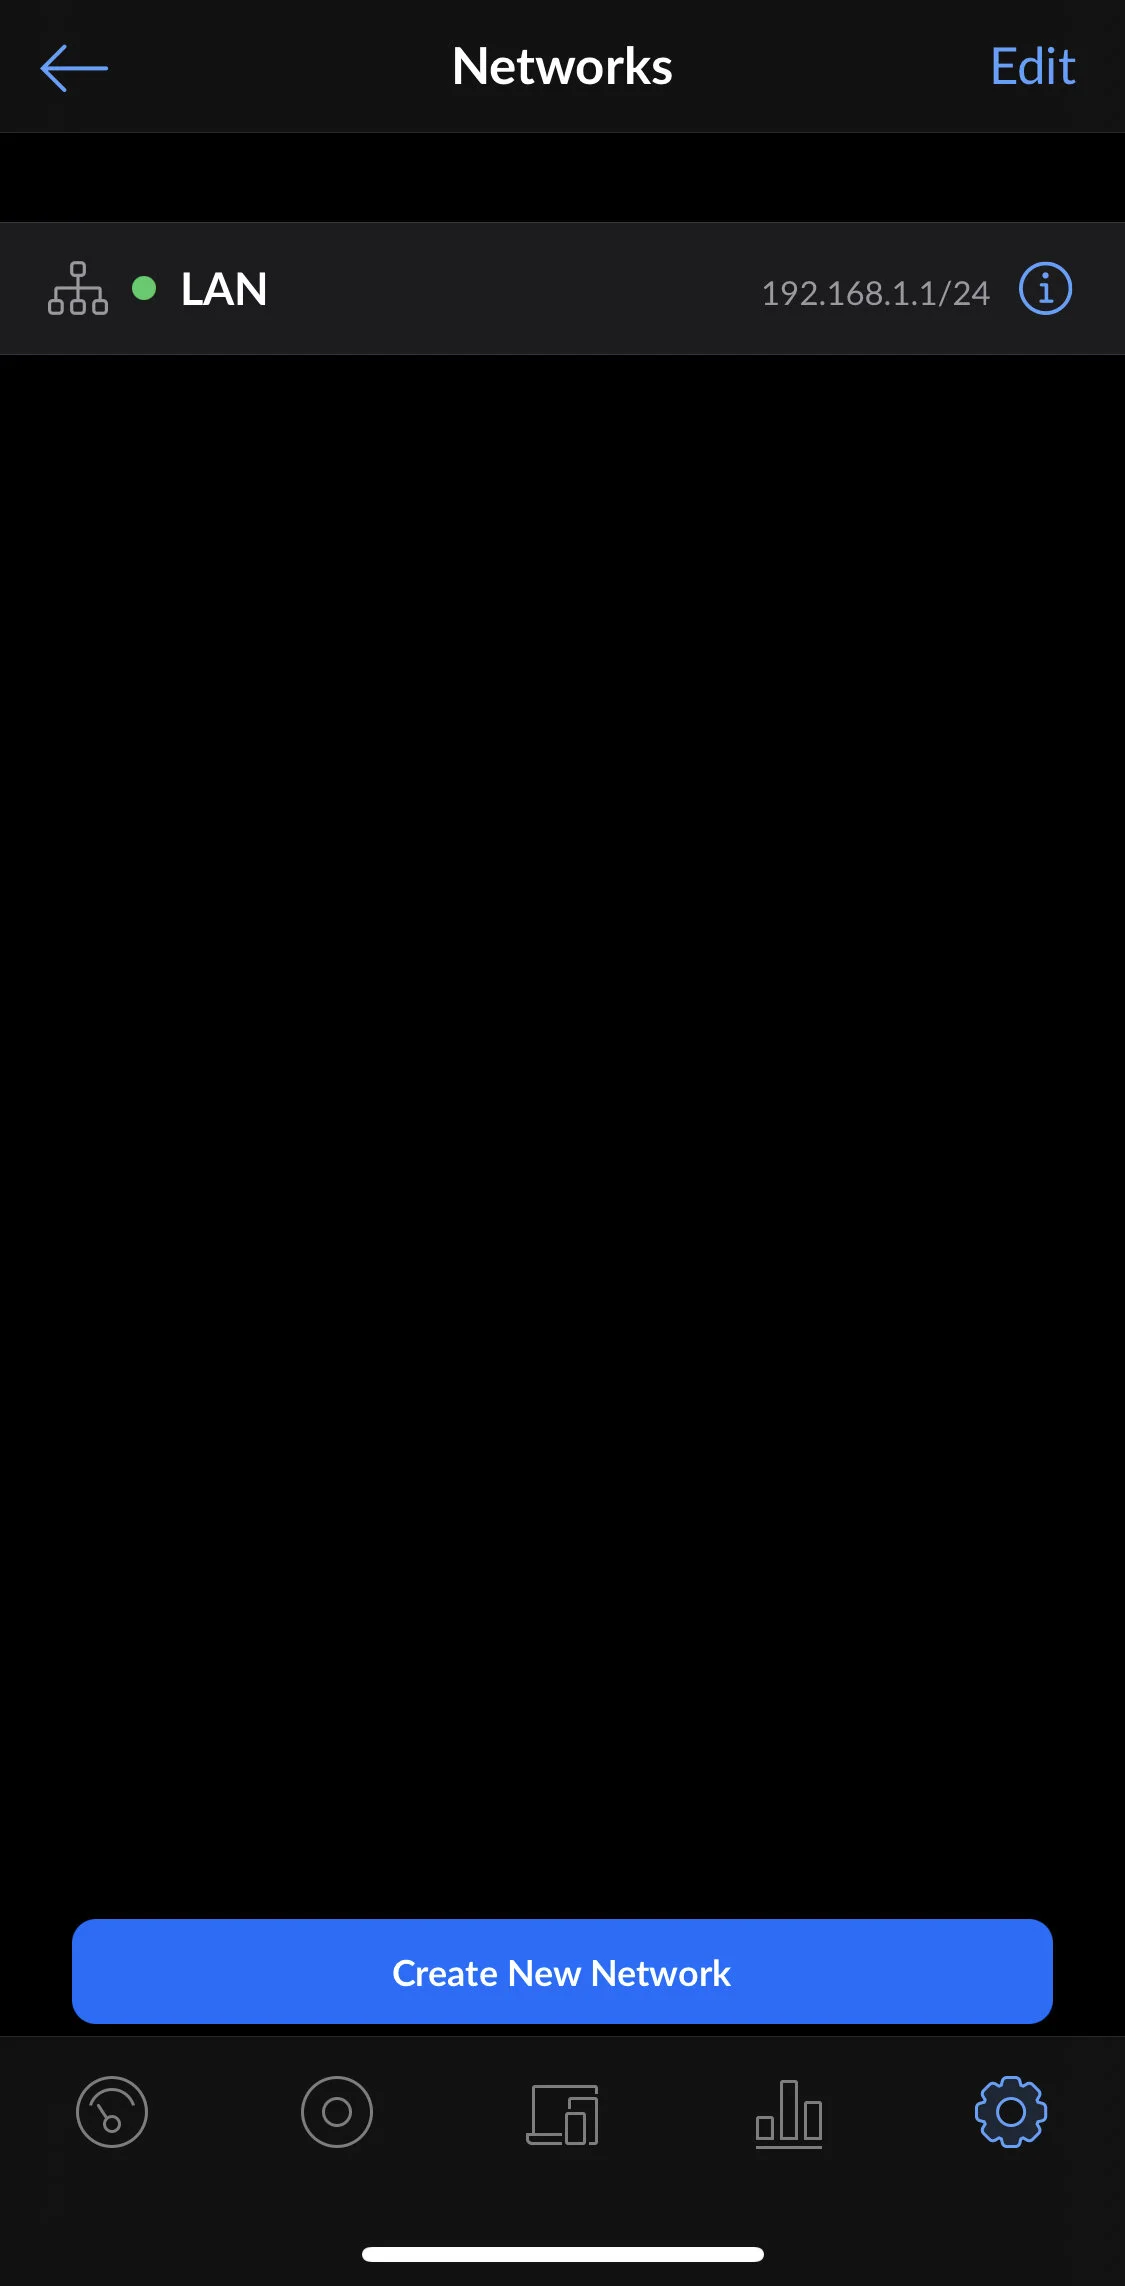
Click on the gear icon in the lower right to access Control Center.
Click on Networks.
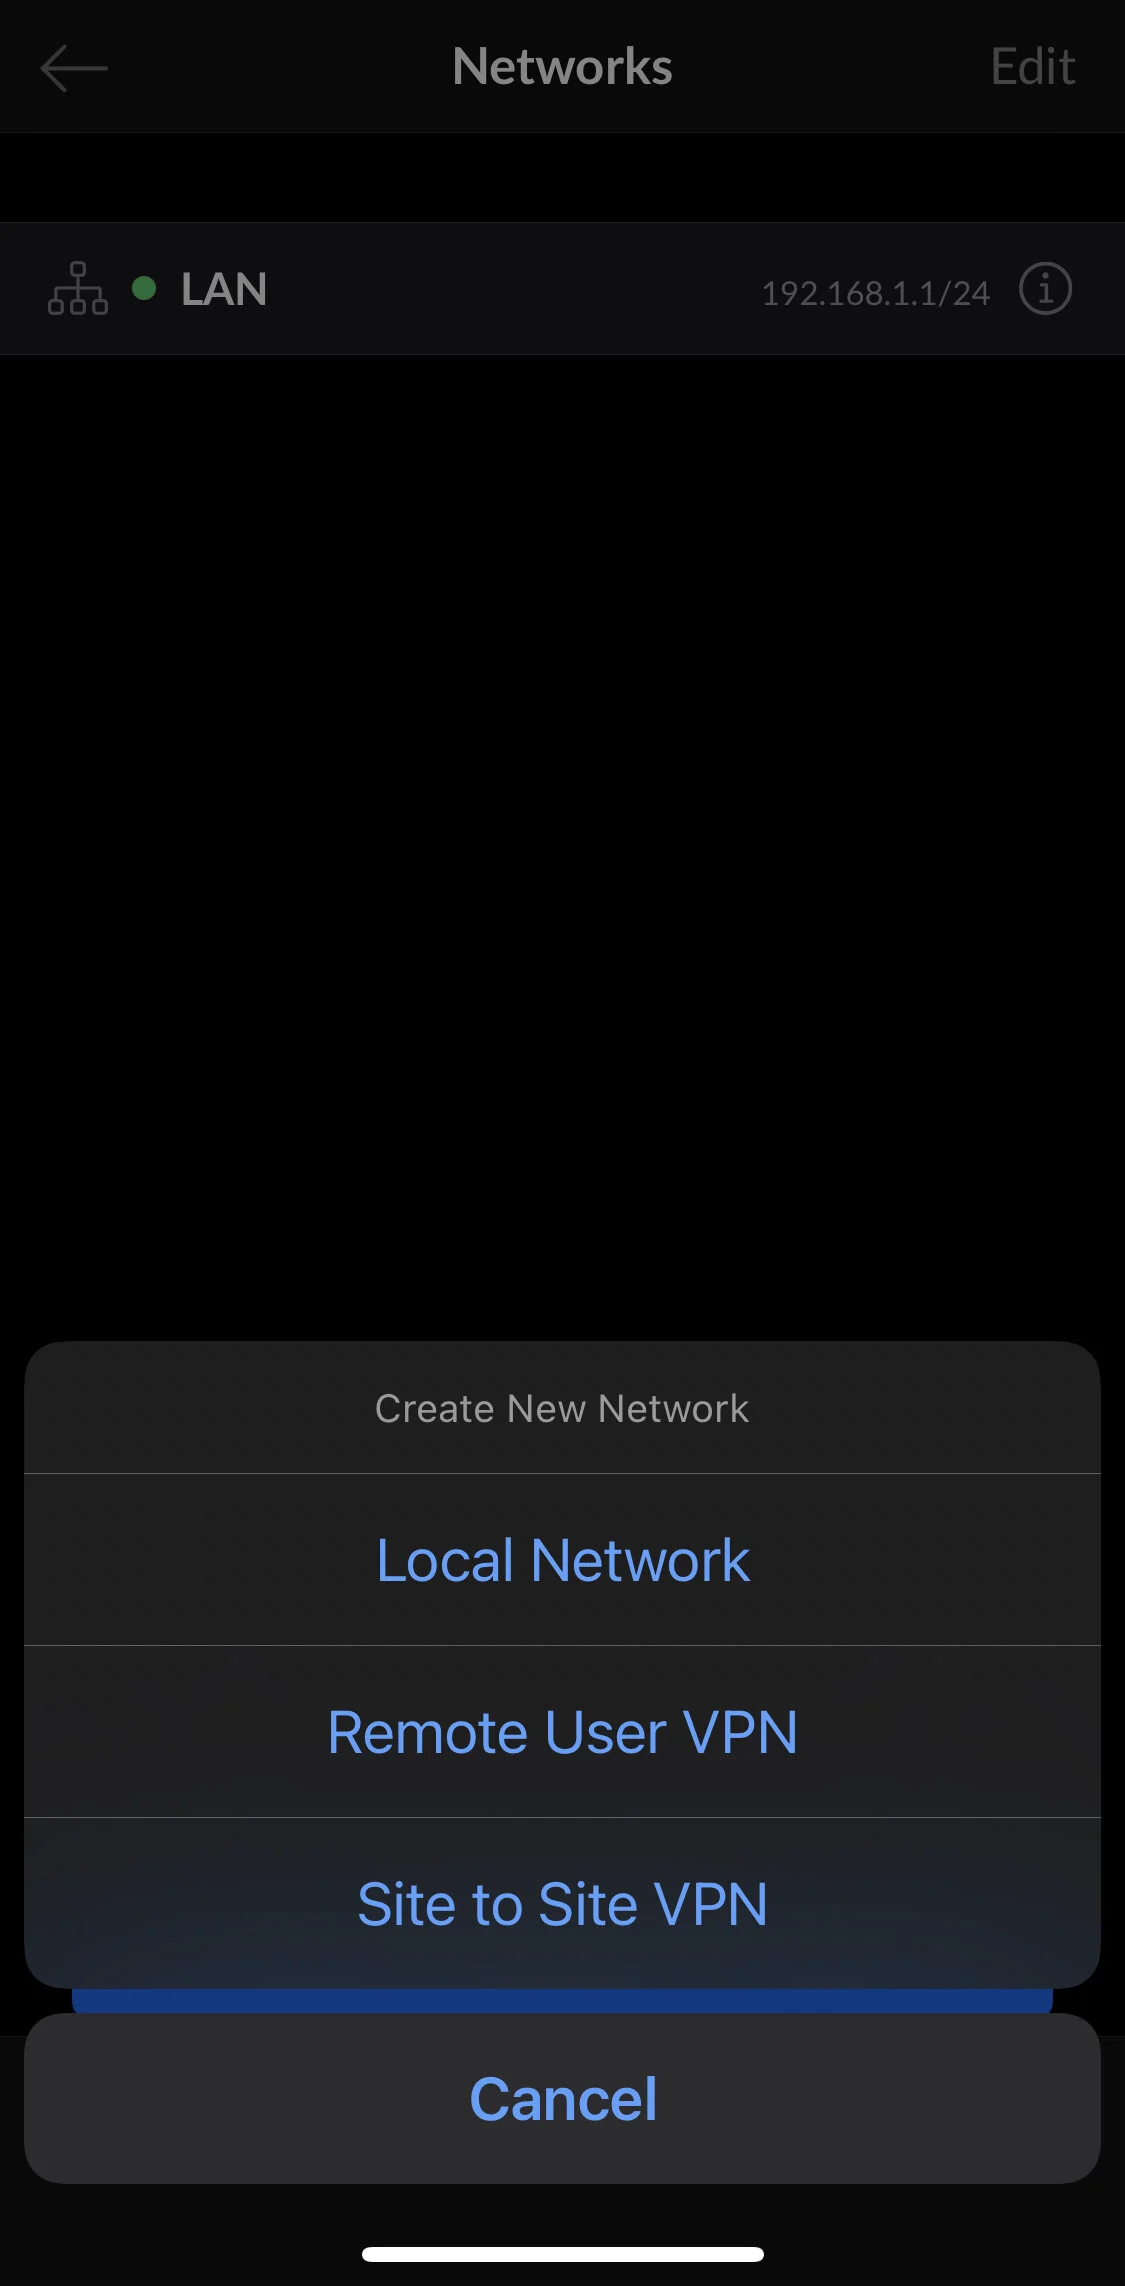
Click on Create New Network.
Choose between Local, Remote User VPN, and Site-to-site VPN. This guide covers normal, local networks.
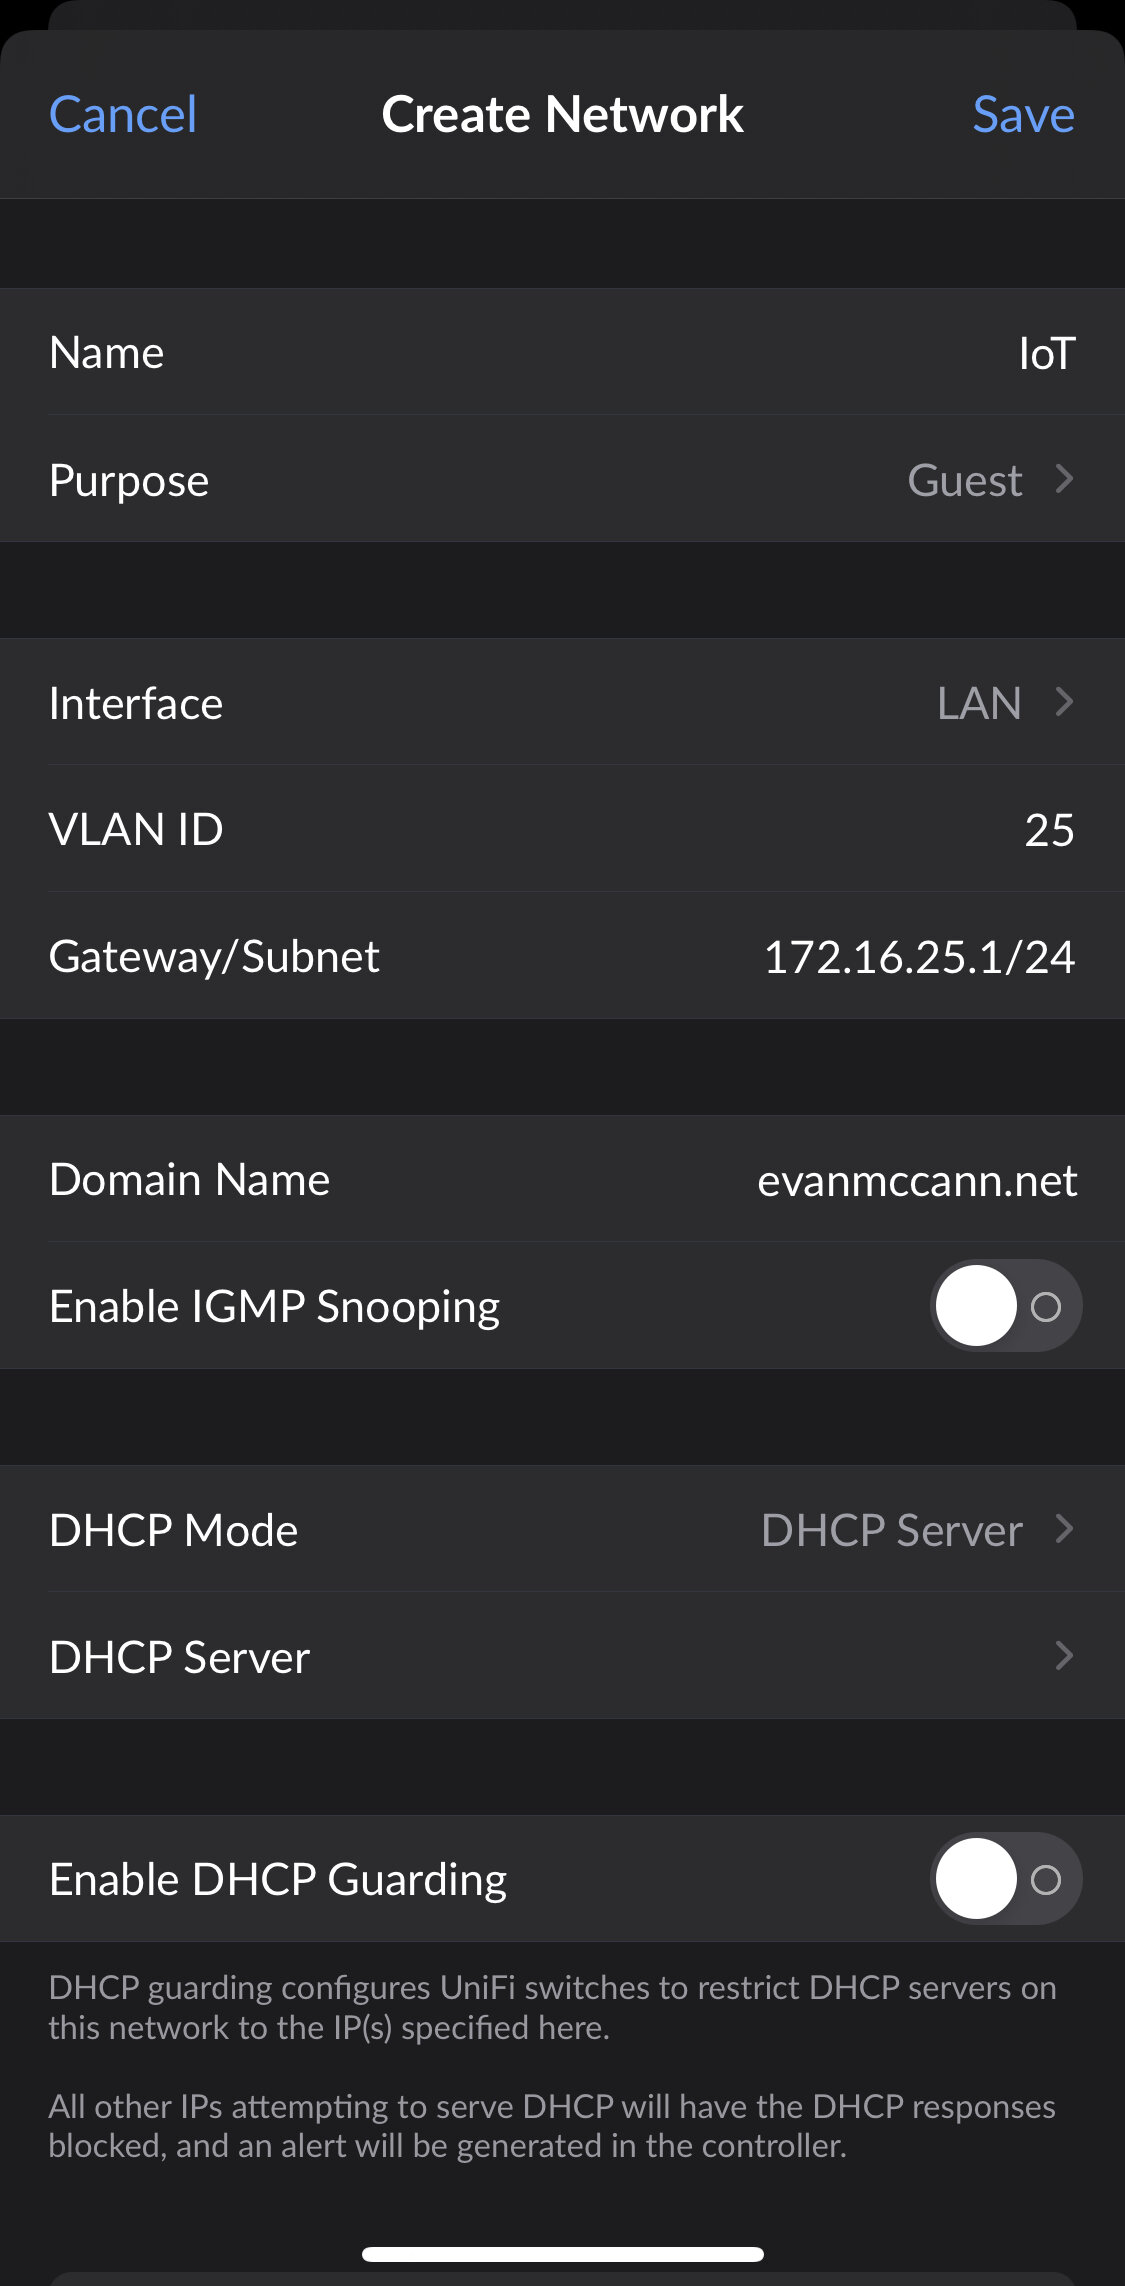
For local networks:
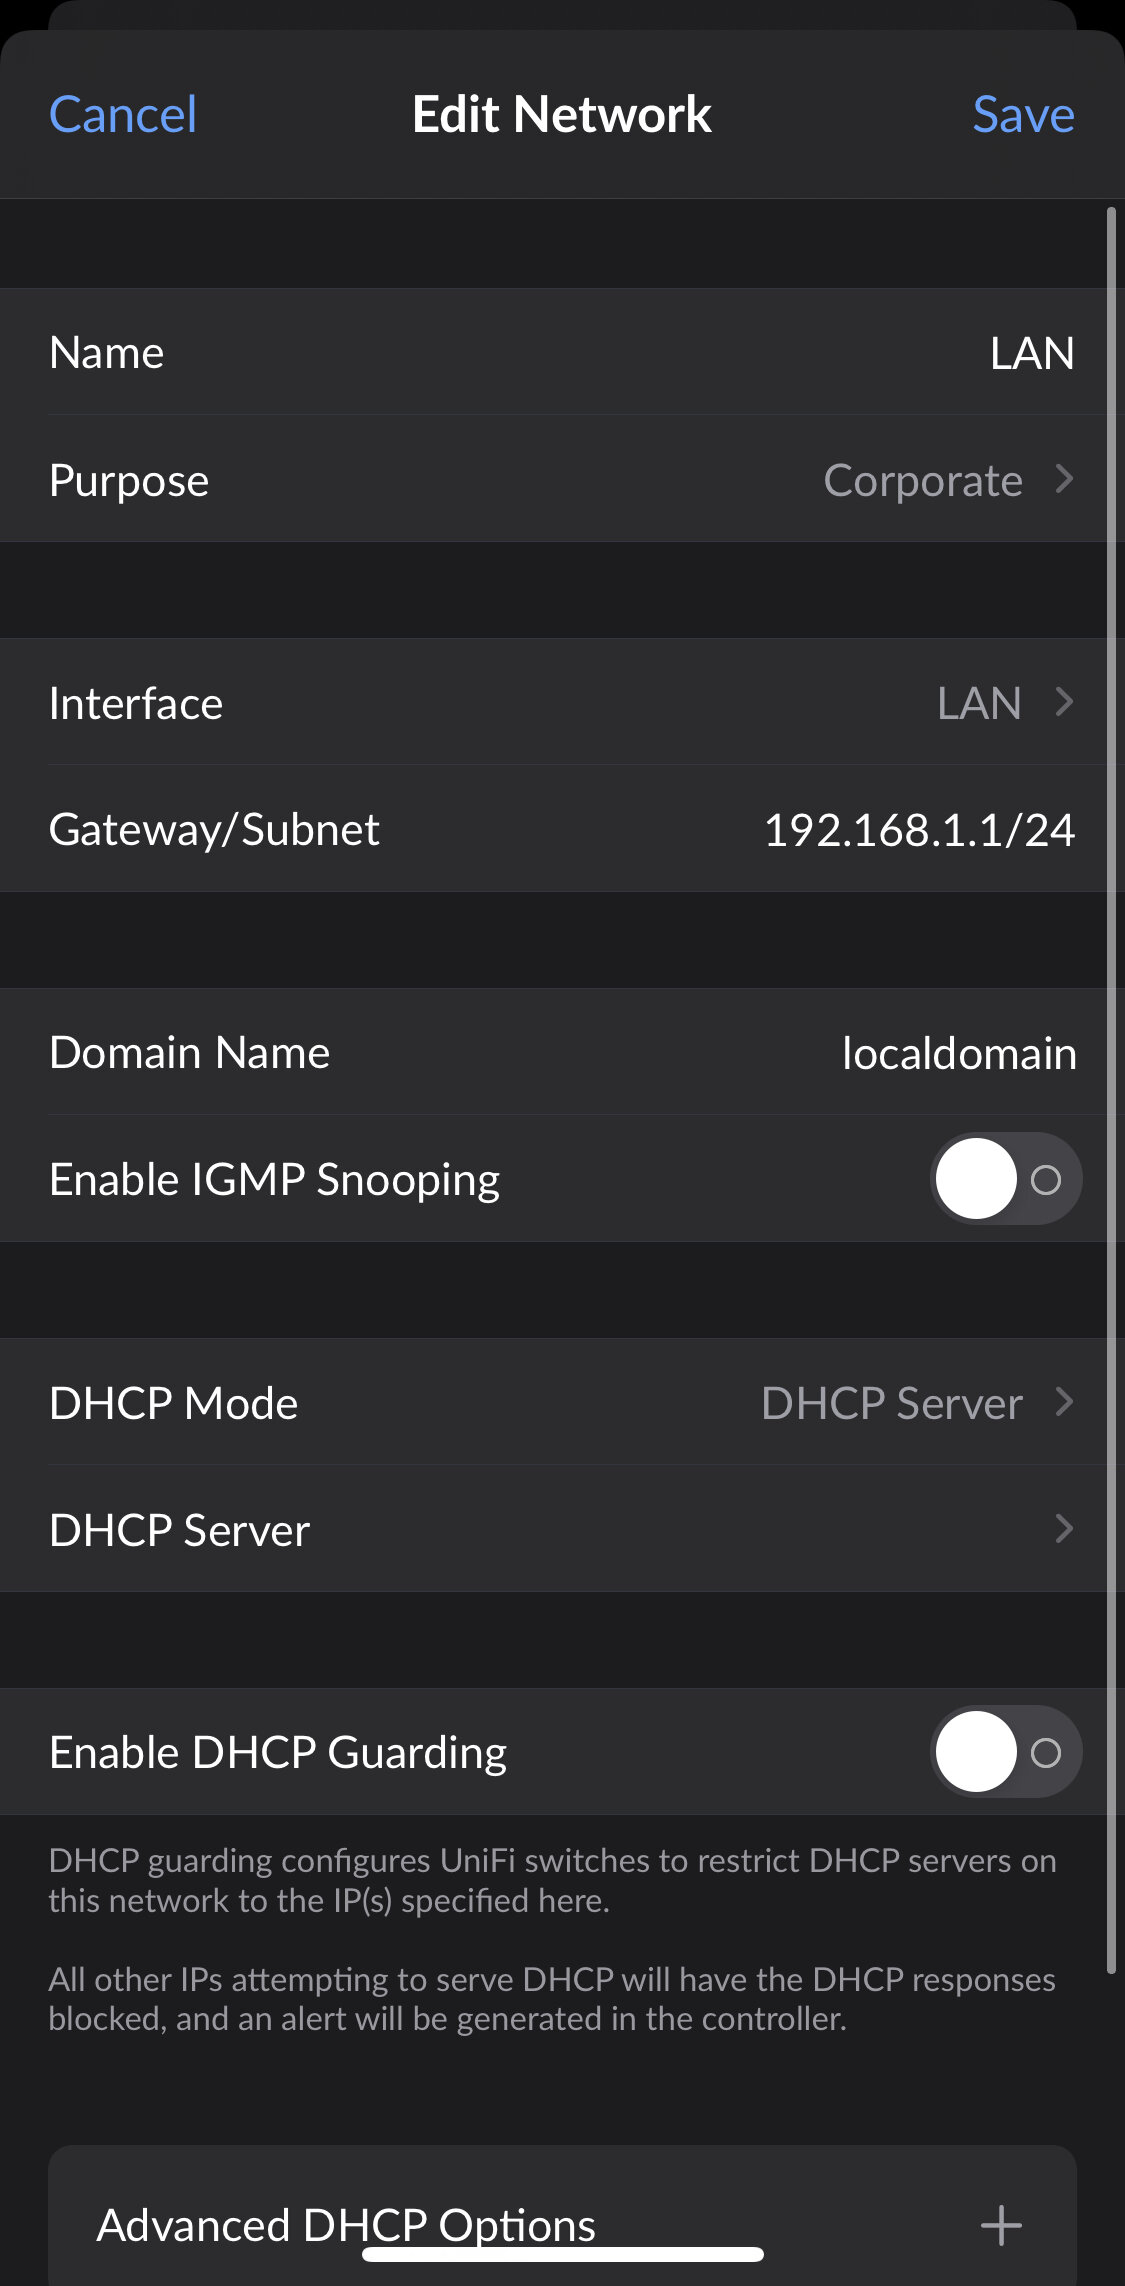
Choose a name and purpose.
Corporate networks are normal networks, with no guest policies applied and the UDM acting as the default gateway.
Guest networks apply your default guest network policies. Guest networks are ideal for Internet-only access. By default, guest networks cannot access any other internal network.
The full settings for guest networks, including captive portal, content filtering, and network isolation, must be changed in the web interface.
VLAN only networks are networks that are not being routed by the UDM. Choose this if you have a network that lives on another router, or if you need to have a VLAN pass through the UDM.
Choose an Interface (LAN).
Choose a VLAN ID, if needed.
Define the subnet, and specify the Gateway address to use. By default this is 192.168.1.1/24. Adjust as needed.
Specify a domain name, if needed.
Enable IGMP Snooping, if needed. This is required for some devices that rely on Multicast traffic, such as multi-room speakers and certain smart home devices.
Choose a DHCP Mode and change DHCP server options.
Pick DHCP starting and ending range.
Specify a DHCP name server: this is where you specify the DNS server to use for this network. Leaving it on auto will cause it to use the default DNS server.
Specifty a DHCP Lease tiem, by default it is set to 1 day.
Set the IP address of your UniFi controller.
This doesn’t really apply to a UDM network, since you have to use the built-in controller. For other devices though, if you have a remote UniFi controller you can specify that here and have that IP be given out to new devices via DHCP option 43.
Enable DHCP guarding to prevent rogue DHCP server attacks on the network.
Enable the advanced options (NTP server and Network Boot), if needed.
Click save. The network is now created.
Controller Settings: Security, Internet and Advanced Features
The UniFi app allows you to change some of the basic security options, as well as some of the more advanced features of the UniFi Controller.
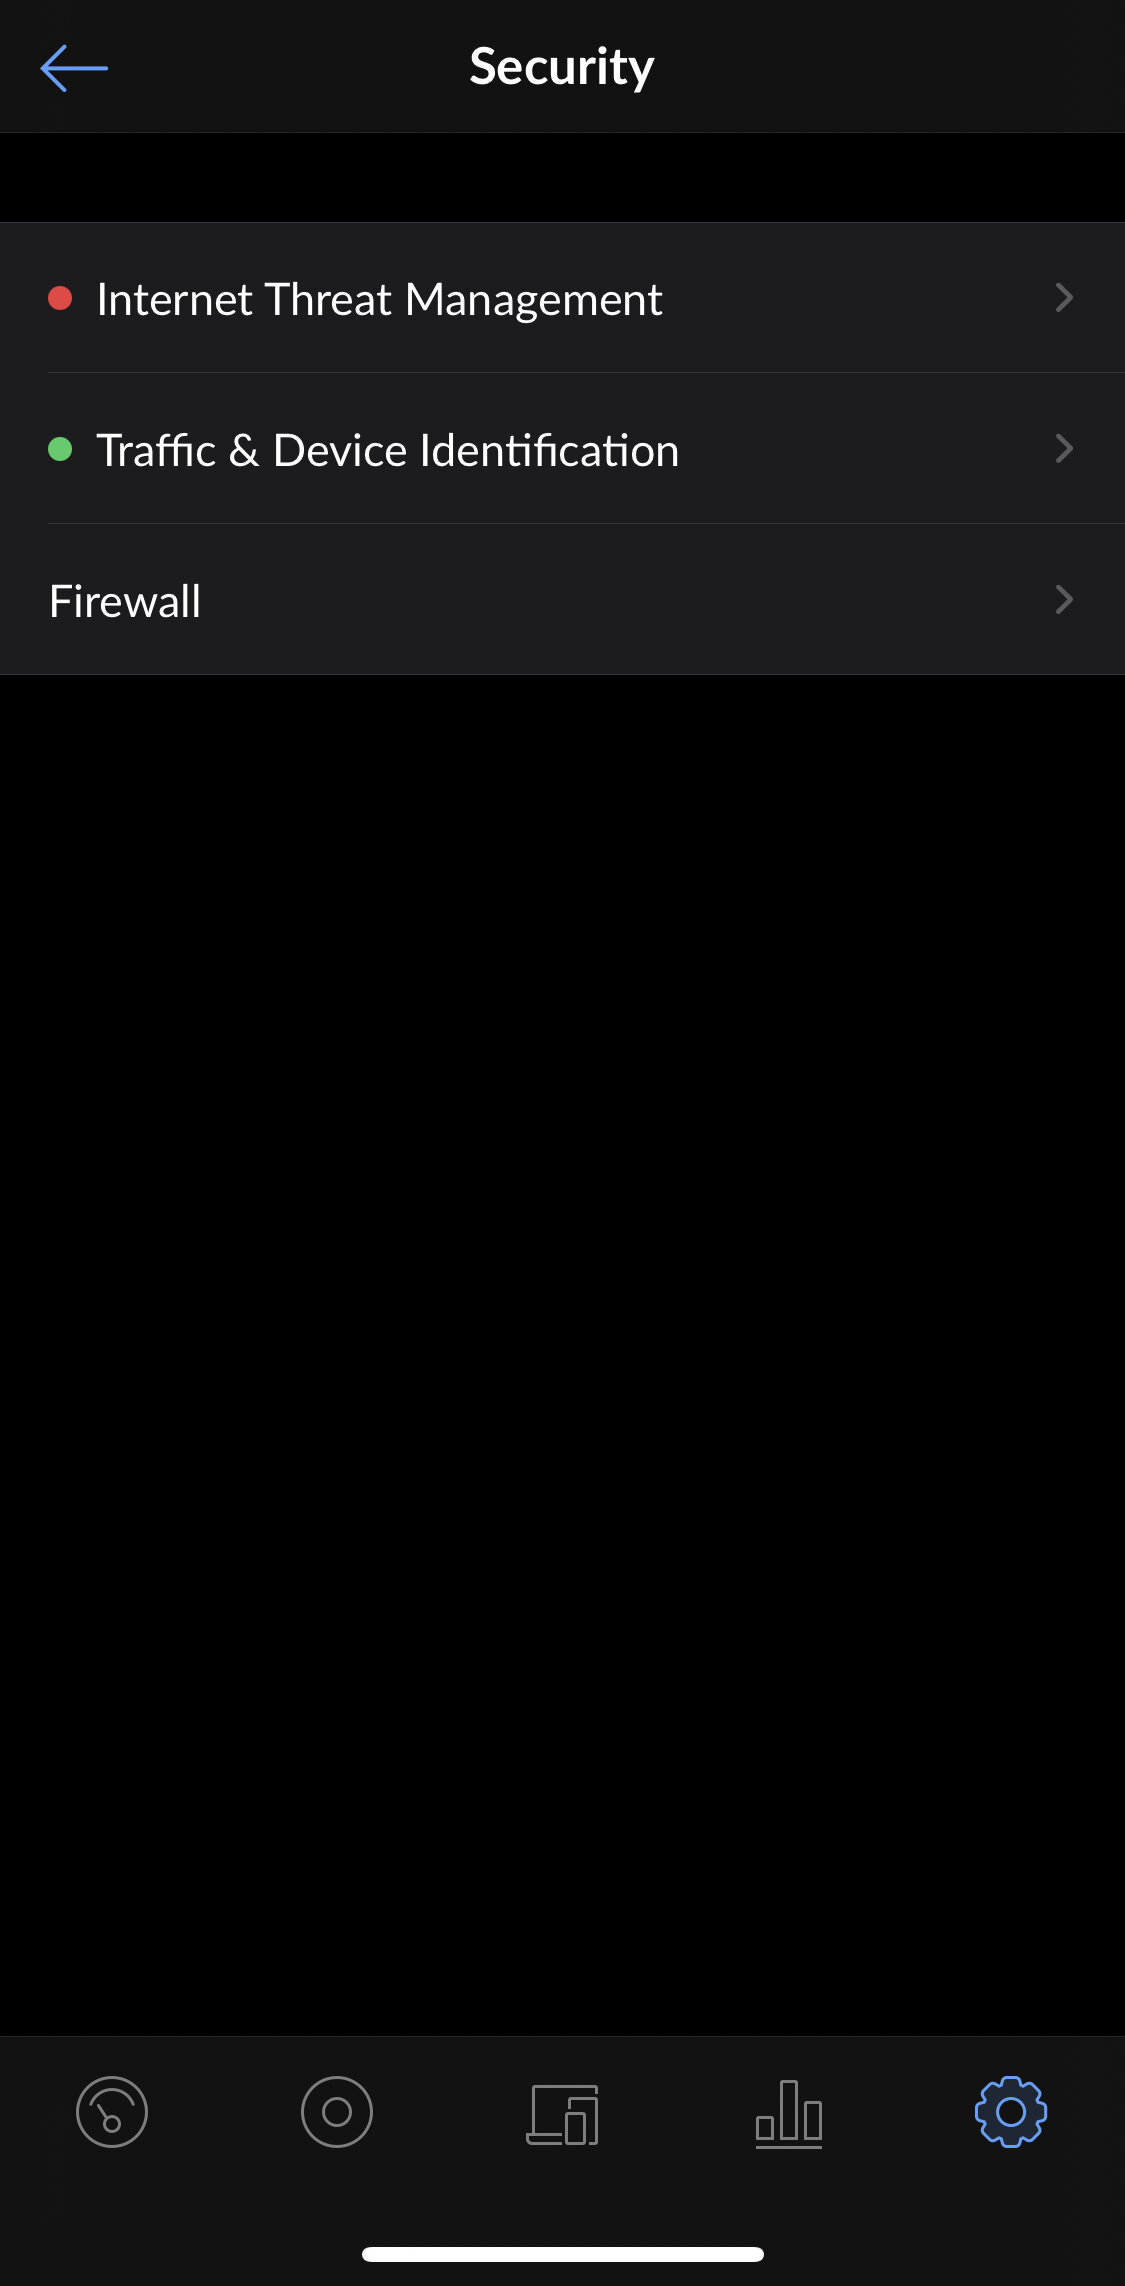
Security Options:
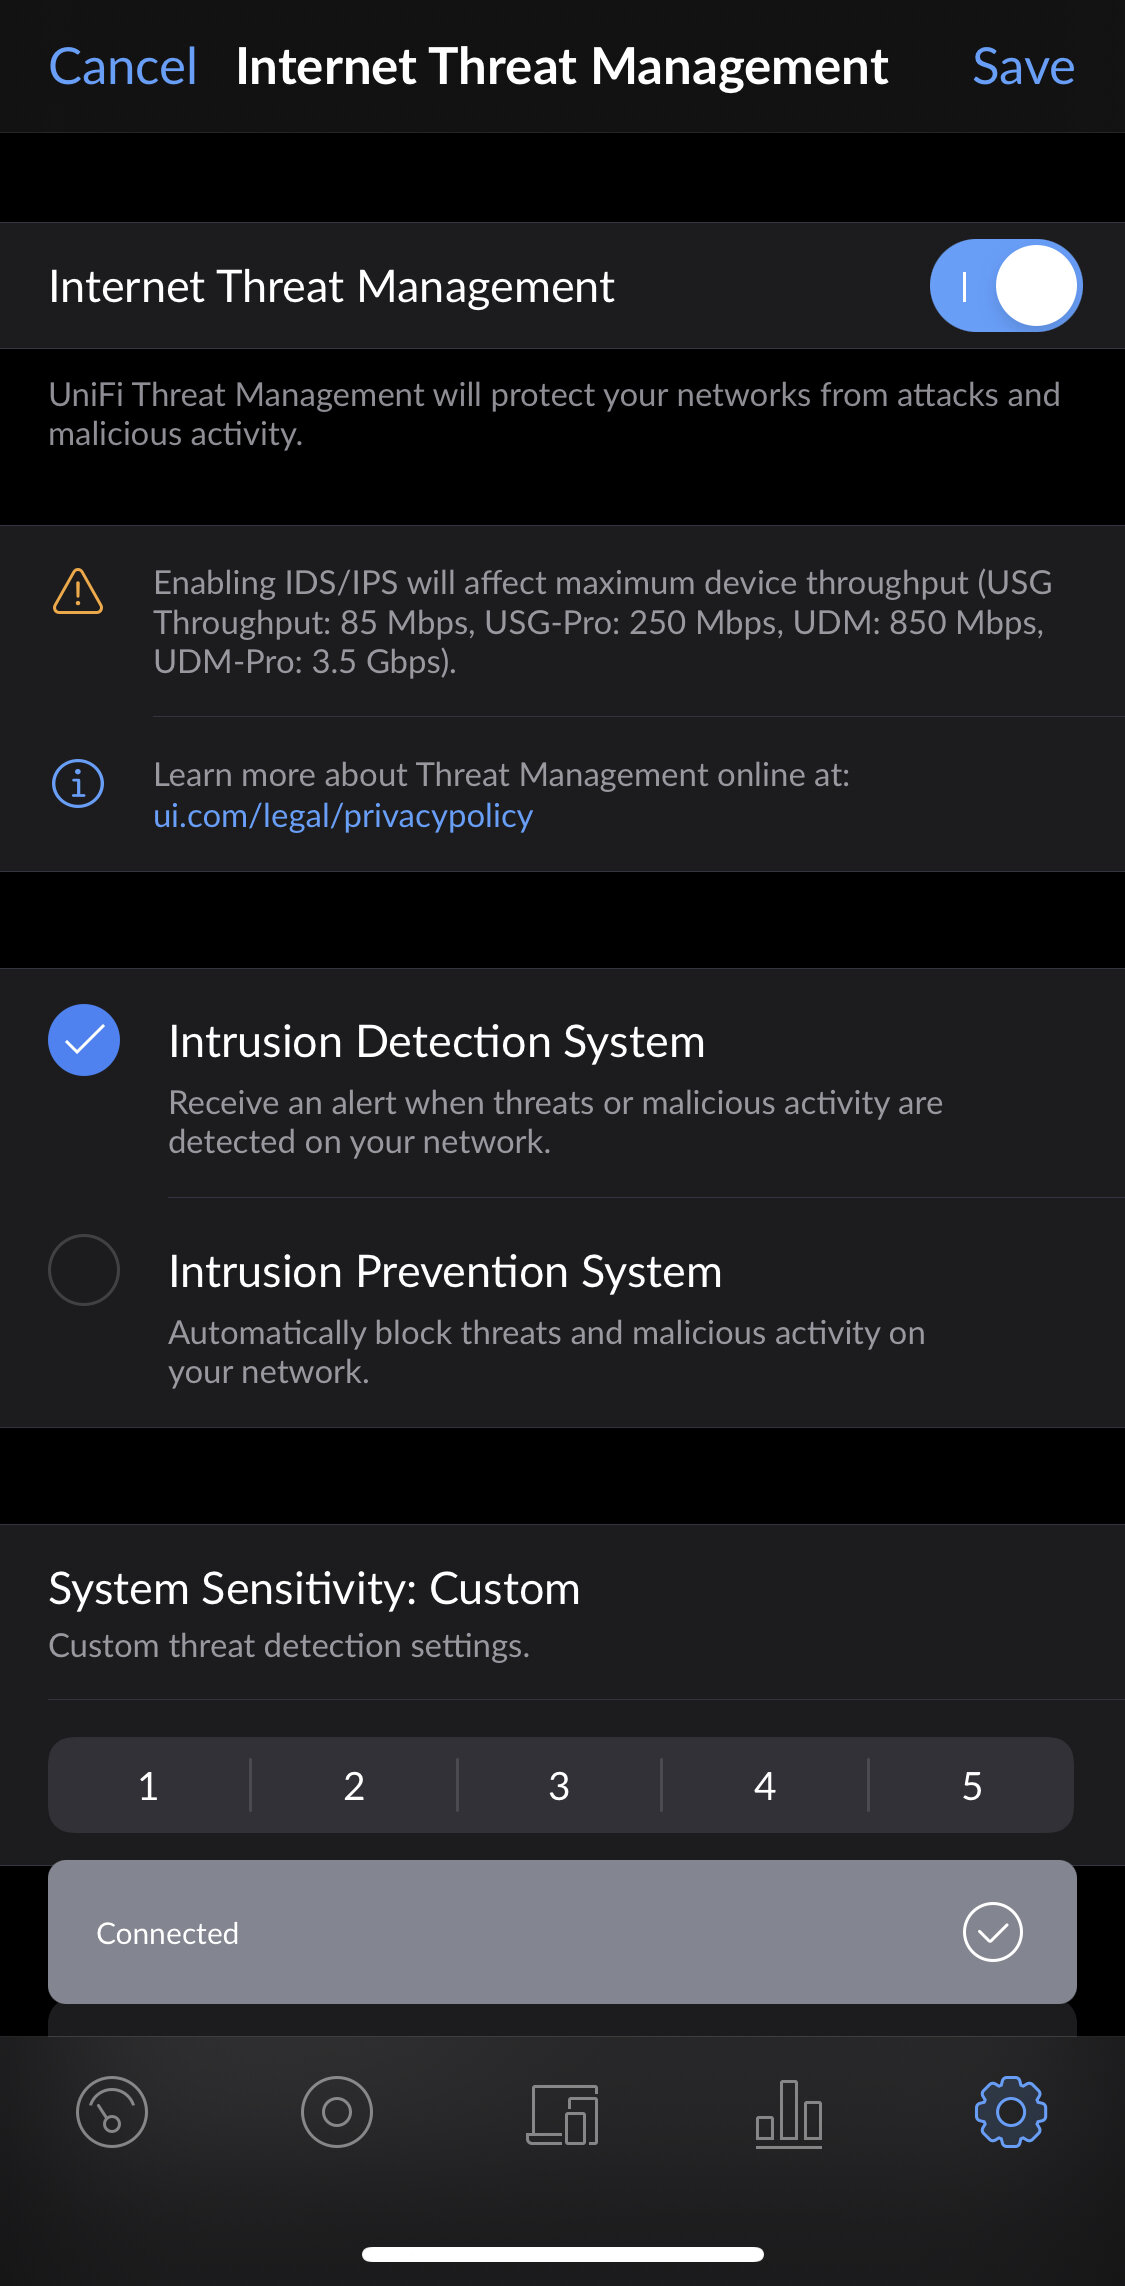
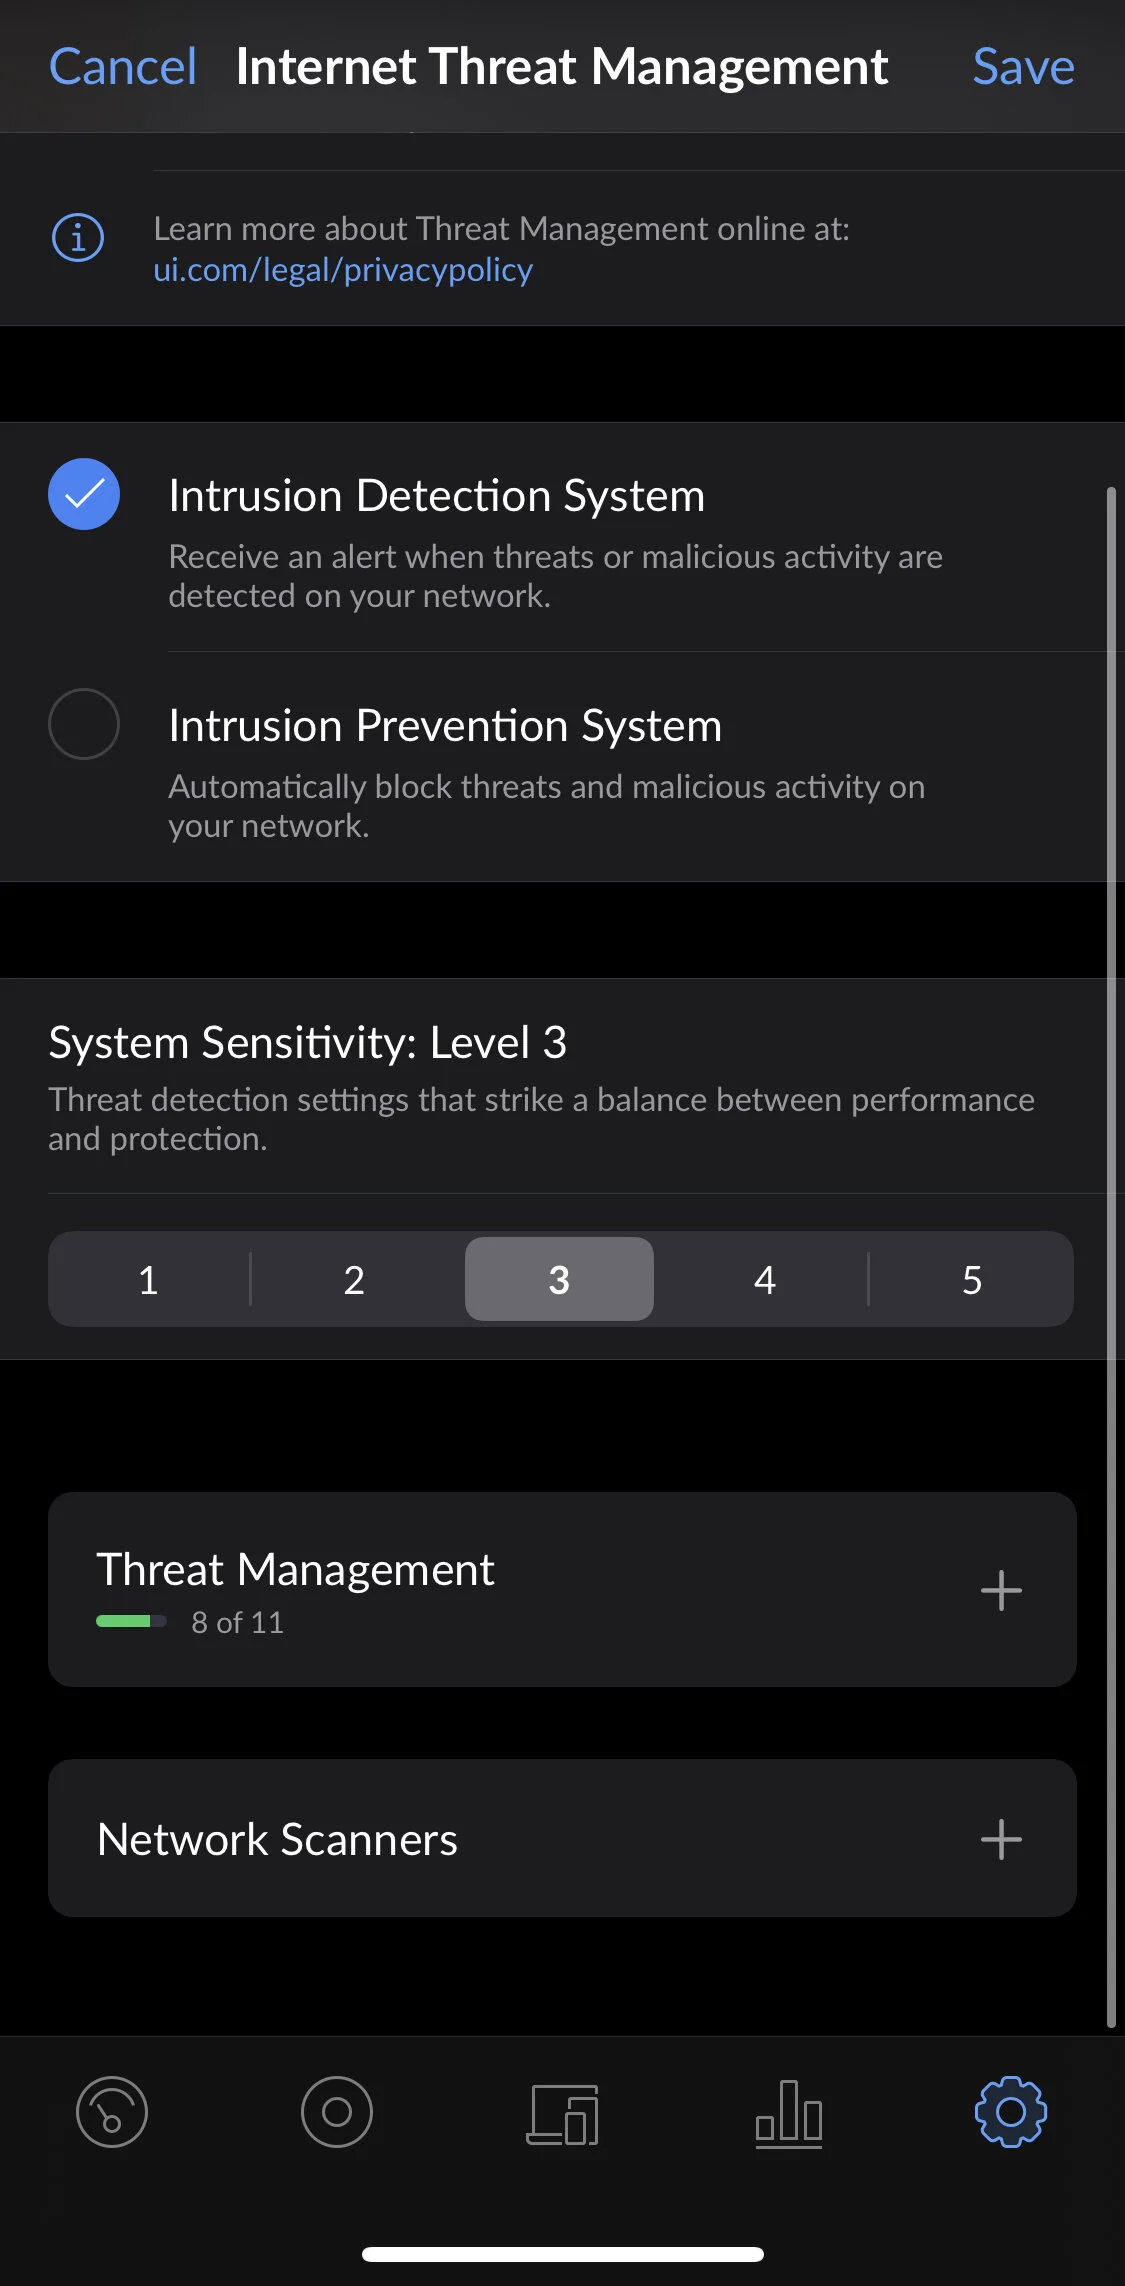
Internet Threat Management
You can enable the Intrusion Detection or Prevention systems here. By default, they are off.
IDS/IPS monitors traffic on your network, and will either log (IDS) or block (IPS) the traffic automatically. You can adjust the settings and how strict the Threat Management is.
Viewing the logs of the IDS/IPS system is only available in the web interface.
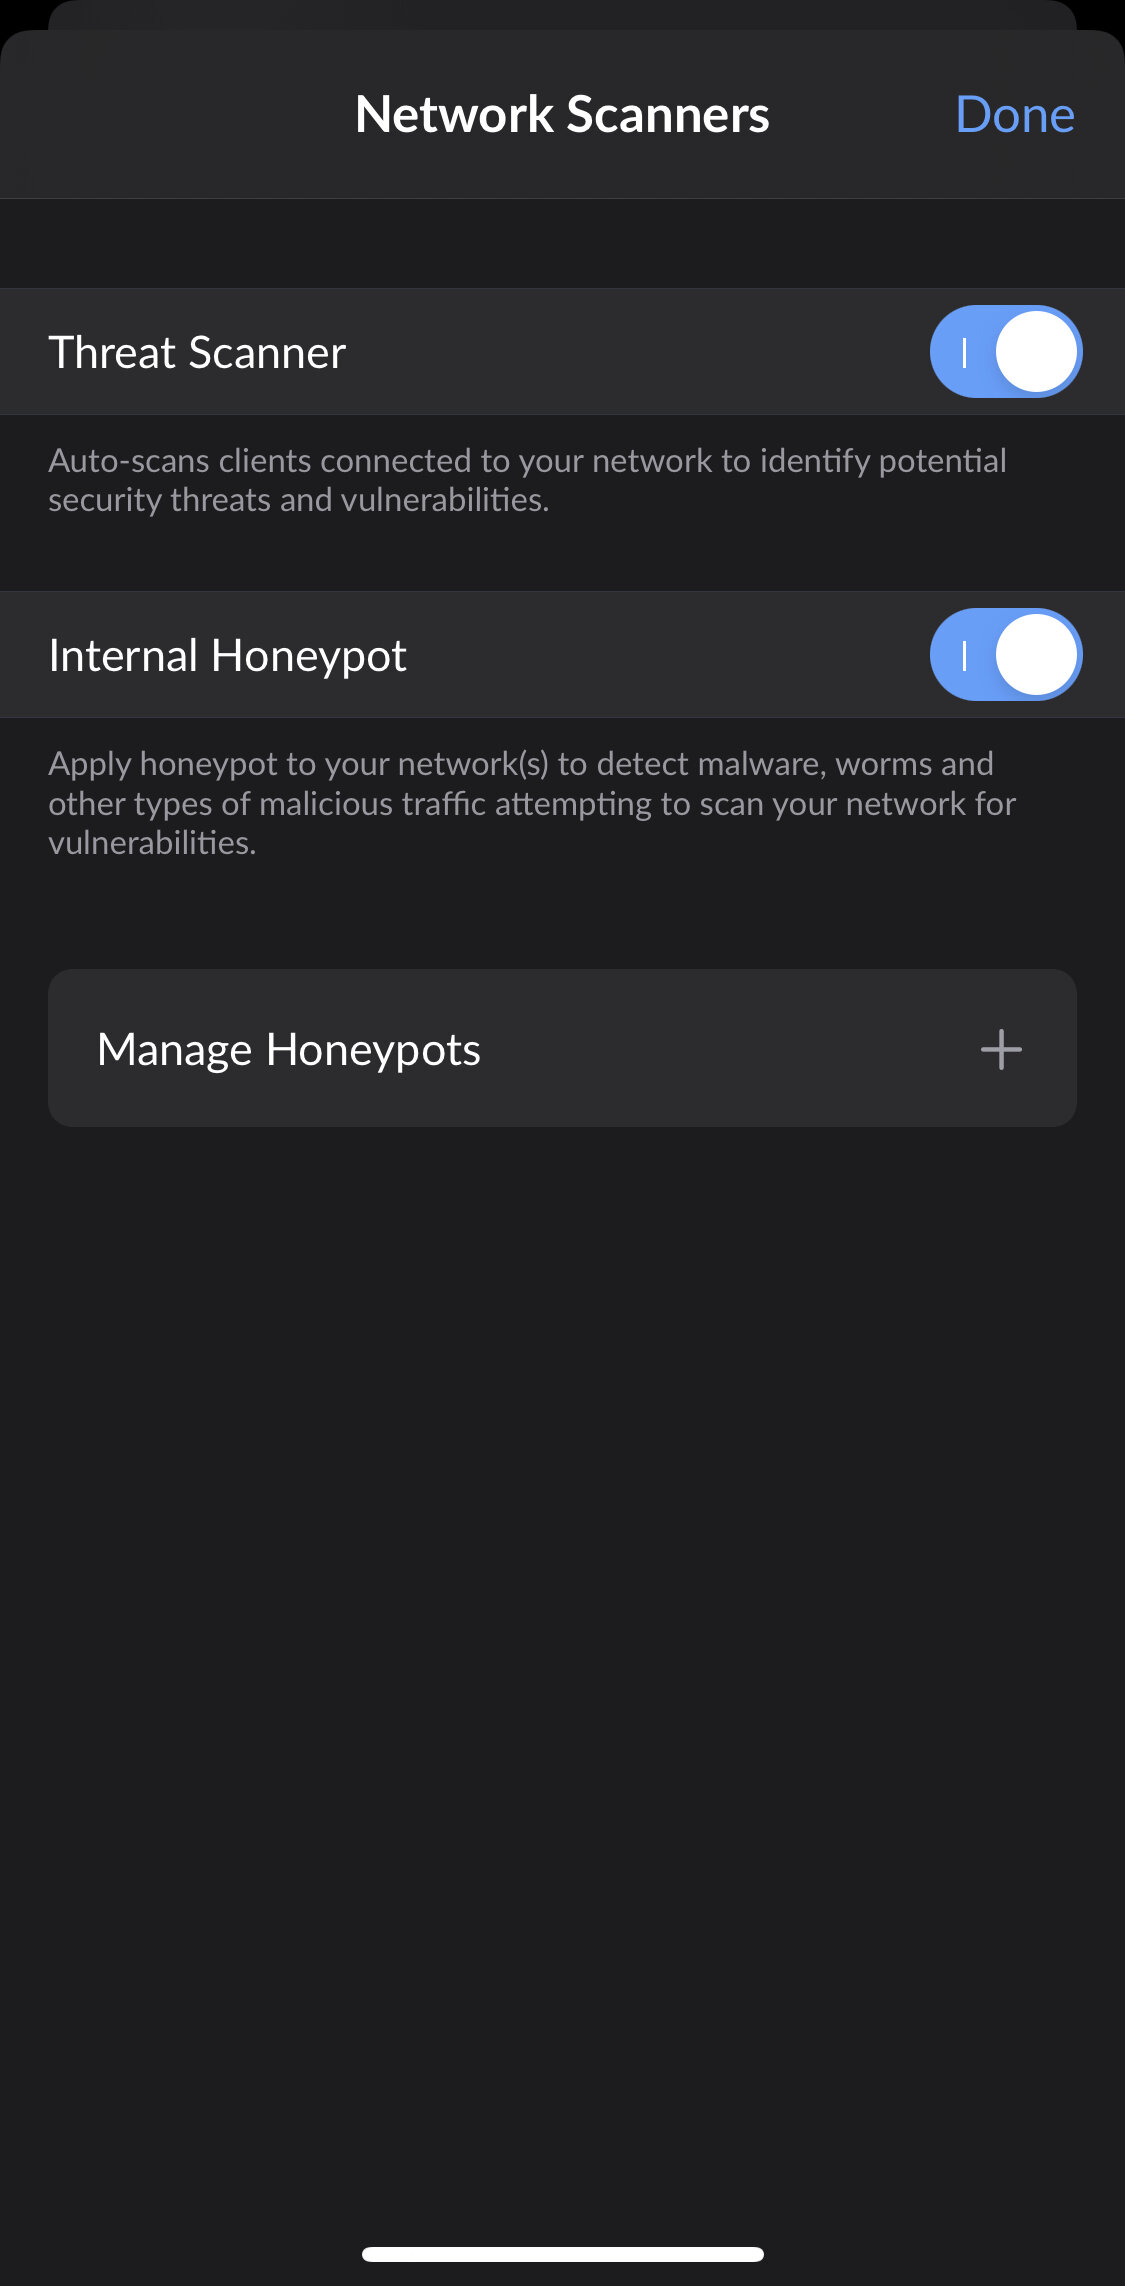
You can also setup a Honeypot and a Threat Scanner here as well.
Traffic & Device Identification
By default, Traffic Identification (Deep Packet Inspection) and Device Fingerprinting is on.
Traffic Identification allows you to see what kind of traffic devices are using, as well as the the ability to block or log certain types of traffic.
You can use Restriction Groups and Categories to disable social media traffic, online gaming, and other types of traffic on a per-network basis.
Device Identification tries to identify devices on the network.
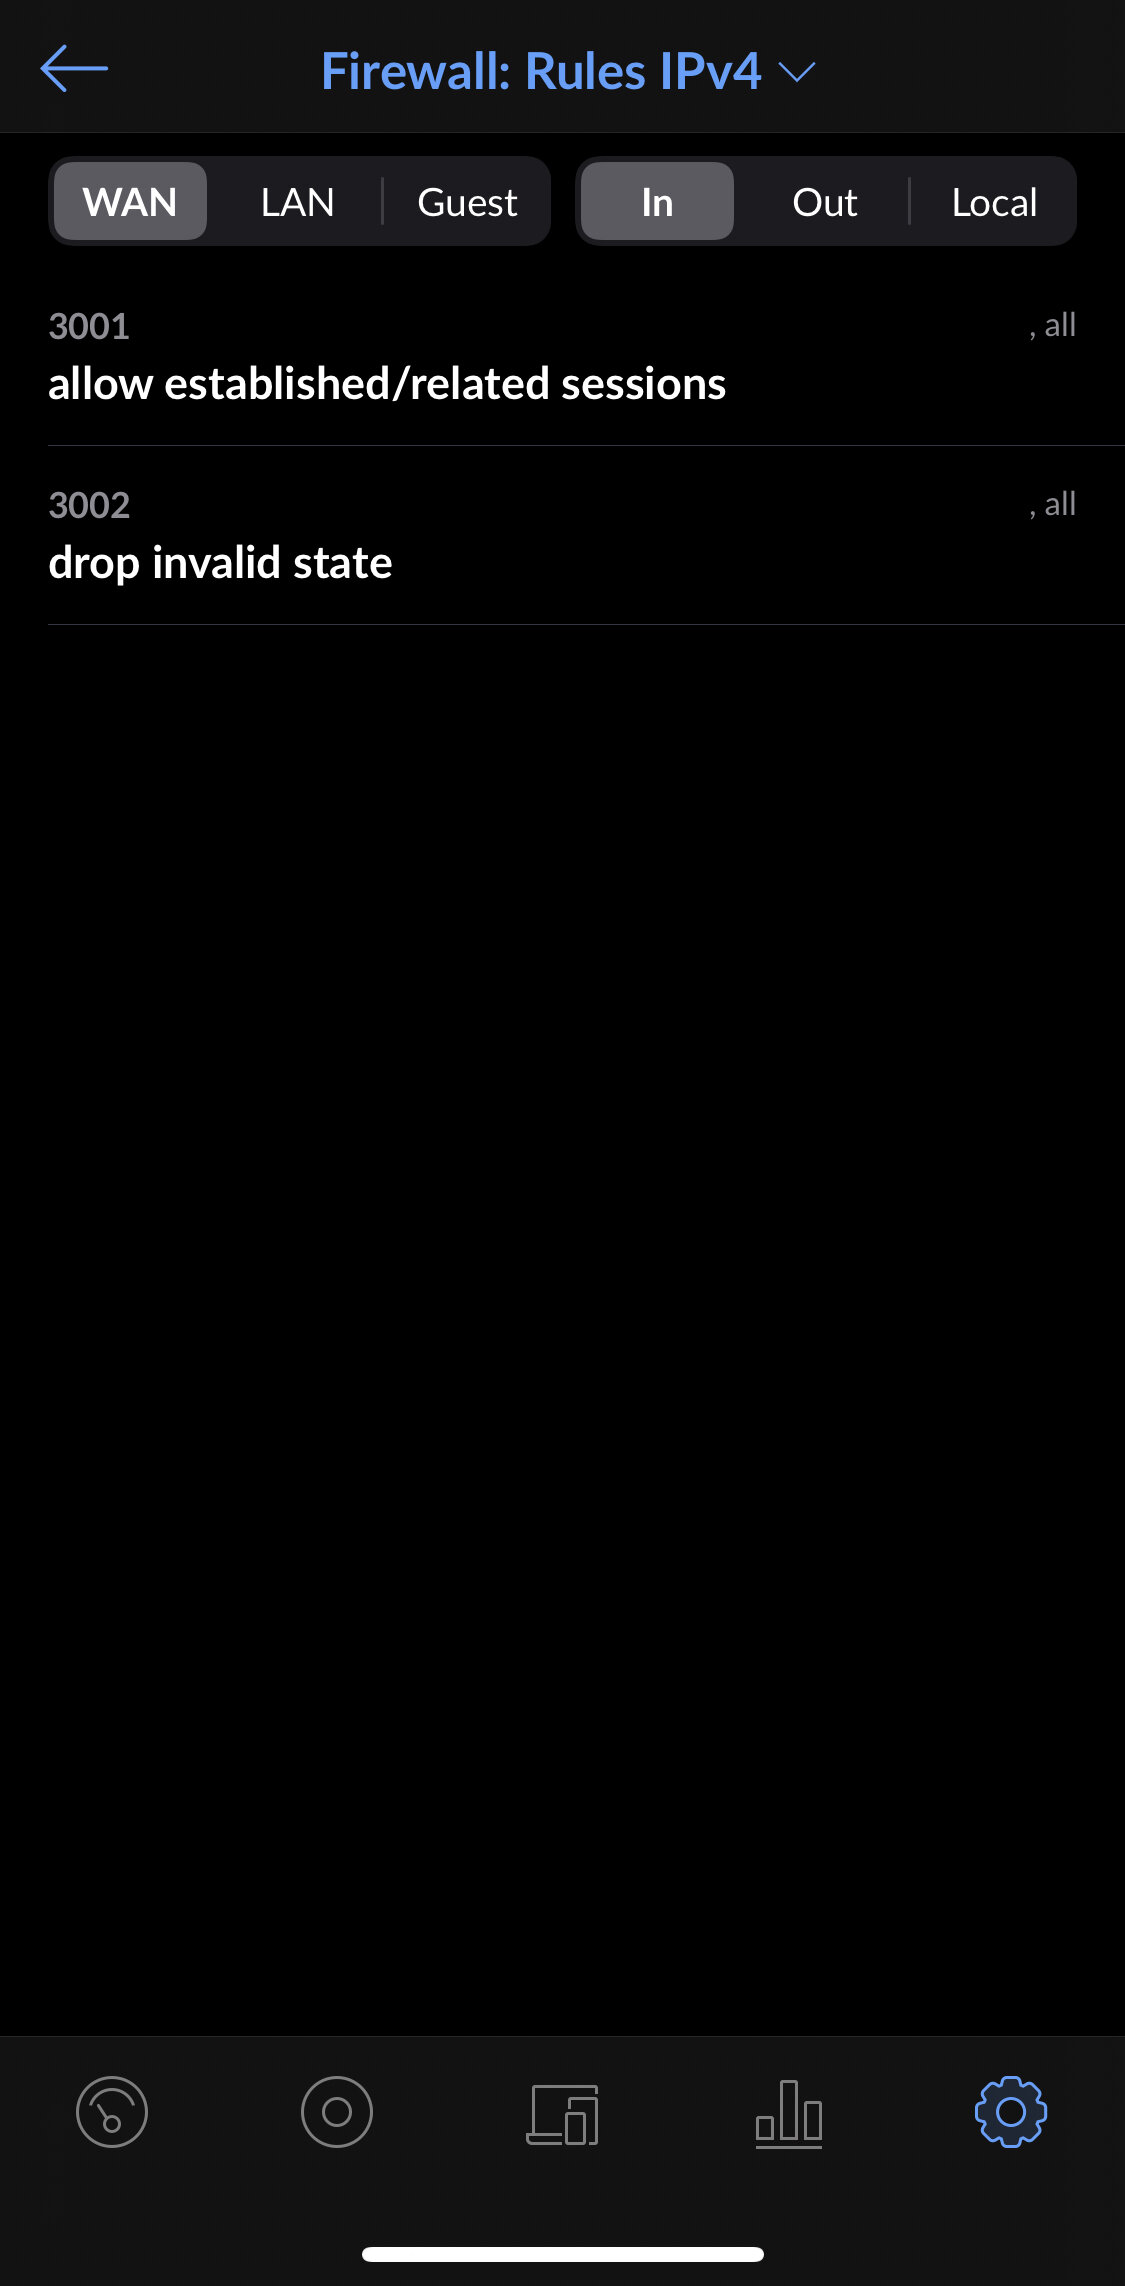
Firewall
This is a read-only view of your firewall rules. To create or change firewall rules, you need to use the full web interface.
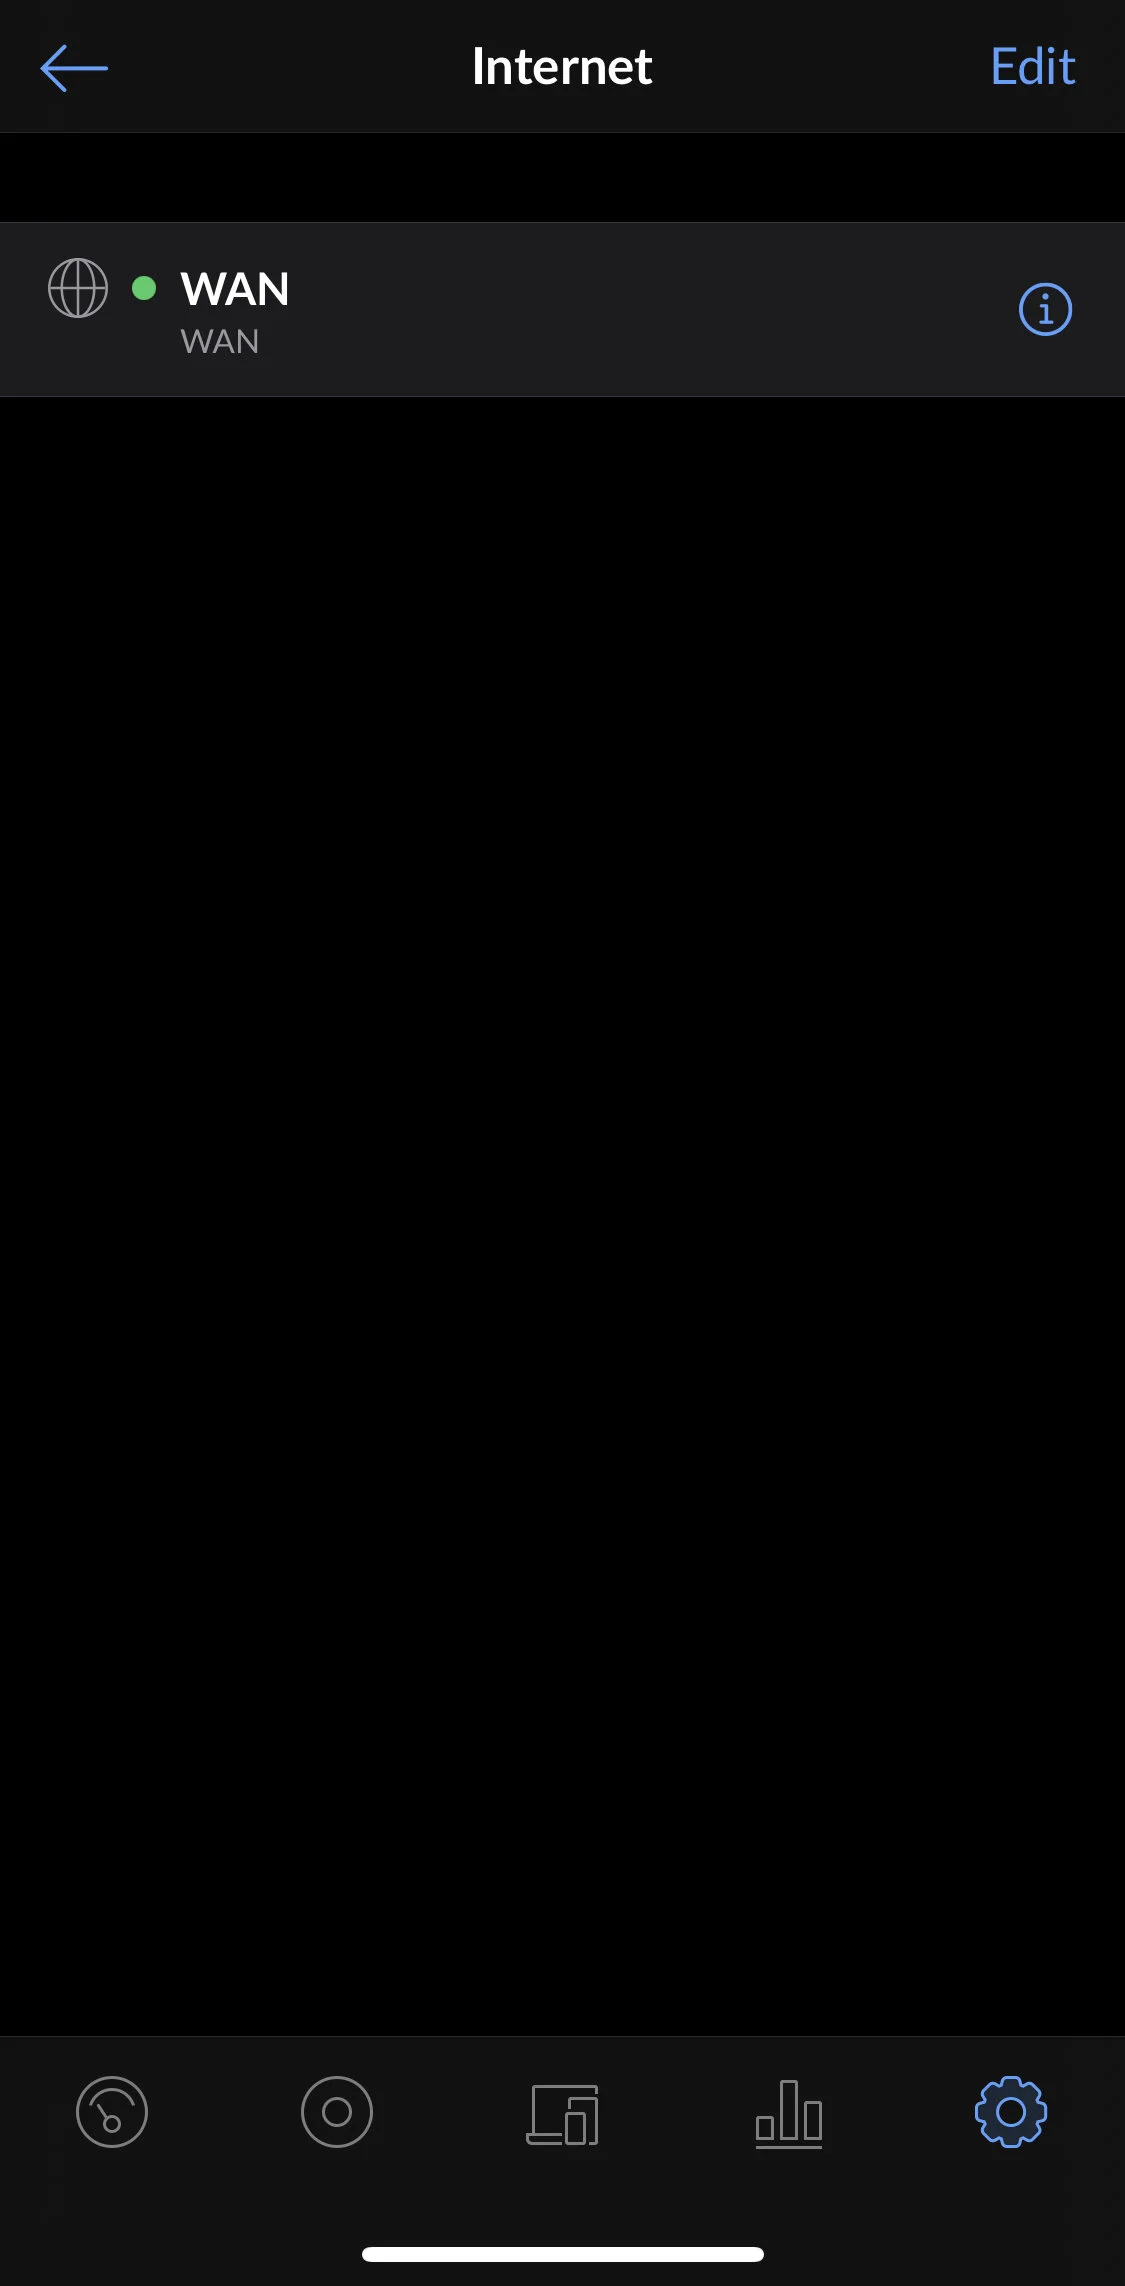
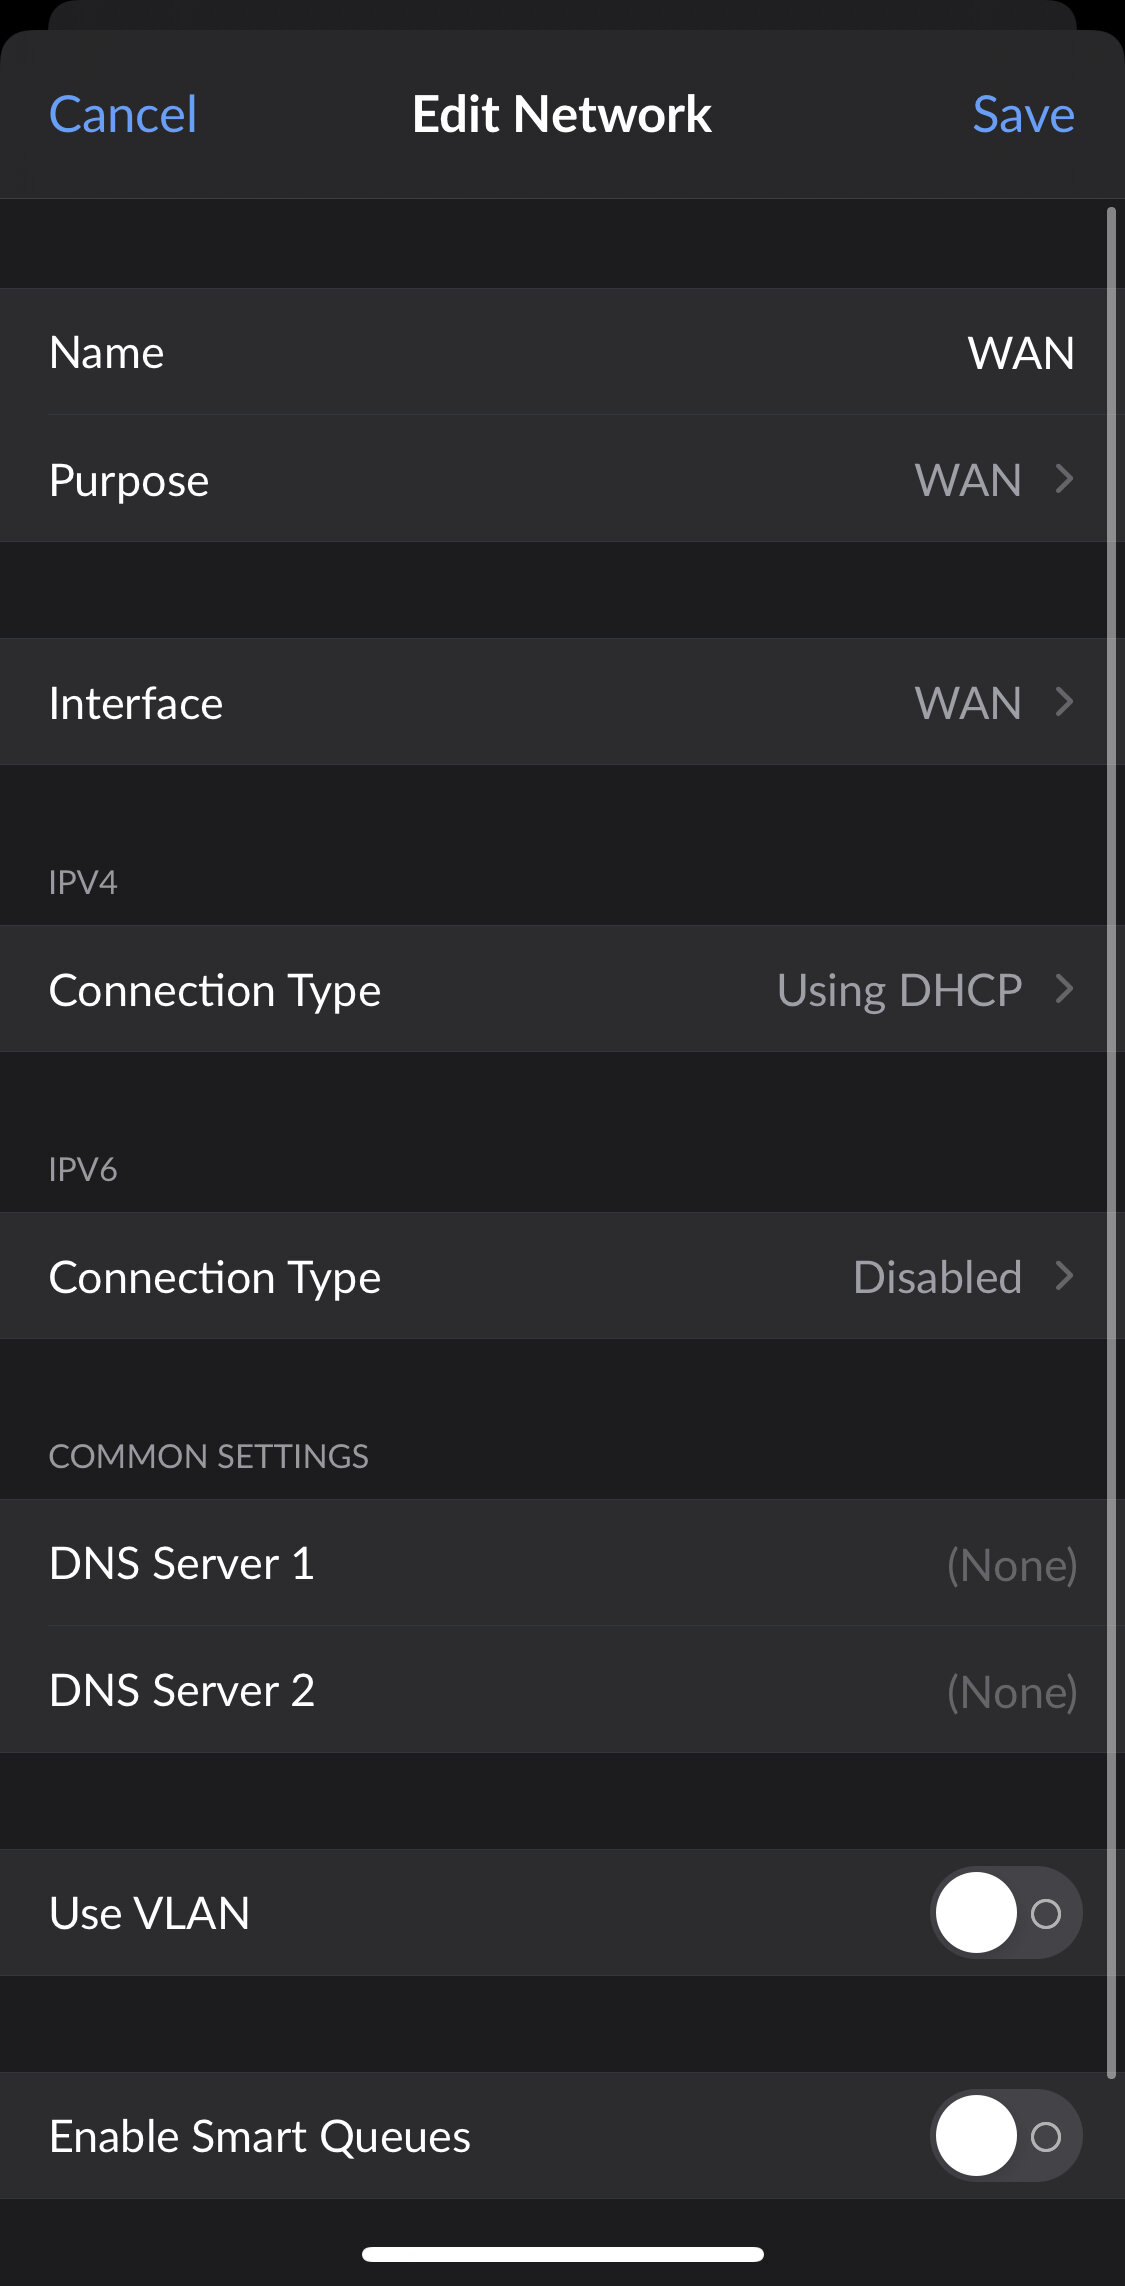
Internet Options:
This is where you can change the settings for you WAN network.
Interface: On the UDM, there is only one WAN port, but on other devices you can pick the WAN interface.
Connection Type: DHCP, static IP address, or input a PPPoE username and password for IPv4 or IPv6.
Common Settings:
Specify a DNS Server
Specify a VLAN, if your ISP requires that. This should have been handled during initial setup.
Enable Smart Queues, if desired. This is an automatic QoS, and I usually leave it disabled.
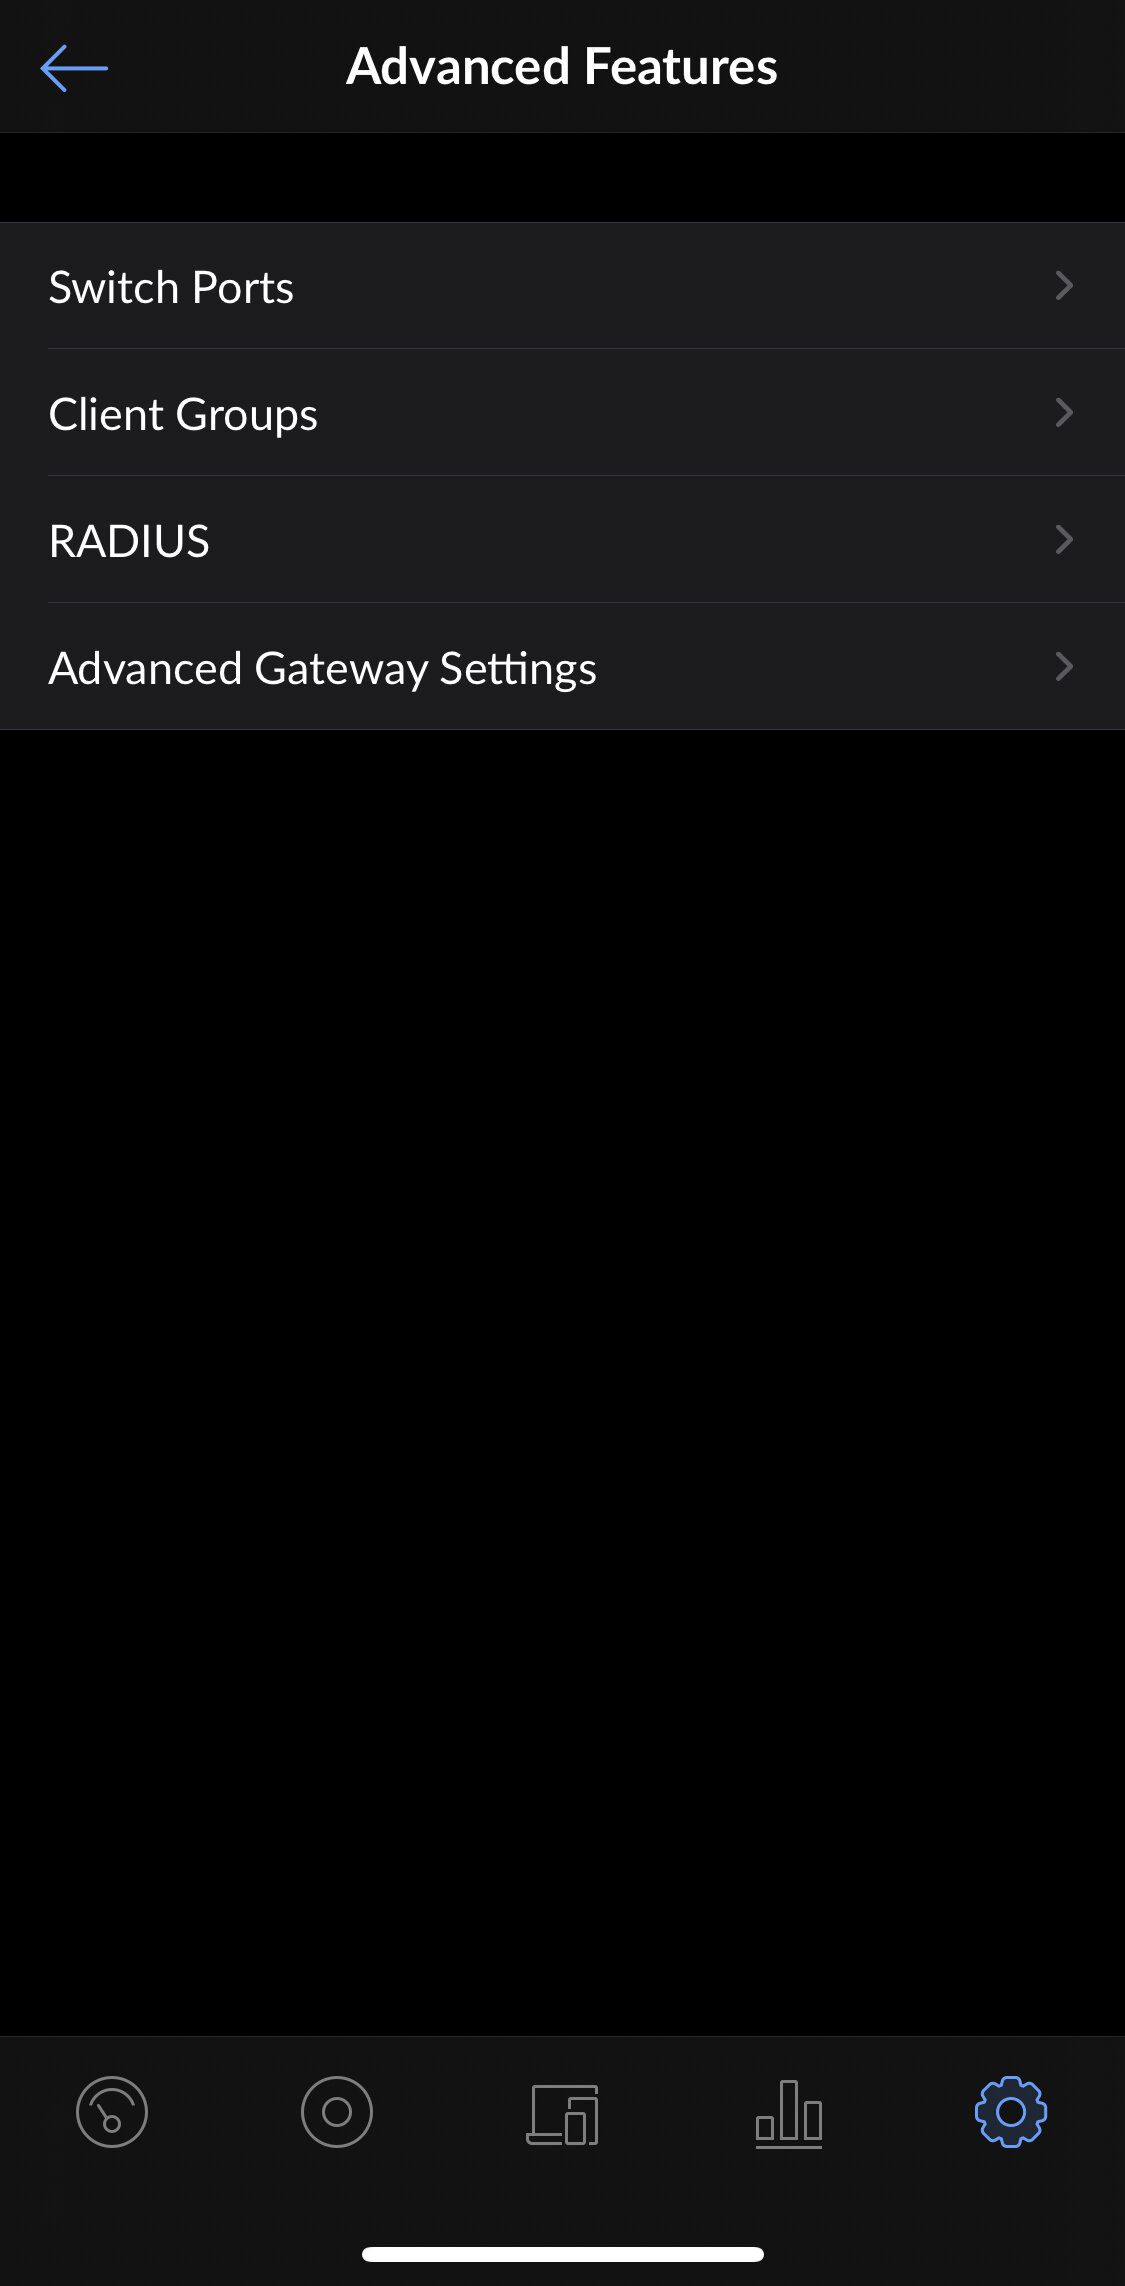
Advanced Features:
Create and manage switch port profiles.
These control which networks are available on your switch ports.
By default, all ports are LAN access ports, and have tagged access to any other networks you create. You can create guest network port profiles, control PoE settings, specify native, tagged and voice networks, and other advanced port settings. Once you create the port profile, you can apply it to any port to apply those settings.
Client Groups can be used to limit upload and download bandwidth for users on a network.
This group will need to be applied to the wireless network under the Control Center -> Wi-Fi -> Advanced Options -> User Group.
RADIUS allows you to create a RADIUS server, set a password, change RADIUS ports, and setup profiles and users. A full RADIUS server setup is something I’ll cover in the advanced configuration guide.
Advanced Gateway Settings:
Port Forwarding allows you to forward a port to enable remote access to internal resources.
Static Routes can be applied to route certain traffic to other routers in your internal network.
Dynamic DNS is usually used to get around needing a static IP to host a service . You’ll need to use an external service like no-ip for this, and then specify the details in the settings here.
DHCP allows you to configure DHCP Relay and other advanced DHCP options.
mDNS enables the multicast DNS reflector service. This can often help with issues related to Google Home or Chromecast devices.
UPnP automatially creates port forward rules, which can be required for certain types of online games.

UniFi Device Provisioning: BeaconHD Setup
If you need to add additional devices such as UniFi APs or switches, you usually can just plug them in and use the UniFi app for their initial setup. The following is an example of setting up a BeaconHD. I covered the BeaconHD in more depth in my BeaconHD Review.

After the BeaconHD boots, you’ll see a prompt showing that a new device is found
If you do not see this, either power cycle or factory reset the device. The BeaconHD adoption is fairly automatic, but devices such as wired UniFi APs and switches need to be plugged directly into the UDM to begin setup. You can also try connecting to them manually, or by scanning their QR code.
Name the BeaconHD and click finish.
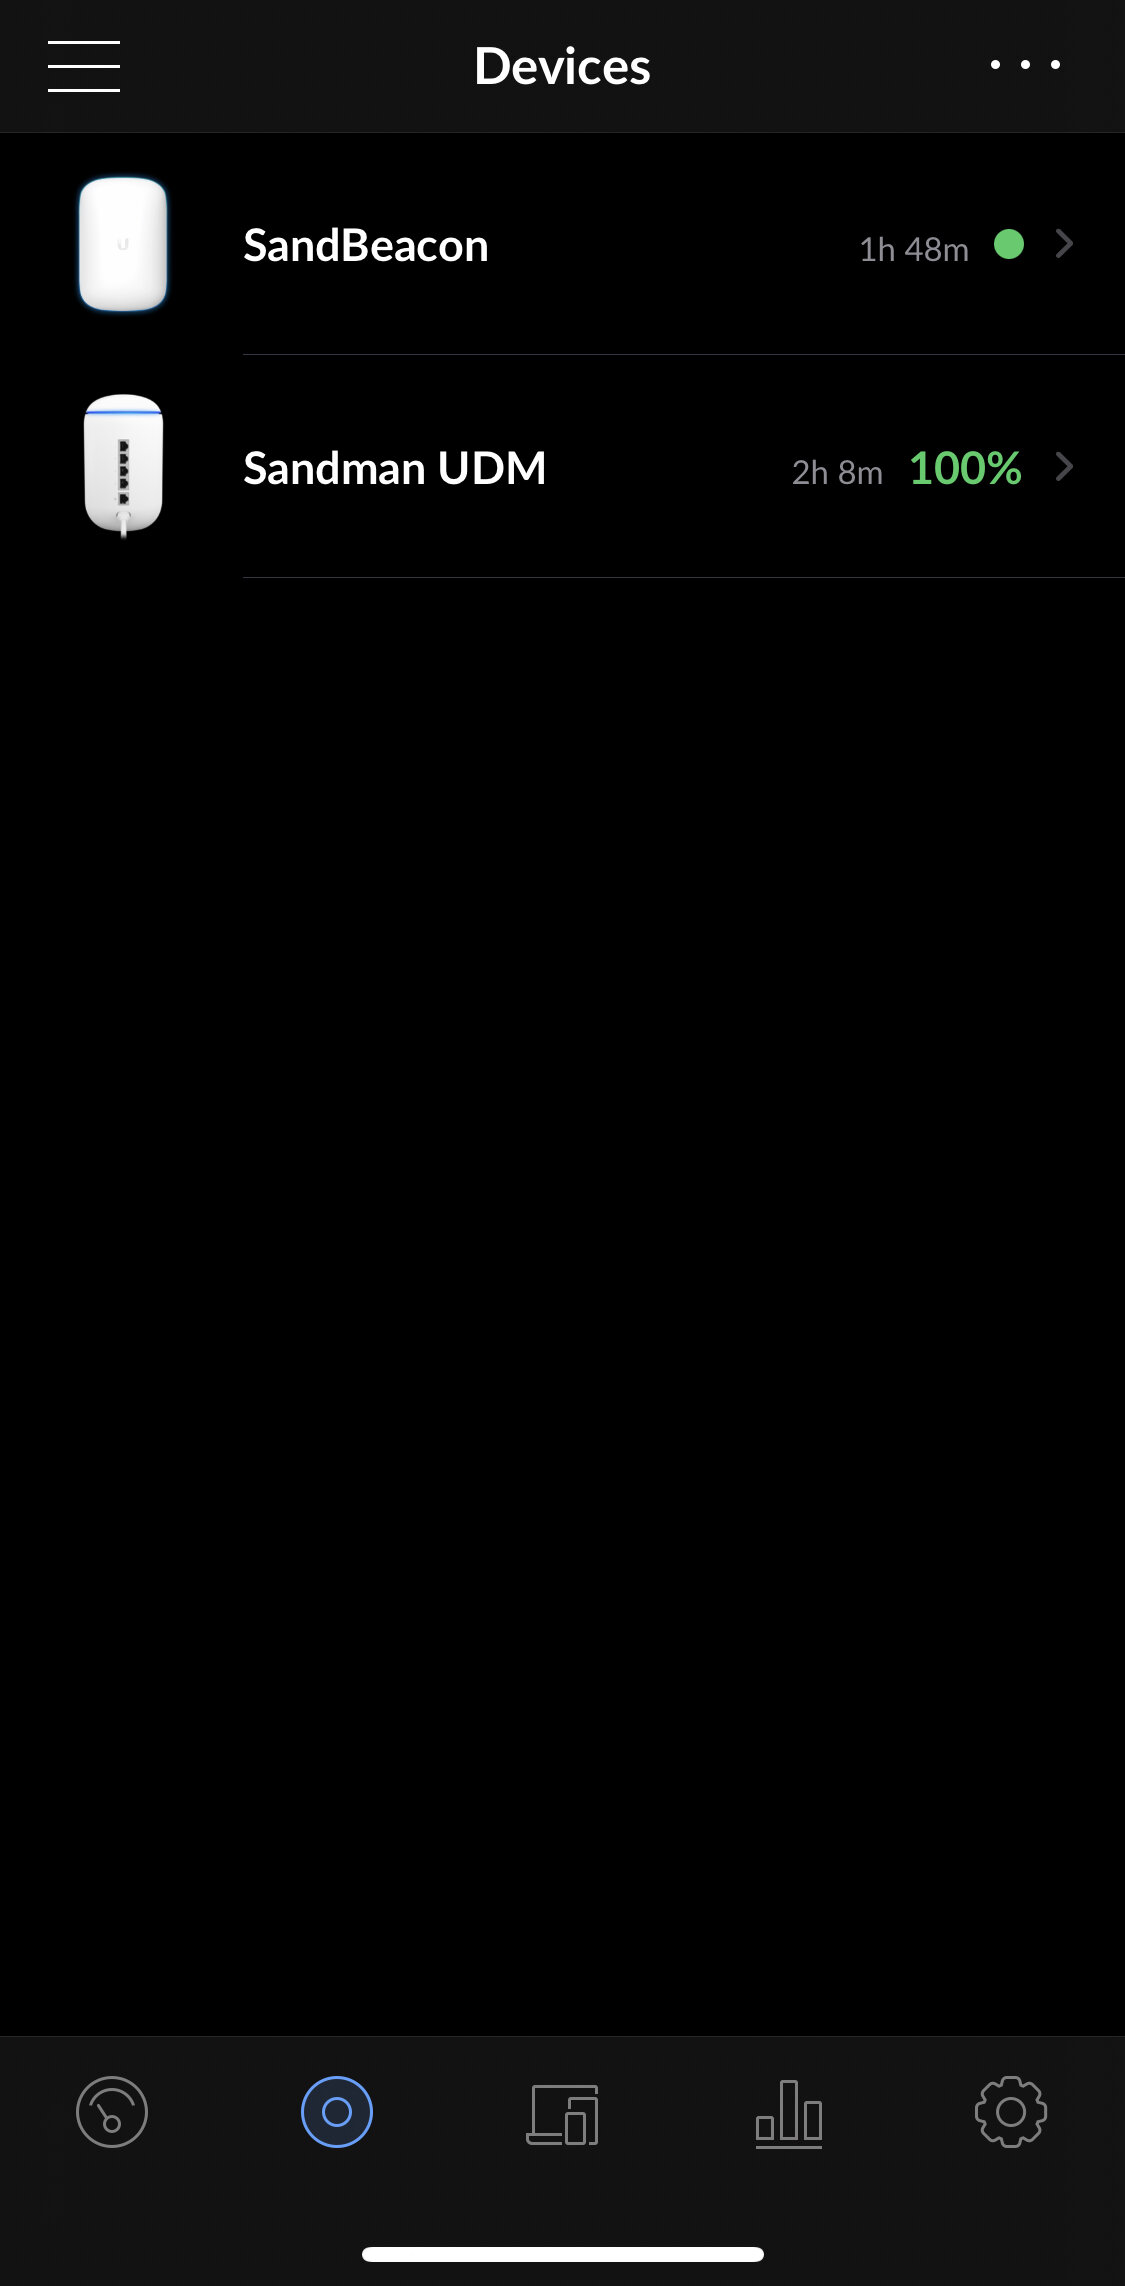
The device will be available under the devices tab.
It’s usually good practice to check for firmware updates and apply them.
After the BeaconHD is setup, you can adjust a few settings in the mobile app, such as radio power level and channels. I cover this in the next section.
UDM and BeaconHD Radio Settings
One of the most common settings to change with a UniFi network is the radio transmit power levels and channels. I show the UDM first, then the BeaconHD, but the process is the same.
Select the devices tab, then the device you want to adjust.
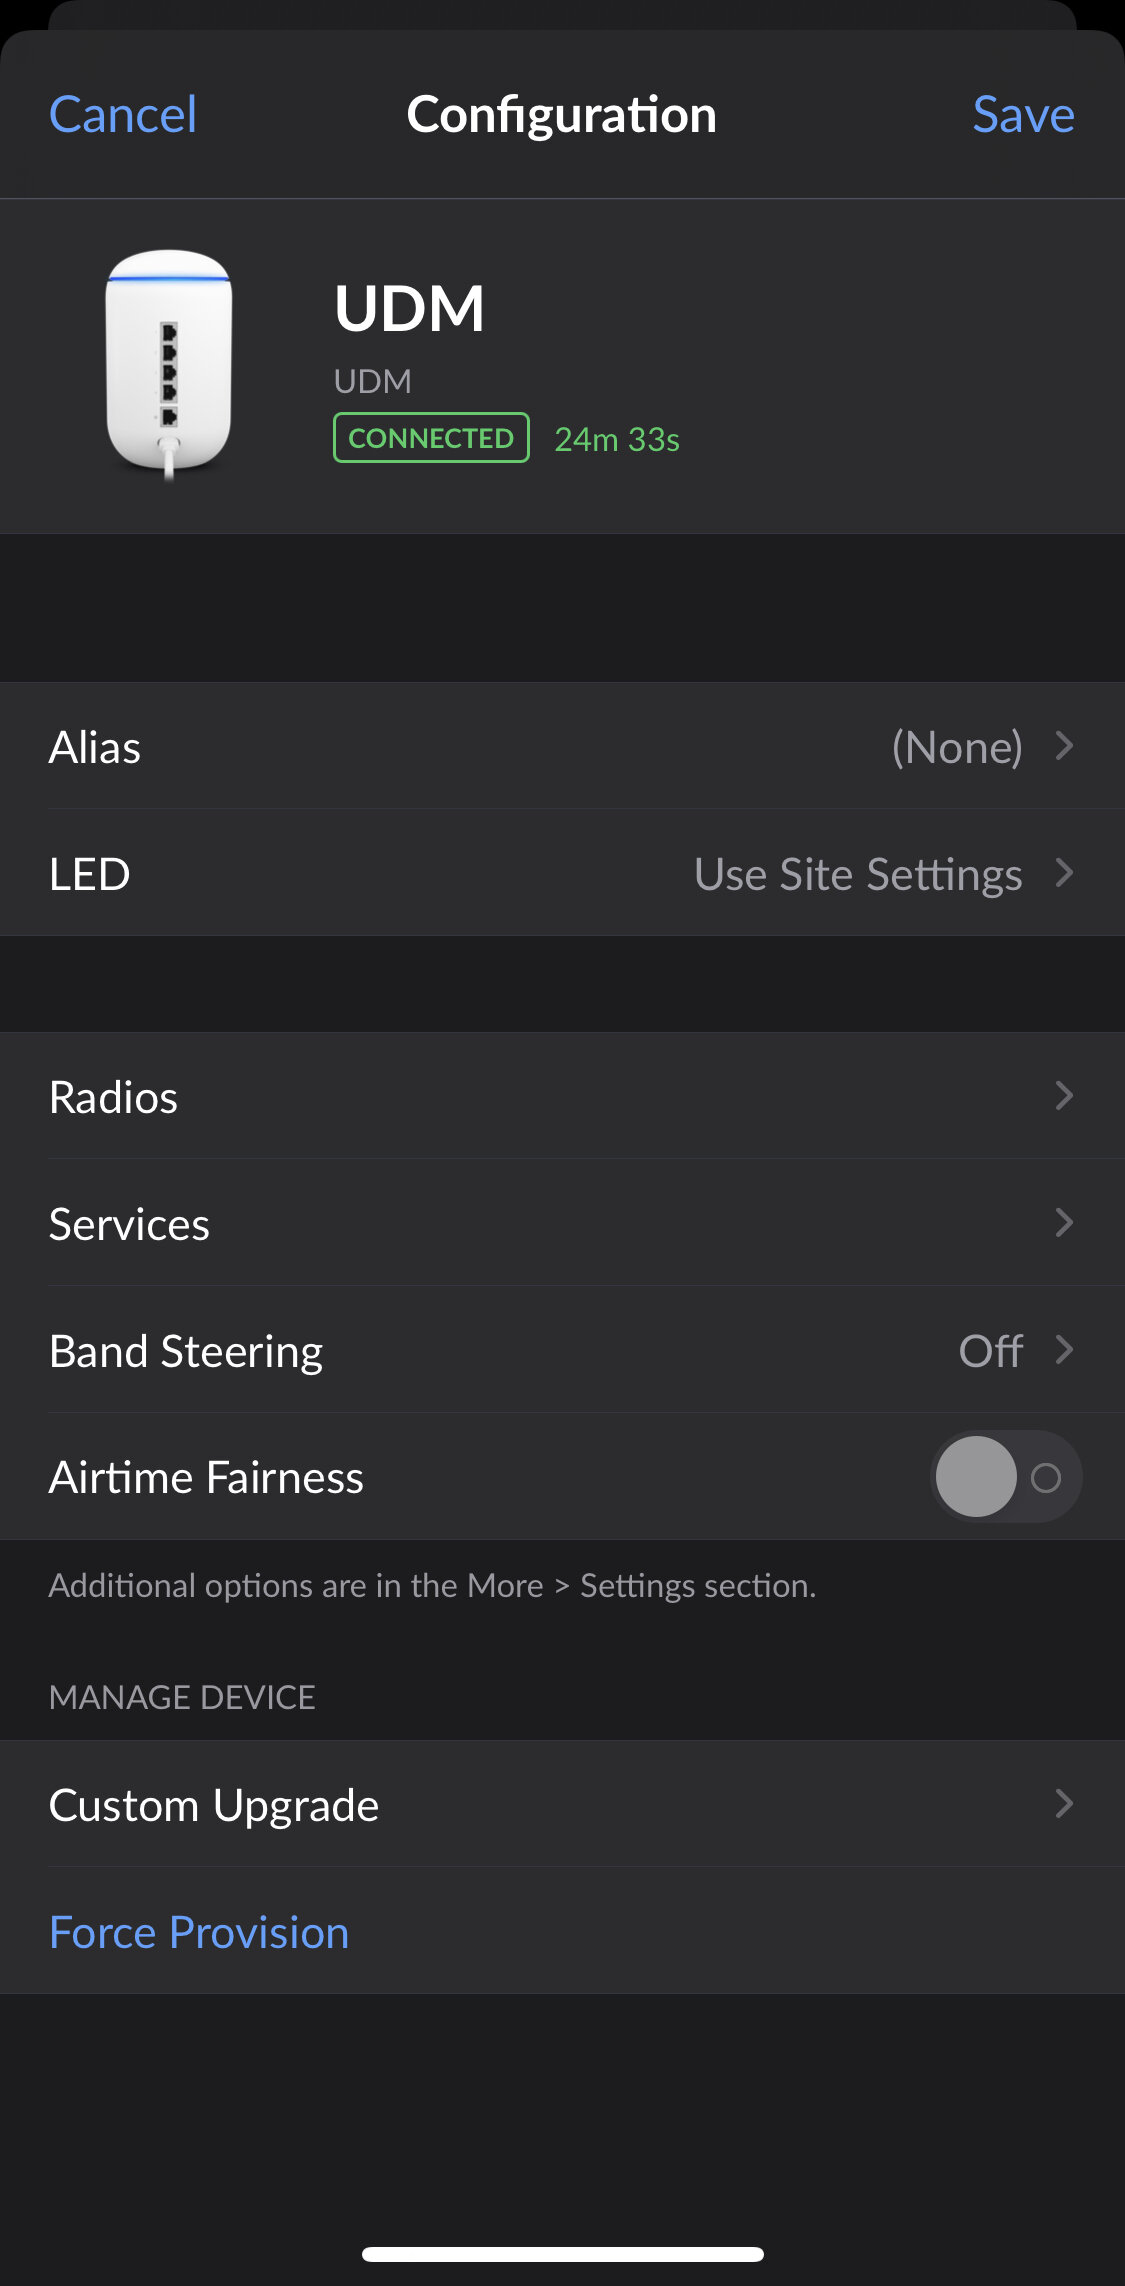
Select configure in the upper right.
Adjust the Channel, Transmit Power, Mesh setting, Minimum RSSI and Cell Size Tuning.
Wi-Fi Channel
I like to leave the channel on auto, but some people prefer to set them manually. Use the RF Scan feature (Devices -> UDM -> RF Environment) before you statically set a channel, so you can avoid the most used channels in your area.
For width, I like to set 2.4 GHz to 20 MHz, and 5 GHz to 80 MHz.
20 MHz on 2.4 GHz minimizes your chance of interference.
40 MHz channels on 2.4 GHz require most of the 2.4 GHz to be interference-free, which it rarely is. 40 MHz channels on 2.4 GHz are a bad idea, unless you are in an area with very few other Wi-Fi networks or sources of 2.4 GHz interference. Even then, I’d avoid it.
80 MHz channels on 5 GHz are usually the best balance of speed and range. If you need your 5 GHz networks to reach further, bump this down to 40 or 20 MHz. Top speeds will suffer, but the network will reach further. Every time you double the channel width, you’re imposing a roughly 3 dBm penalty, reducing your effective range and lowering SNR.
You can’t pick the channel for the BeaconHD, since the BeaconHD extends the WI-Fi signal of the UDM on the same channel.
Transmit Power
I like to leave 2.4 GHz on medium or low, and 5 GHz on high. This encourages devices to roam onto the faster 5 GHz network, and can prevent issues with devices not wanting to roam off the longer-range 2.4 GHz network. These settings won’t work for every setup, but it’s what works best for me in my house.
Meshing from Other APs
If you’re planning on using wireless backhaul to connect another UniFi AP, leave this setting on.
Minimum RSSI
This setting will attempt to kick poorly-performing devices off your AP, which can sometimes encourage them to roam to a closer AP, or prevent them from dragging down the performance of the network for everyone else. I’ve seen a lot of people have issues with this setting so I like to leave it disabled.
Cell Size Tuning
This is another setting which I’ve seen cause more issues than it solves, so I leave this disabled as well. The idea of cell size tuning is that it will limit the reach of a single AP in a dense wireless network. Most home users are better off leaving this disabled unless they know what they’re doing.
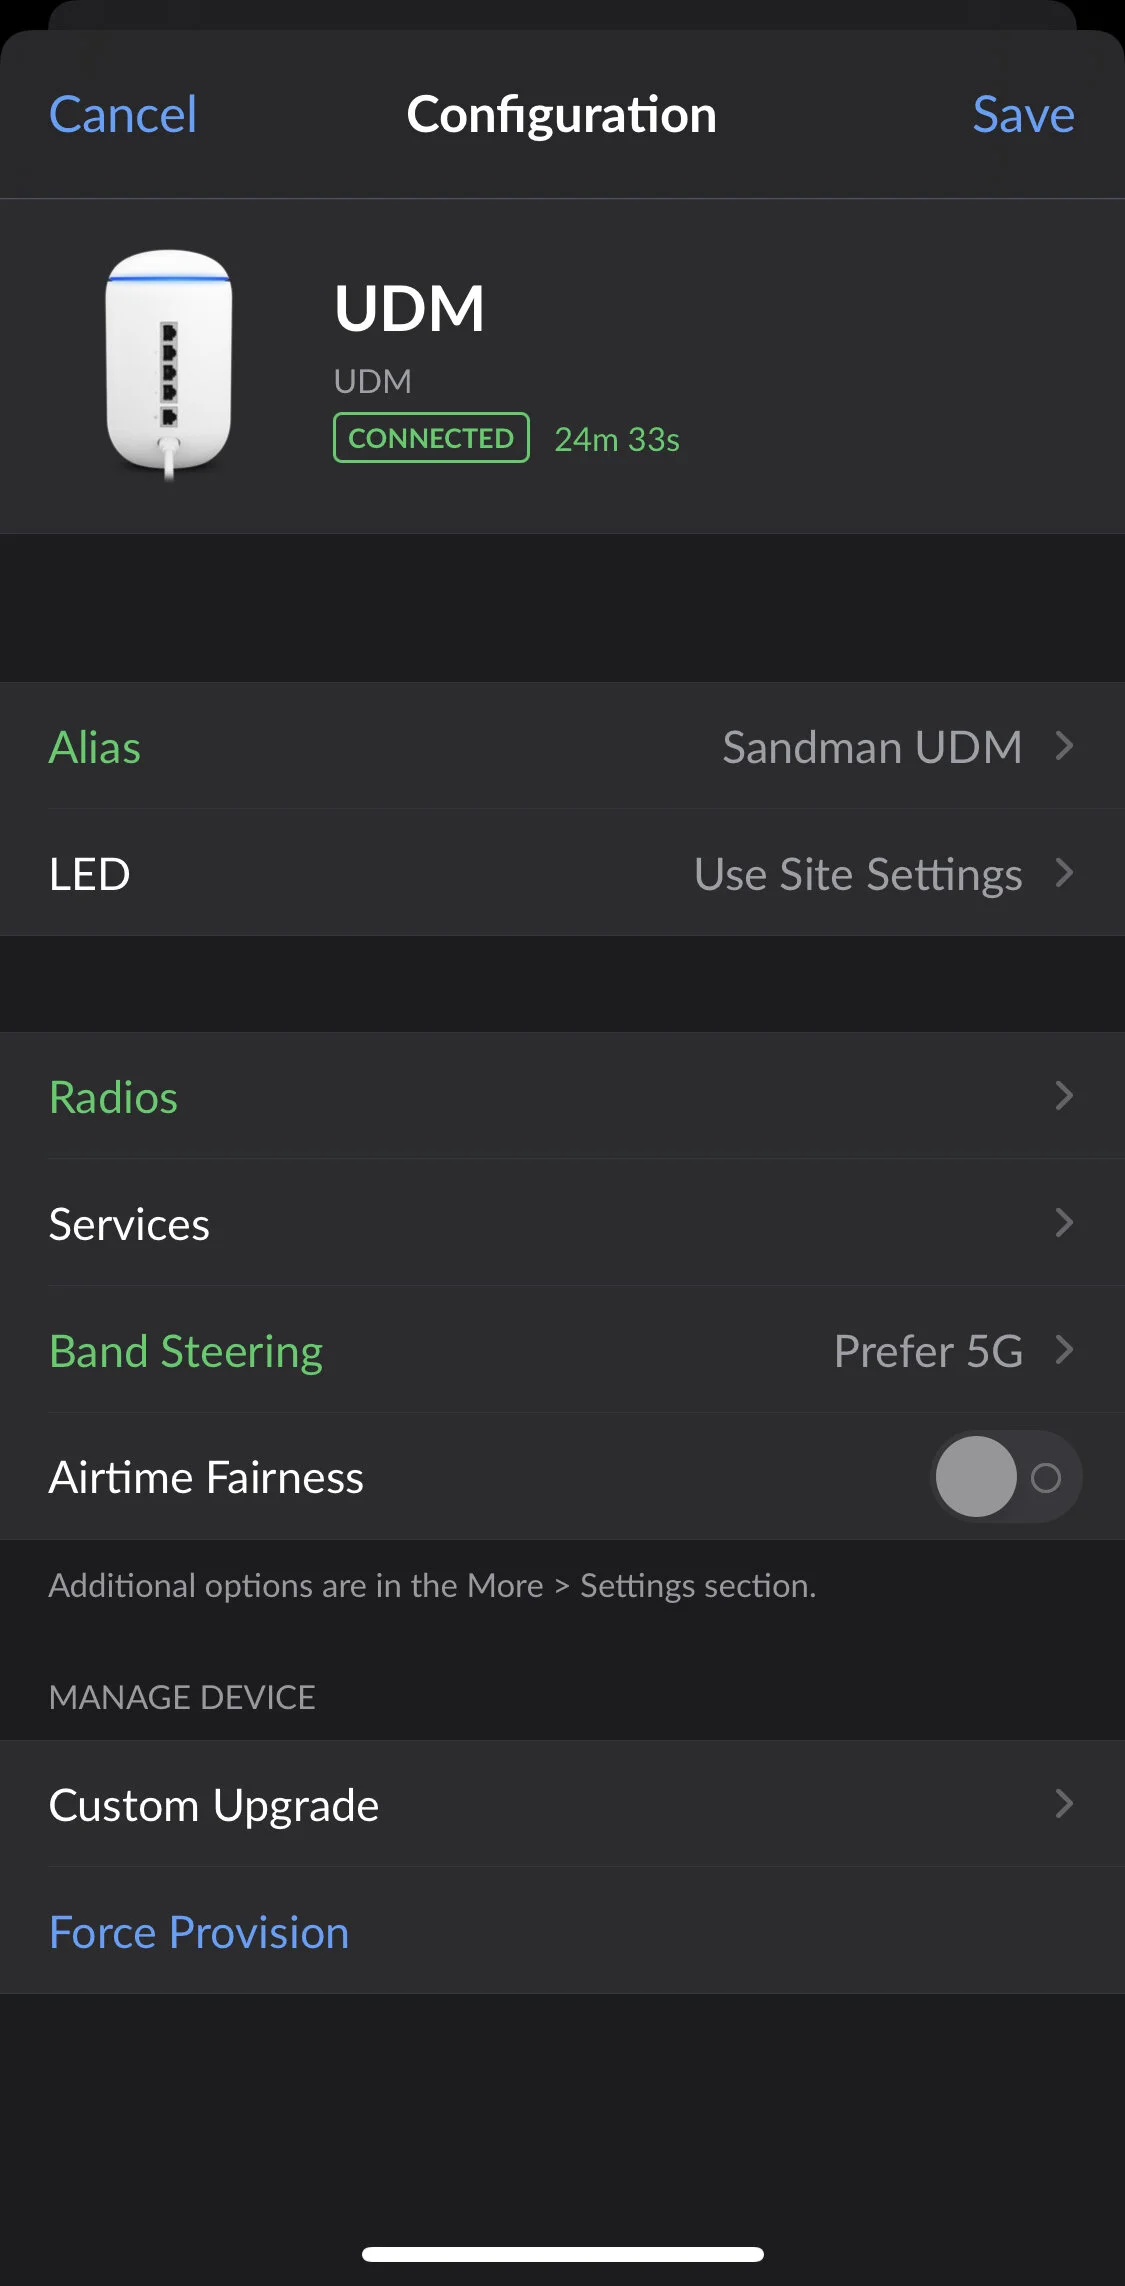
Band Steering:
Leave disabled, or set it to Enabled or Prefer 5G (at your own risk)
Band steering encourages devices to join the faster 5 GHz network by not responding to association requests on the 2.4 GHz band. If you notice devices not roaming to the correct access point, or staying connected to 2.4 GHz networks, this can be a good setting to enable.
It may cause some issues, especially with older devices. If you have devices that can’t join the network after enabling this setting, disable it.


Other Ubiquiti Guides and Reviews
- Unofficial Ubiquiti Guide
- Ubiquiti FAQ
- Ubiquiti's UniFi Ecosystem Explained
- Ubiquiti: UISP Is The New UNMS
- How Wi-Fi Works, From Electricity to Information
- UniFi Wireless Access Point Buyer's Guide: 2021 Edition
- UniFi BeaconHD and Smart Power Plug Review
- UniFi Router Comparison: USG vs UDM vs UXG
- UniFi Dream Machine (UDM) Review
- UniFi Dream Machine Pro (UDM-Pro) Review
- UniFi Dream Machine vs. AmpliFi Alien
- How To SSH Into Your UniFi Dream Machine
- UniFi Next-Gen Gateway (UXG-Pro) Preview
- Upcoming UniFi Switches Preview
- UniFi Switches Explained
- UniFi Switches Buyer's Guide
If you have more questions about Ubiquiti or anything in this post, leave a comment or contact me. I will do my best to point you in the right direction, or help in any way I can.