
eero Setup Guide and Mini-Review
Originally Posted: August 6th, 2020
Last Edited: April 19th, 2022
eero Setup Guide and Mini-Review
Eero has announced two generations of Wi-Fi 6 models. For more information, check out my full review of the eero 6+ and eero Pro 6E . This post used the previous Wi-Fi 5 models, but the setup process remains the same.
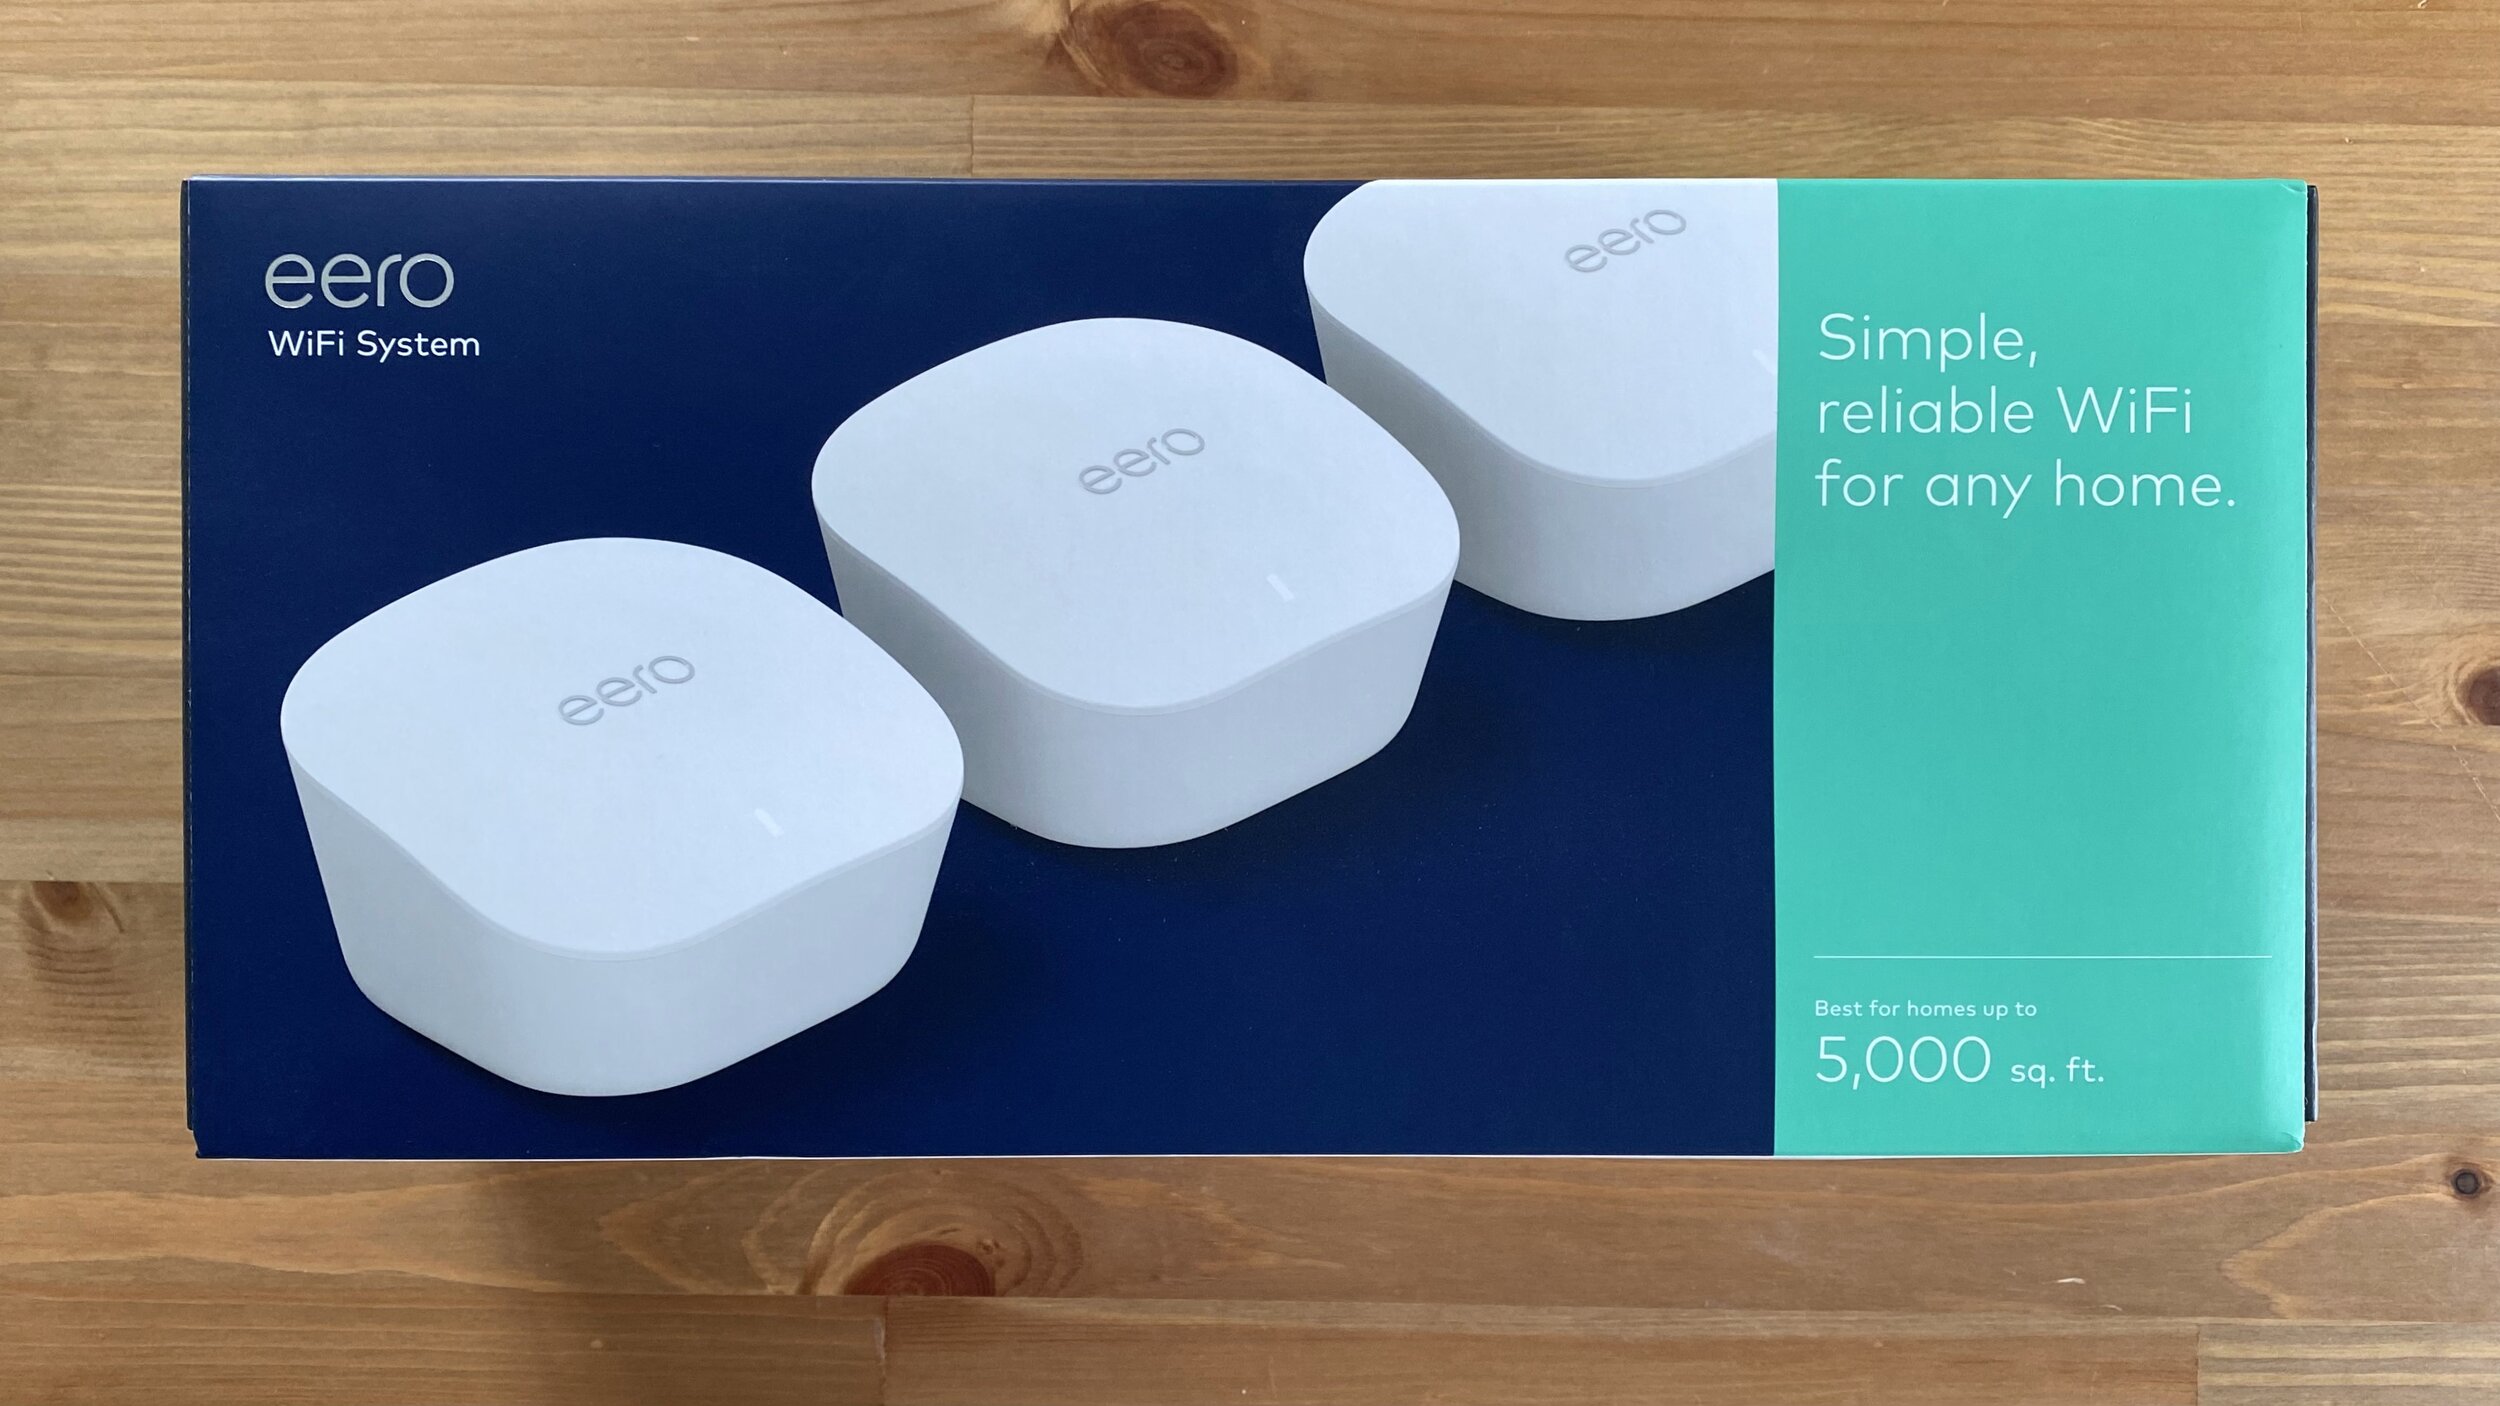
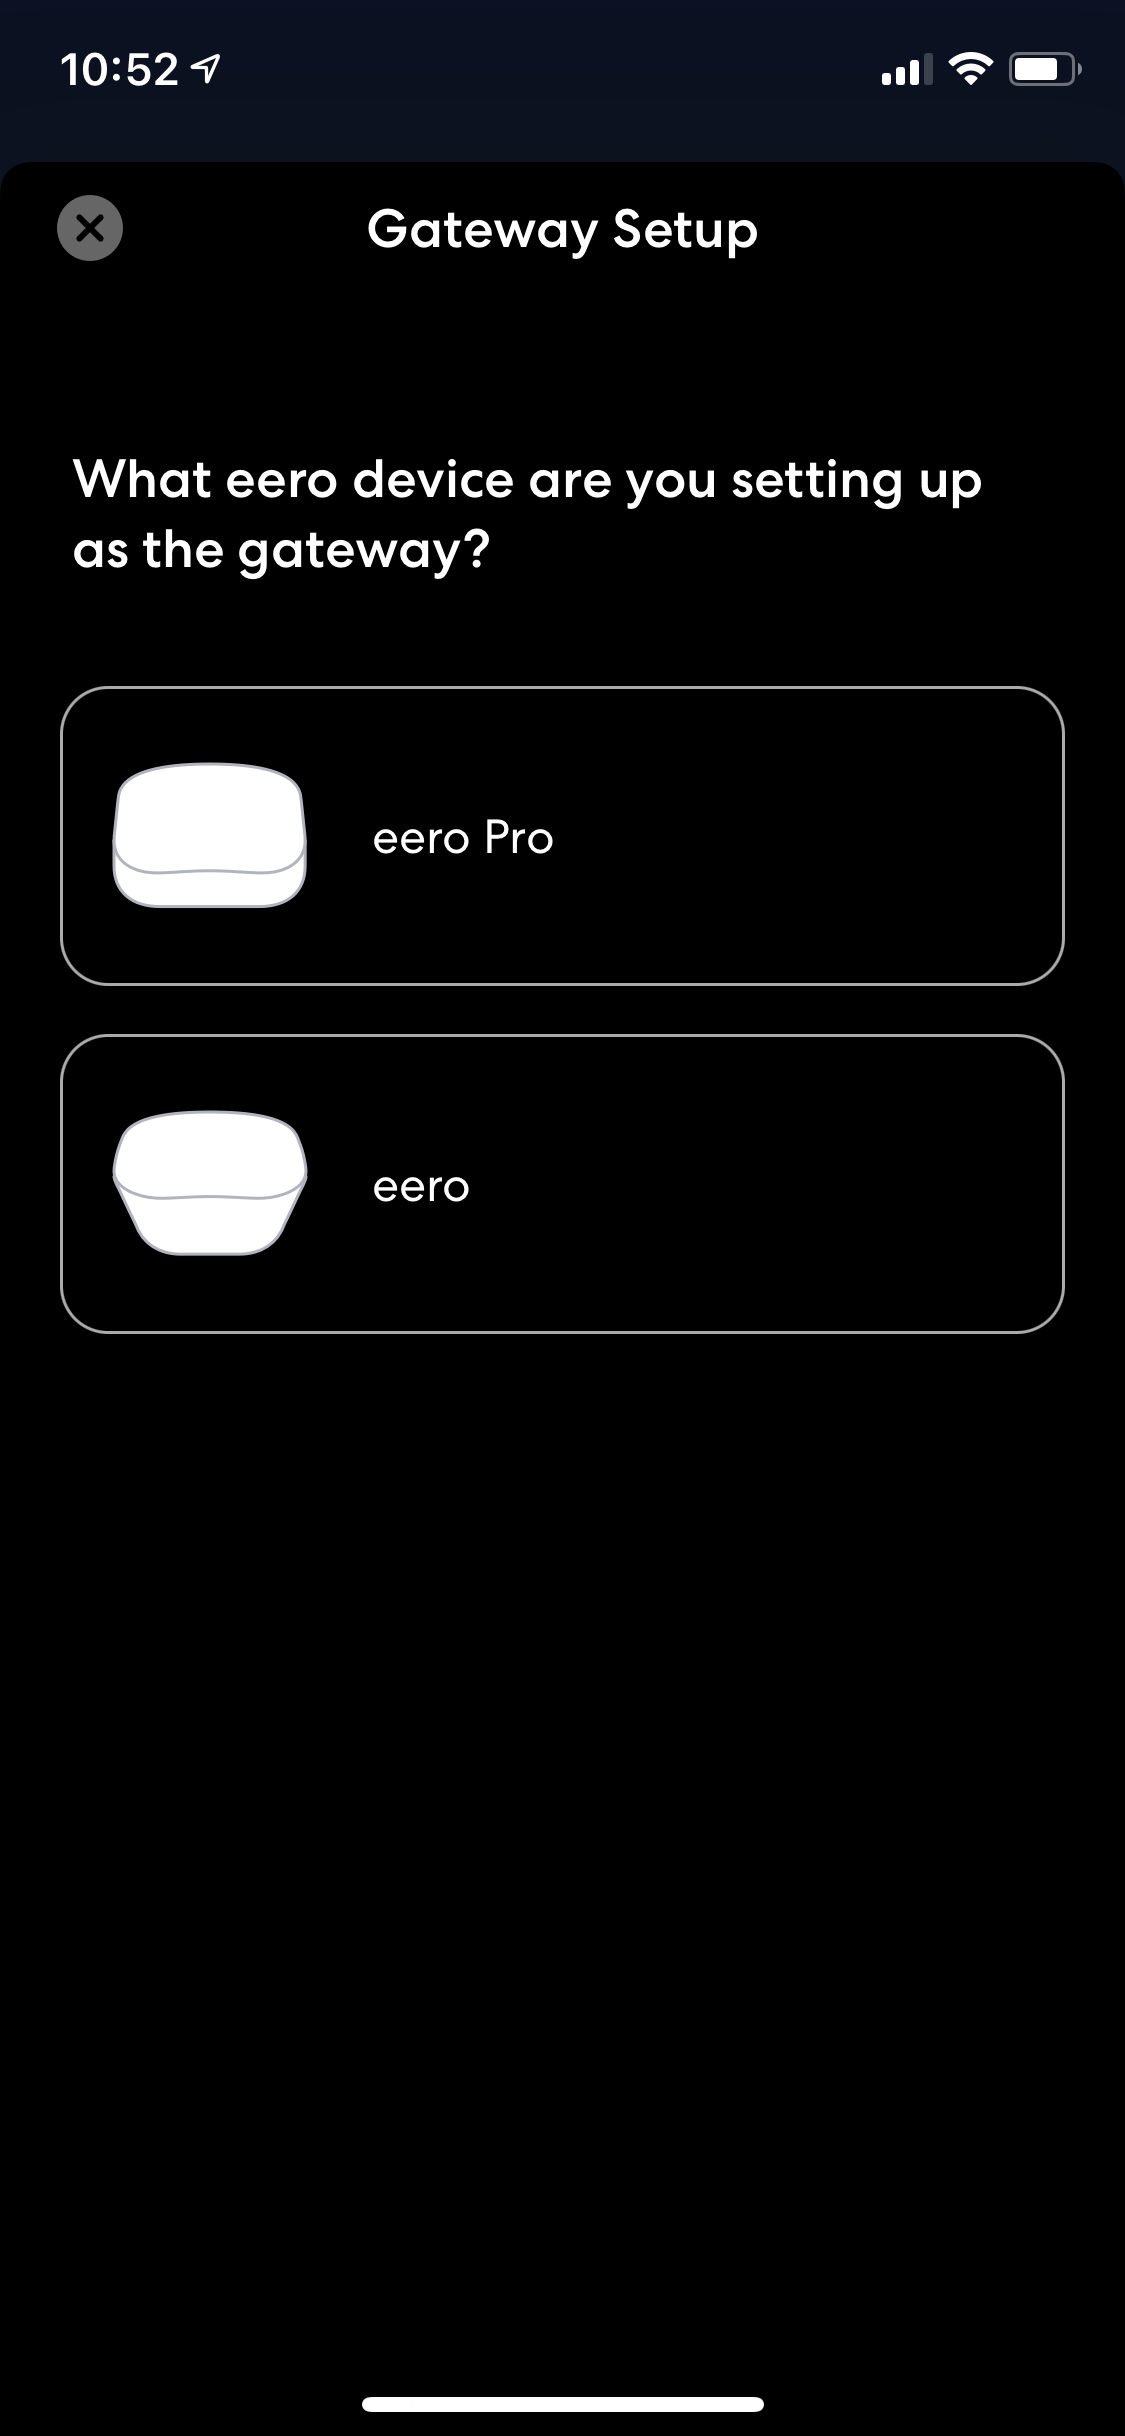
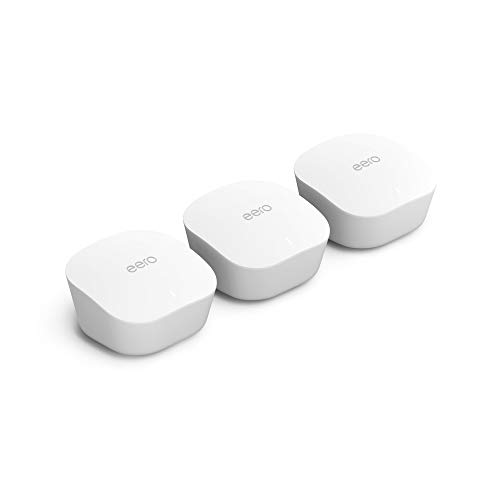
The eero and eero Pro are some of the easiest to use home Wi-Fi systems. They cover your home in reliable Wi-Fi by using multiple access points and automatic mesh networking. I’ve already tested the eero Pro with gigabit speeds, and compared the two different systems. Now let’s focus on the basic non-pro system, and talk about how to setup an eero network. I’m using the eero 3-piece kit for this article, but the setup is the same for any eero system.
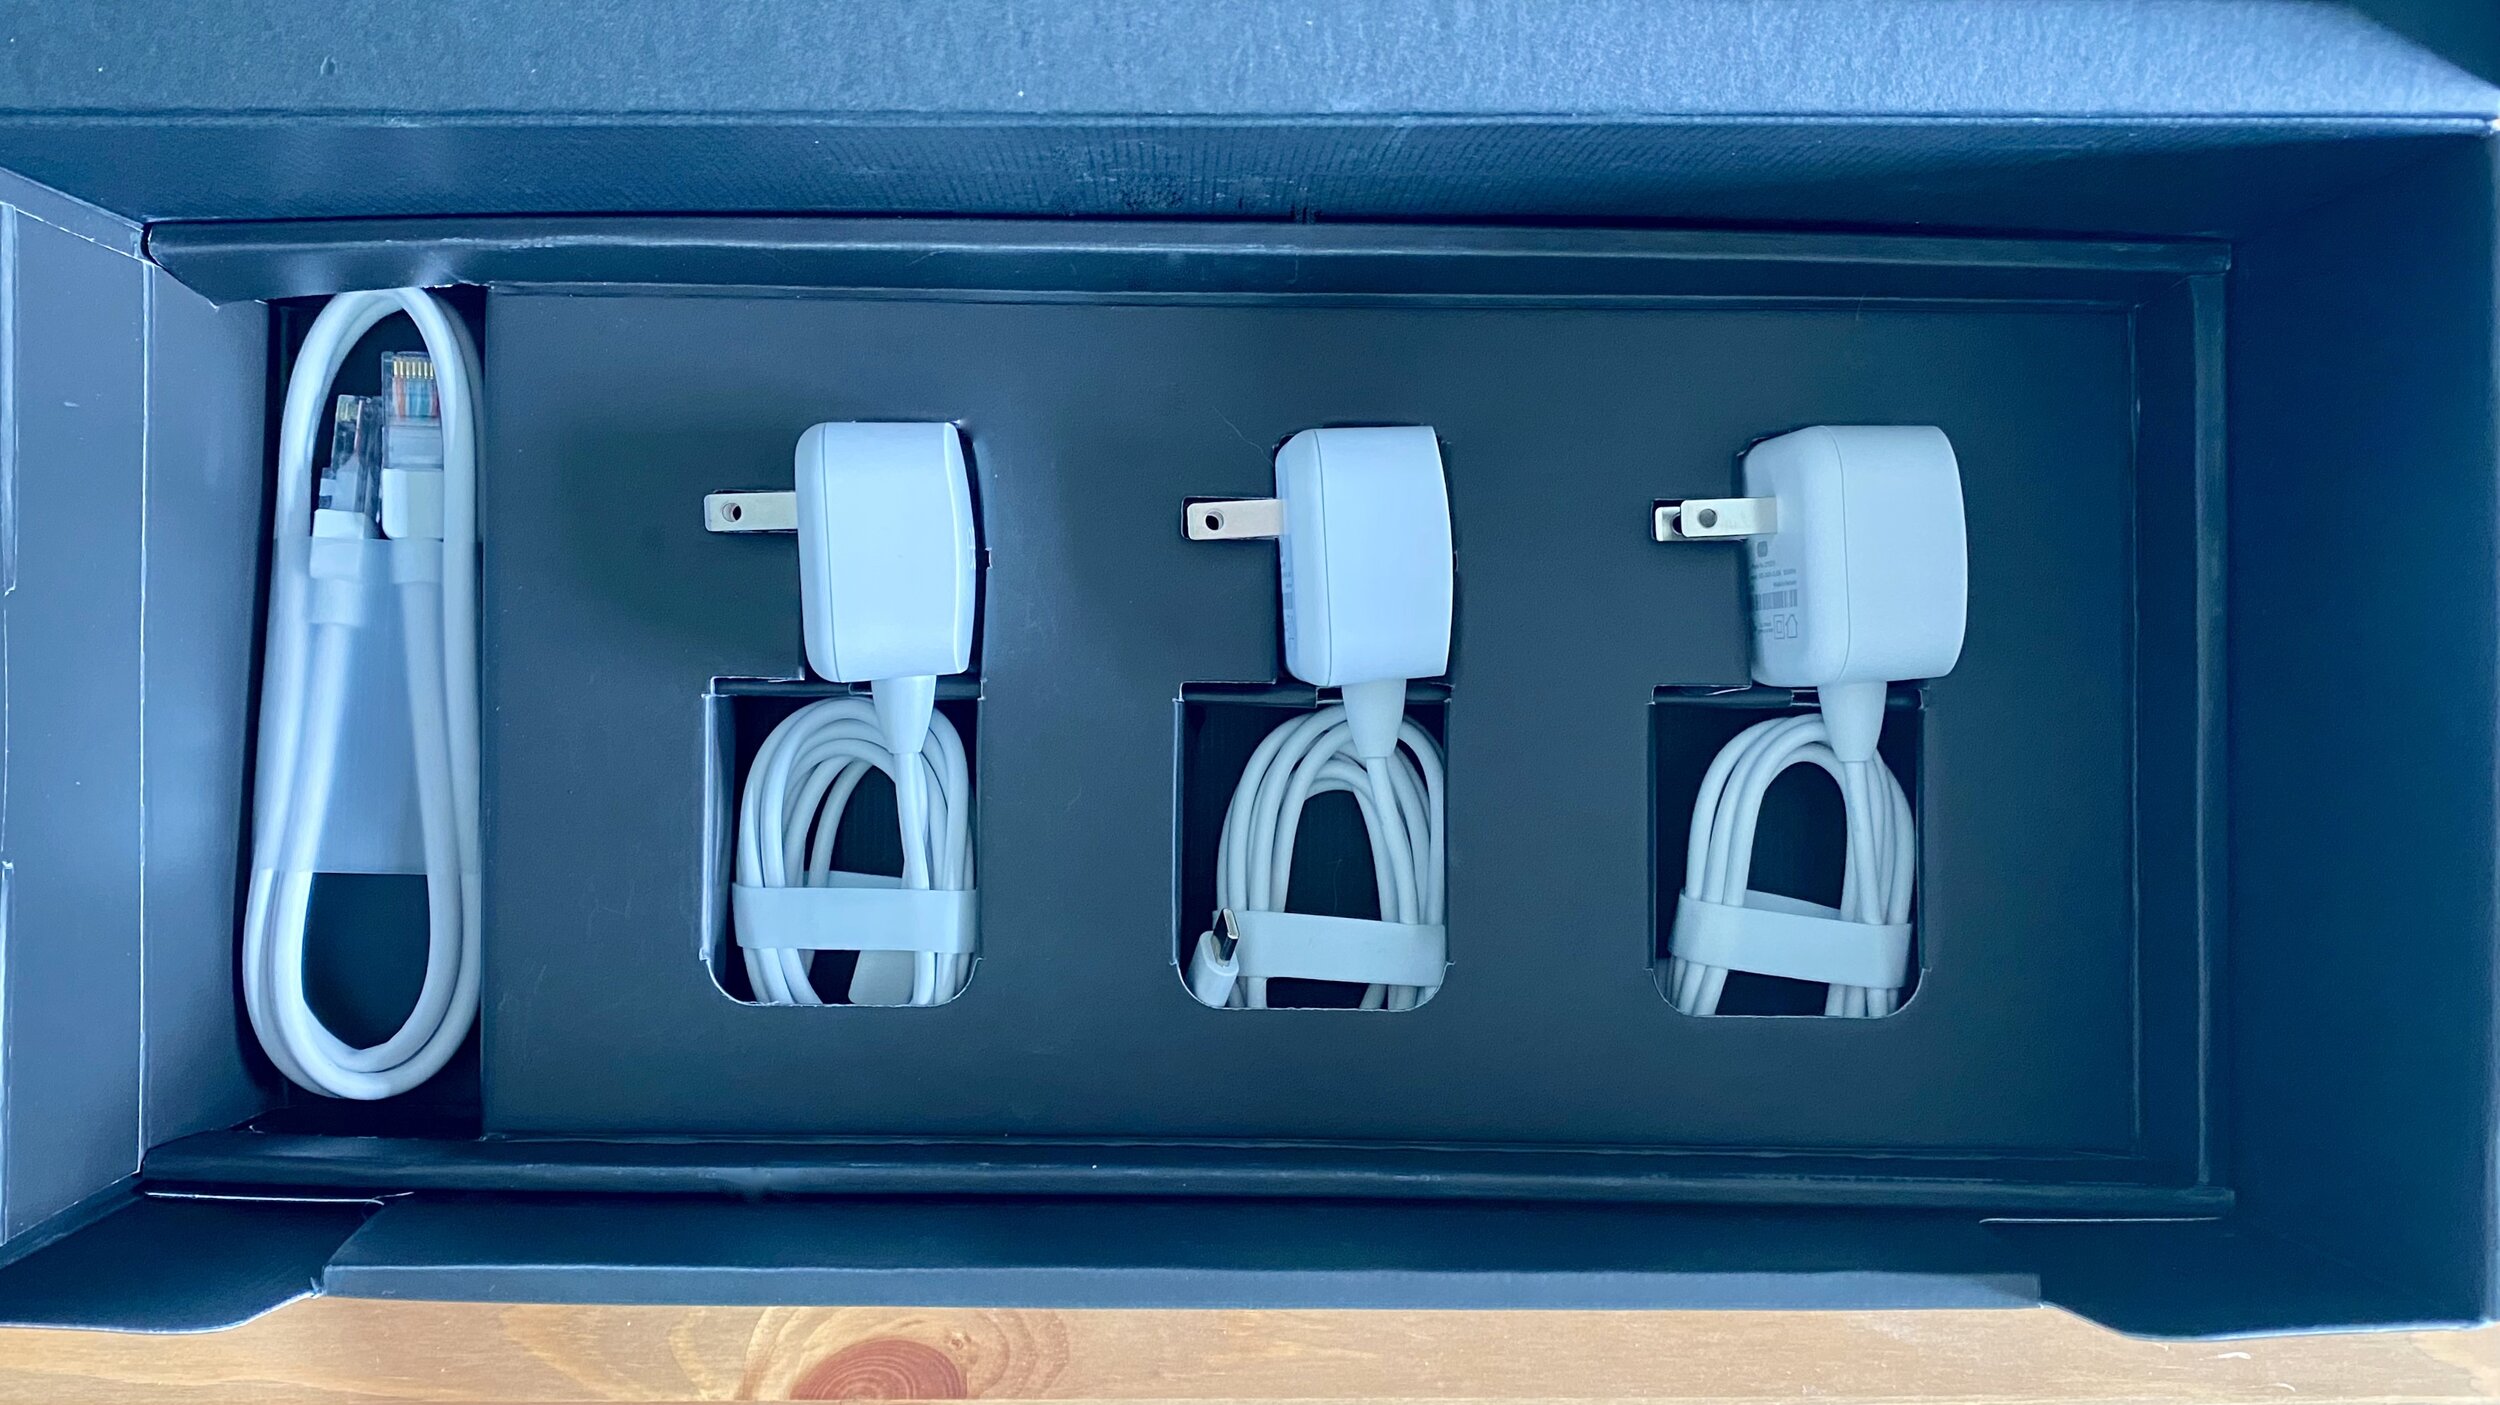
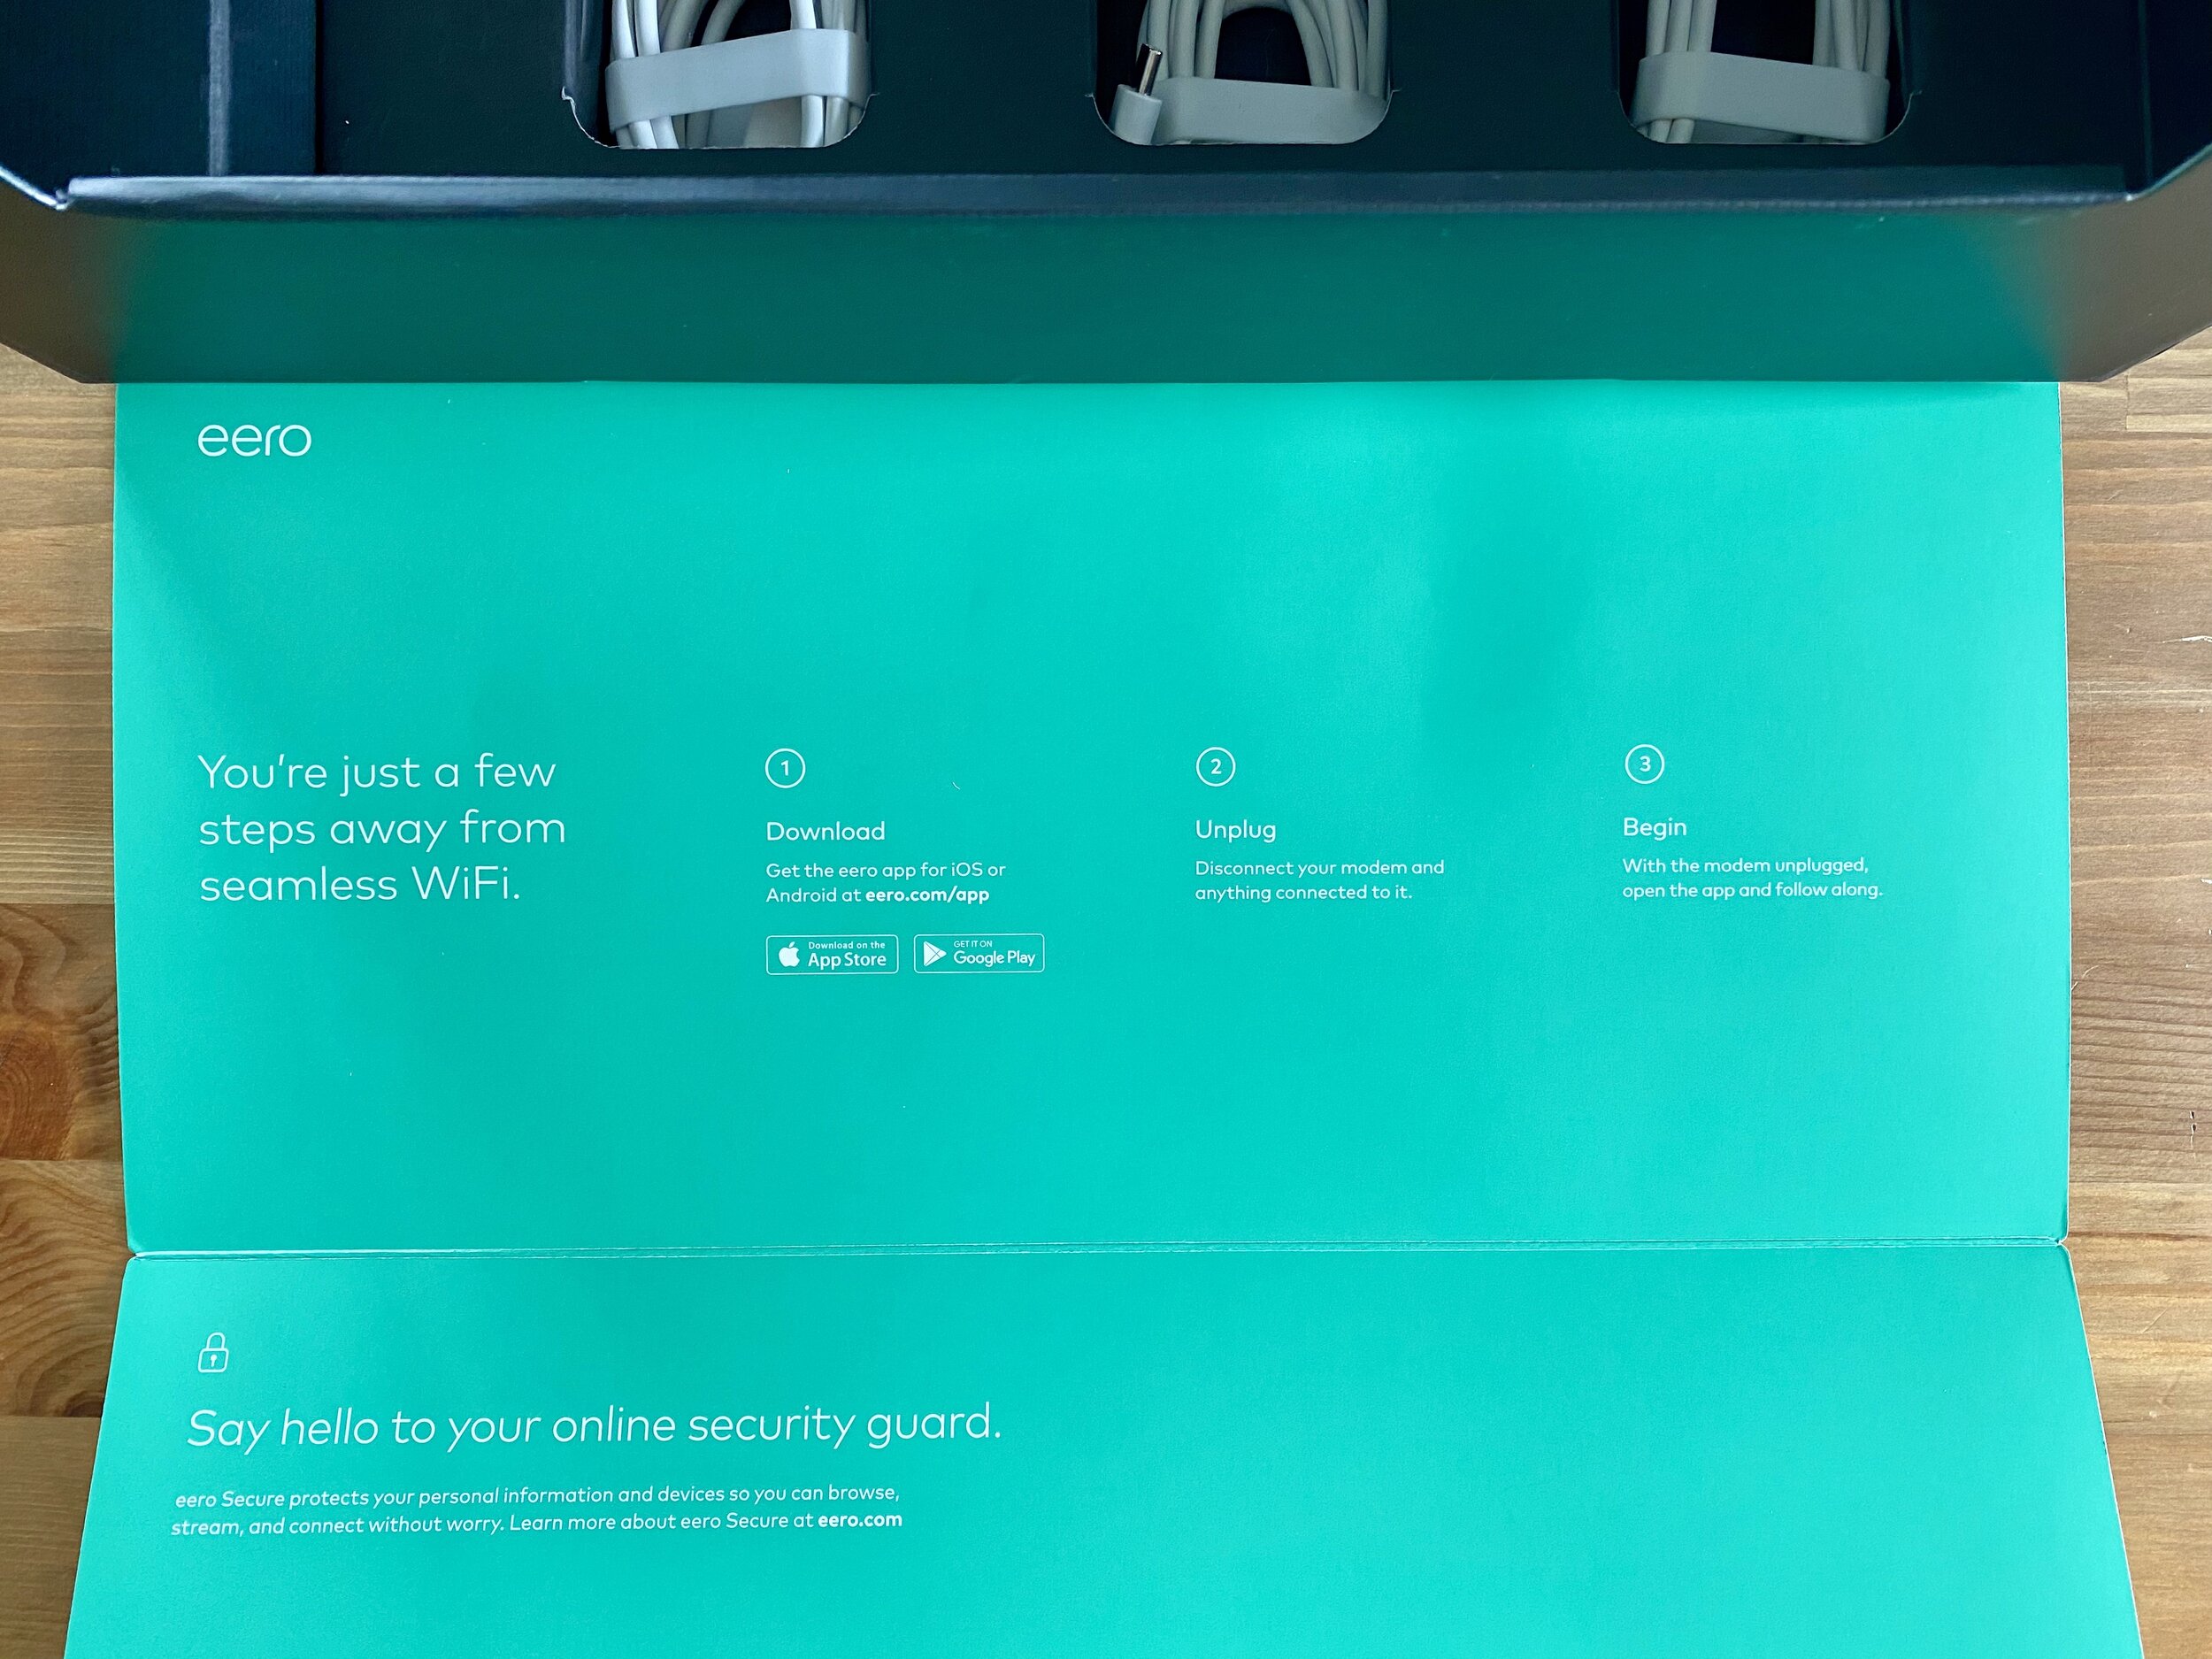
Before you unbox the eero kit and plug them in, you’ll want to get your smartphone. The only way to setup and manage the eero system is with the smartphone app. The bad news for nerds is there is no option for a web interface. The good news for everyone else is that the mobile app is very easy to use. If you have an iPhone go to the App Store, if you have an Android phone go to the Google Play Store, and get the eero app.
The eero App and Initial Setup
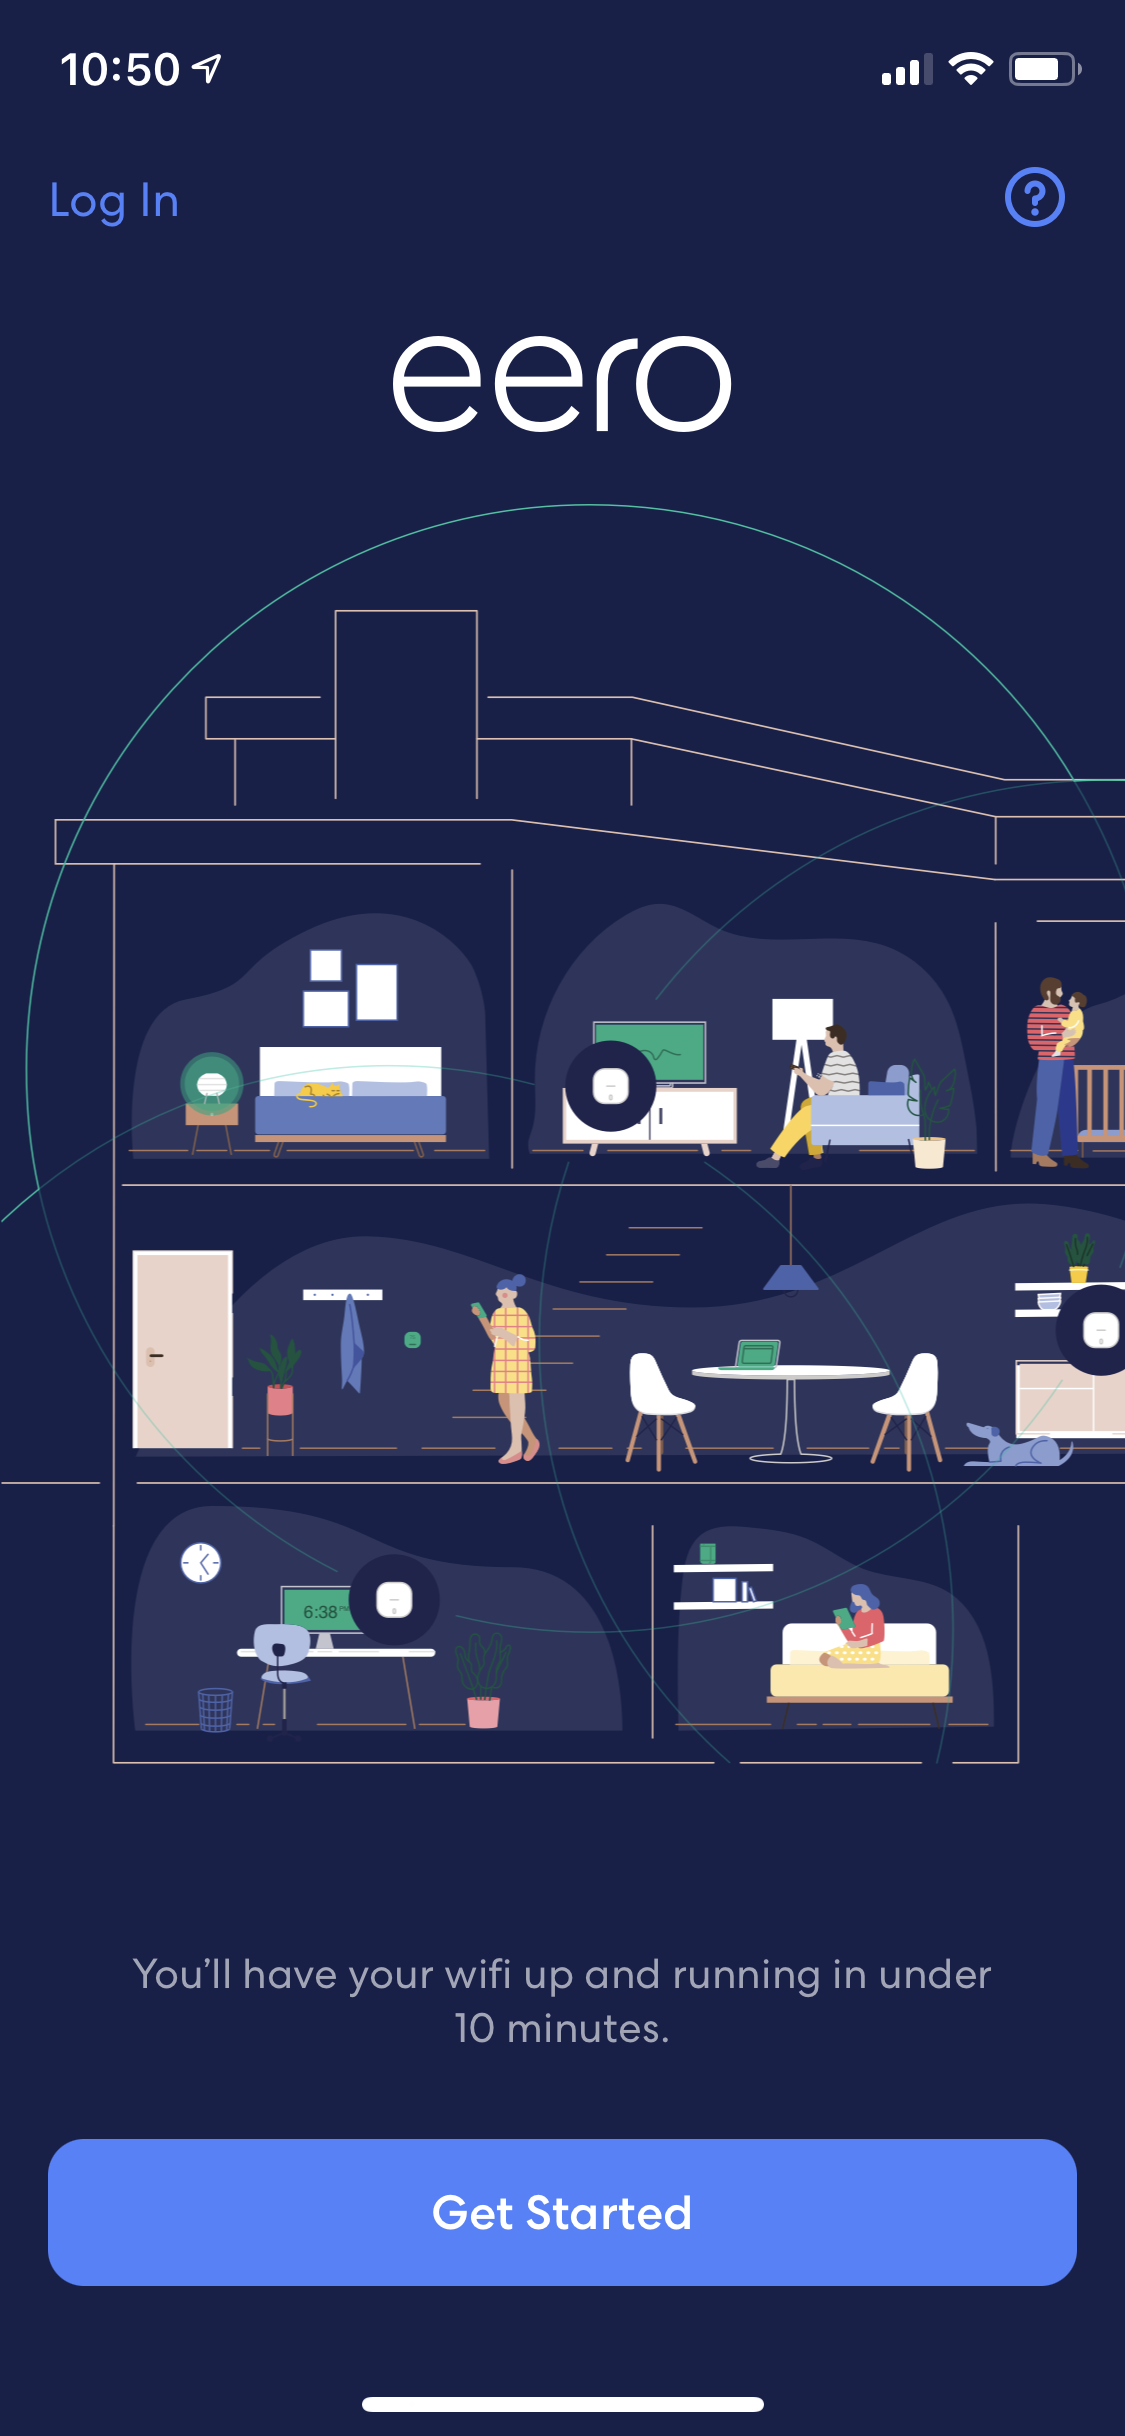
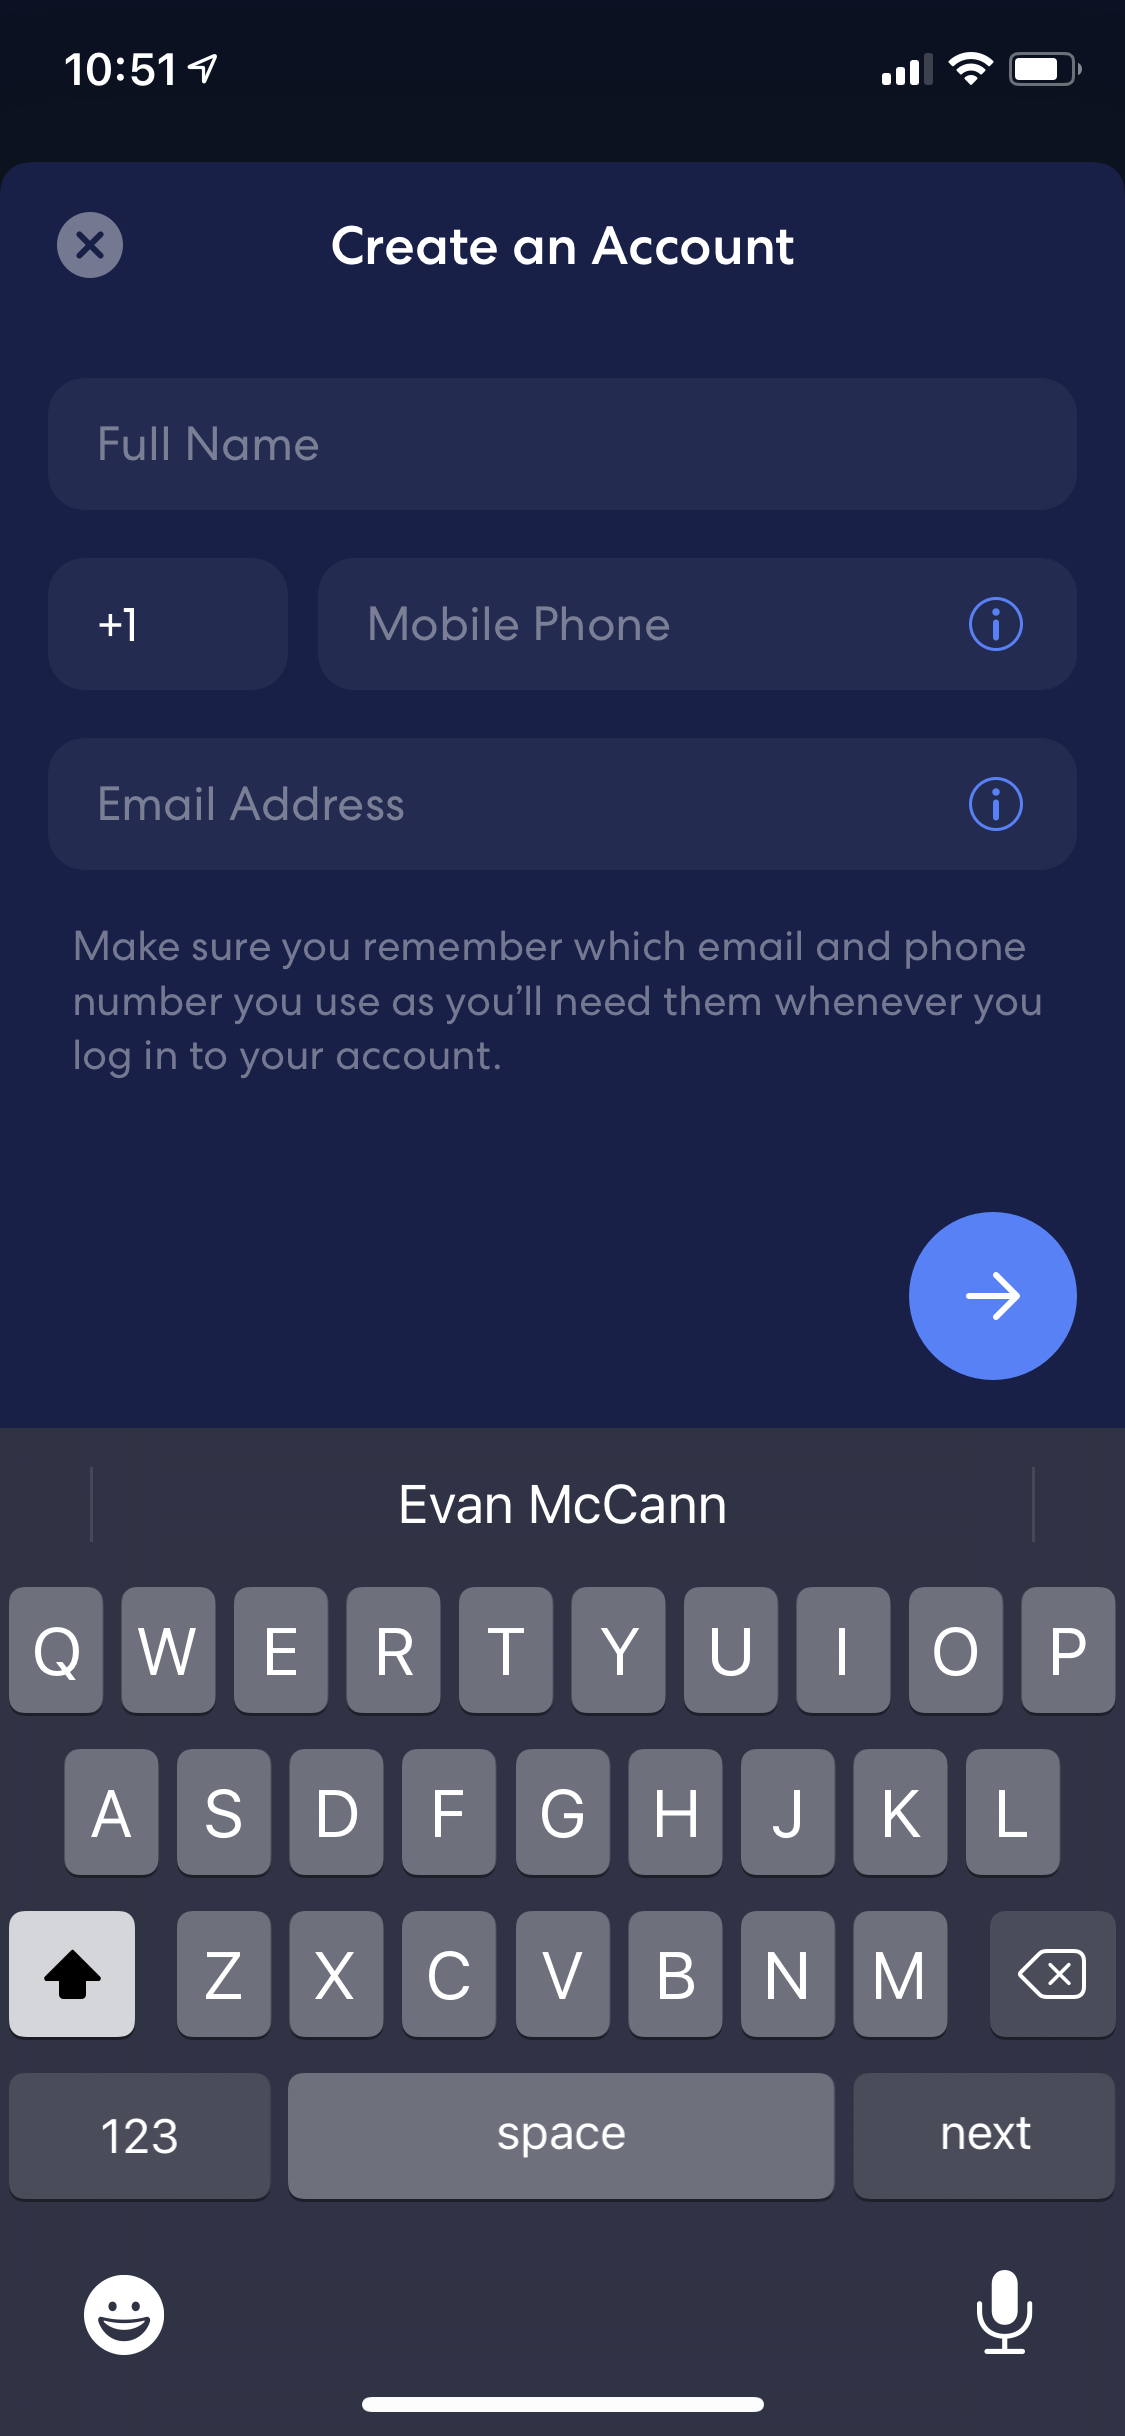
If you’ve never used an eero device before, you’ll have to setup an account. If you already have an existing account, hit the log in button in the top left. The above screenshots were taken in real time, as I was setting up my system. Note the time in the top left — it literally took me 5 minutes. The hardest part for most people is giving the eero the right kind of Internet connection.
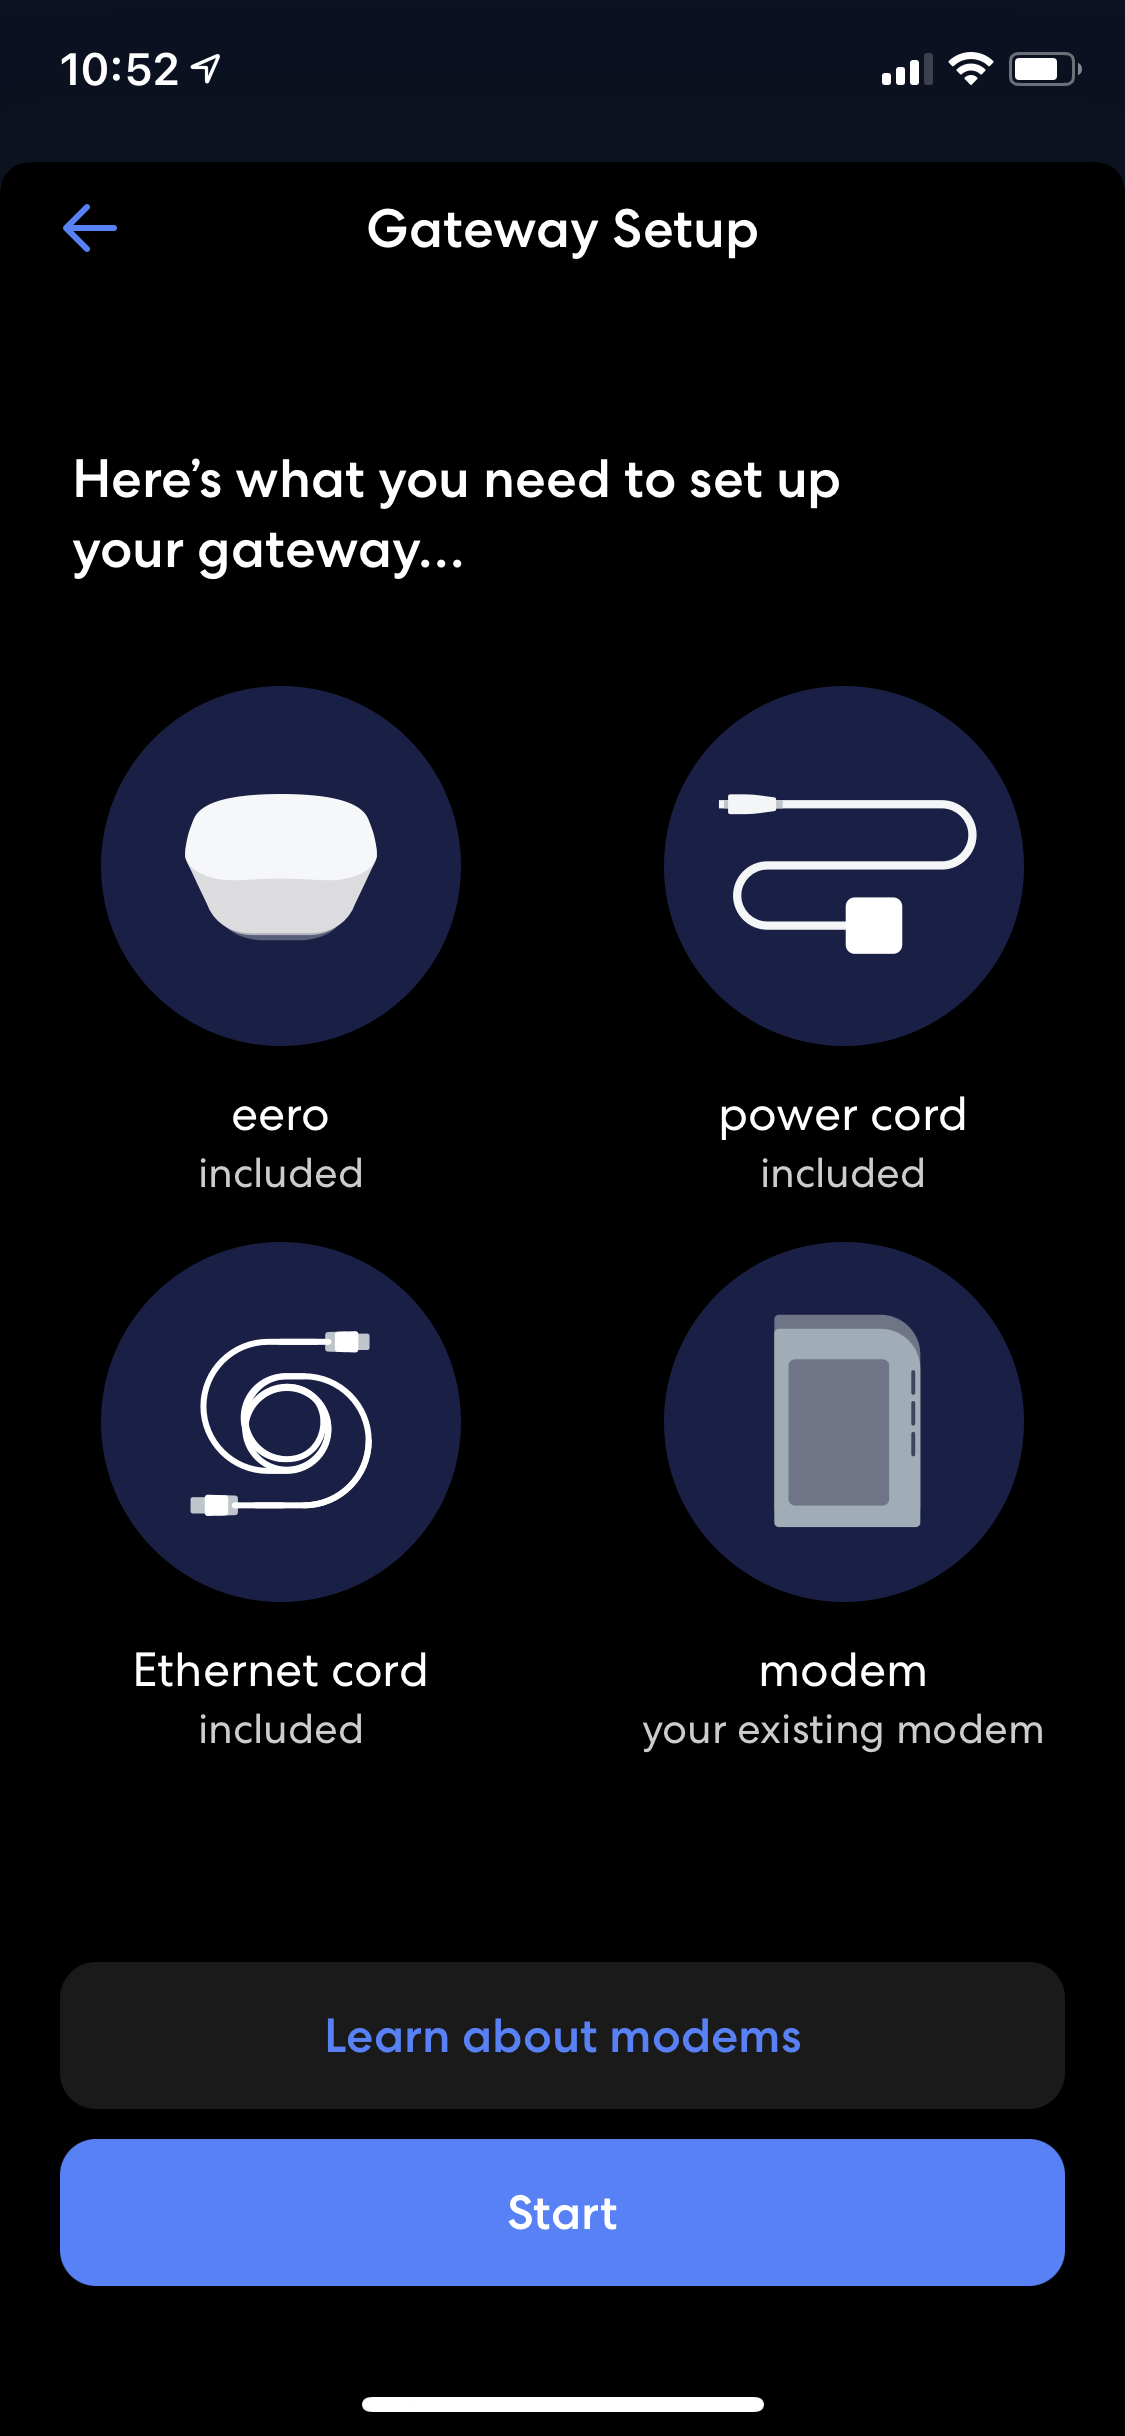
Giving the eero an Internet Connection
The main thing to figure out before setup is how you are connecting the eero to the Internet. This depends on what kind of Internet connection you have. The goal is to give your eero an Ethernet connection to the Internet. I have Verizon FiOS, which gives me a standard Ethernet connection I can plug directly into the Eero. This might not be your situation, but I’ll try to cover some common ones.
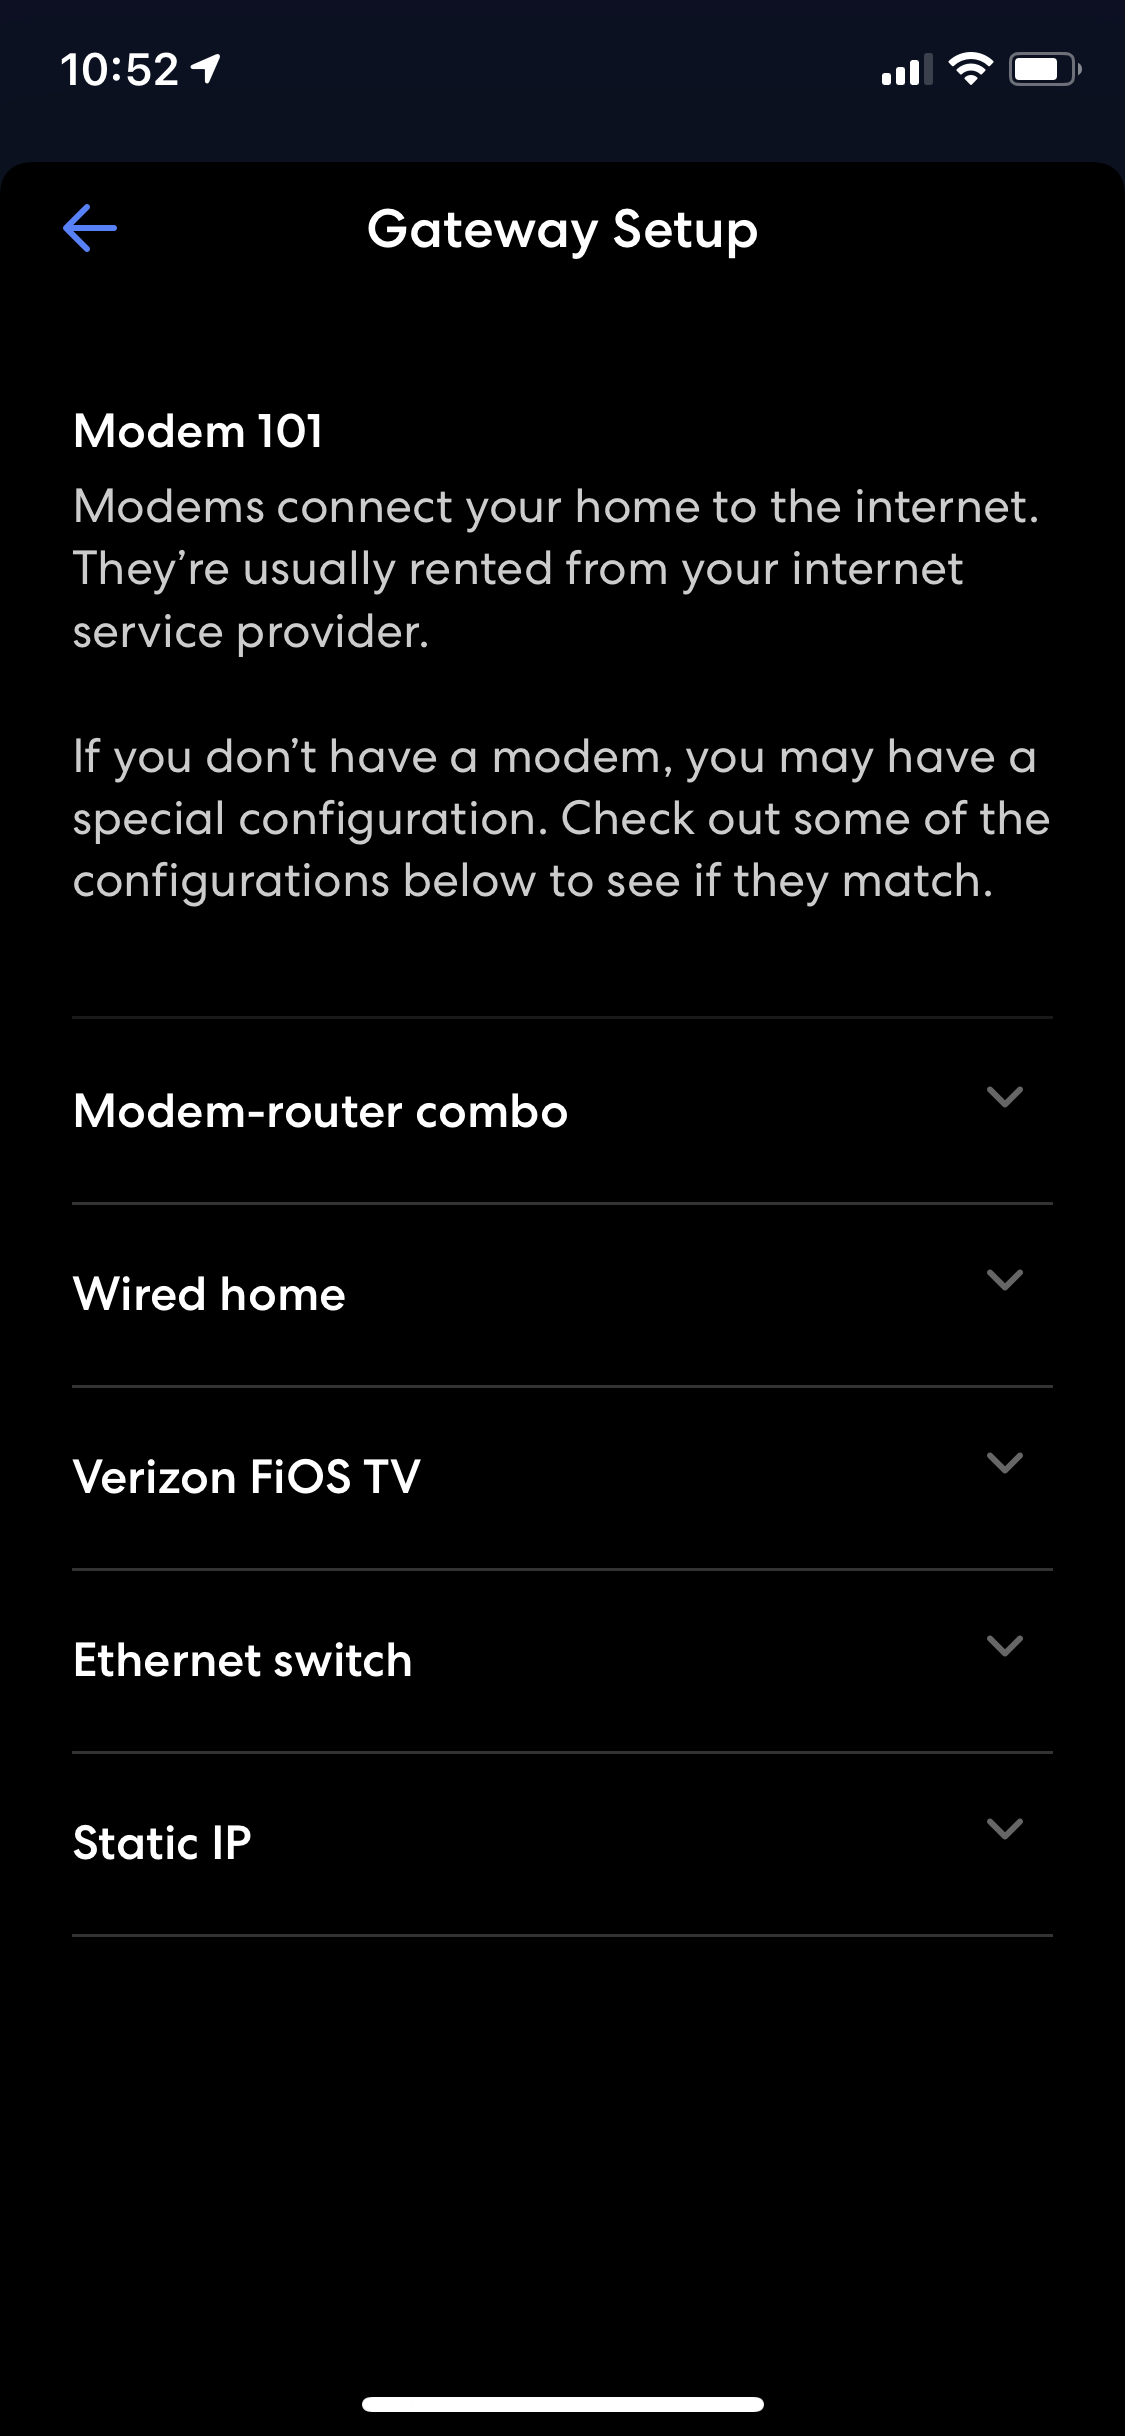
If you’re not sure what a modem is, or what a router does, I define some common networking terms here. The short answer is that a modem is necessary for some types of Internet connections. Most people are better off replacing their existing router with the eero.
Most cable or DSL Internet providers require a modem, or an ISP-provided modem/router. My ISP (Verizon FiOS) uses fiber, and I have an Optical Network Terminal (ONT) which does the same function as a coax cable or DSL modem.
You don’t want to have two devices acting as routers because you want to avoid double NAT. If you’re using an ISP-provided or rented modem/router this can be a little tricky.
If you are able to buy your own standalone modem, do that. Renting equipment from your ISP is usually a bad deal anyway. You’ll have to check with your ISP to figure out which modem you need, and you will need them to activate it once it is installed. This should be done before trying to setup your eero system.
If your ISP requires their router or modem/router to stay there, your best option is to put your ISP’s router into “bridge” or passthrough mode. Refer to the documentation for your specific device for instructions. The eero app has some helpful guides as part of the setup process to make sure you’re plugging the correct thing into your main eero.
Once you have only a modem, or a modem/router in bridge mode, all you need to do is connect an Ethernet cable from your modem to one of the eero units
If you’re not able to get your ISP router into bridge or passthrough mode, you should put your eero into bridge mode to avoid double NAT.
These are the steps to get your eero’s into bridge mode:
Open the eero app and tap Settings (bottom right corner)
Tap Advanced
Tap DHCP & NAT
Switch your selection from Automatic (recommended) to Bridge or Manual (for those running static IP)
Tap the Save button in the top right corner
Most common eero setups:
Internet -> Your ONT/Modem -> eero
Internet -> Modem/router in bridge mode -> eero
Internet -> Modem/router -> eero in bridge mode
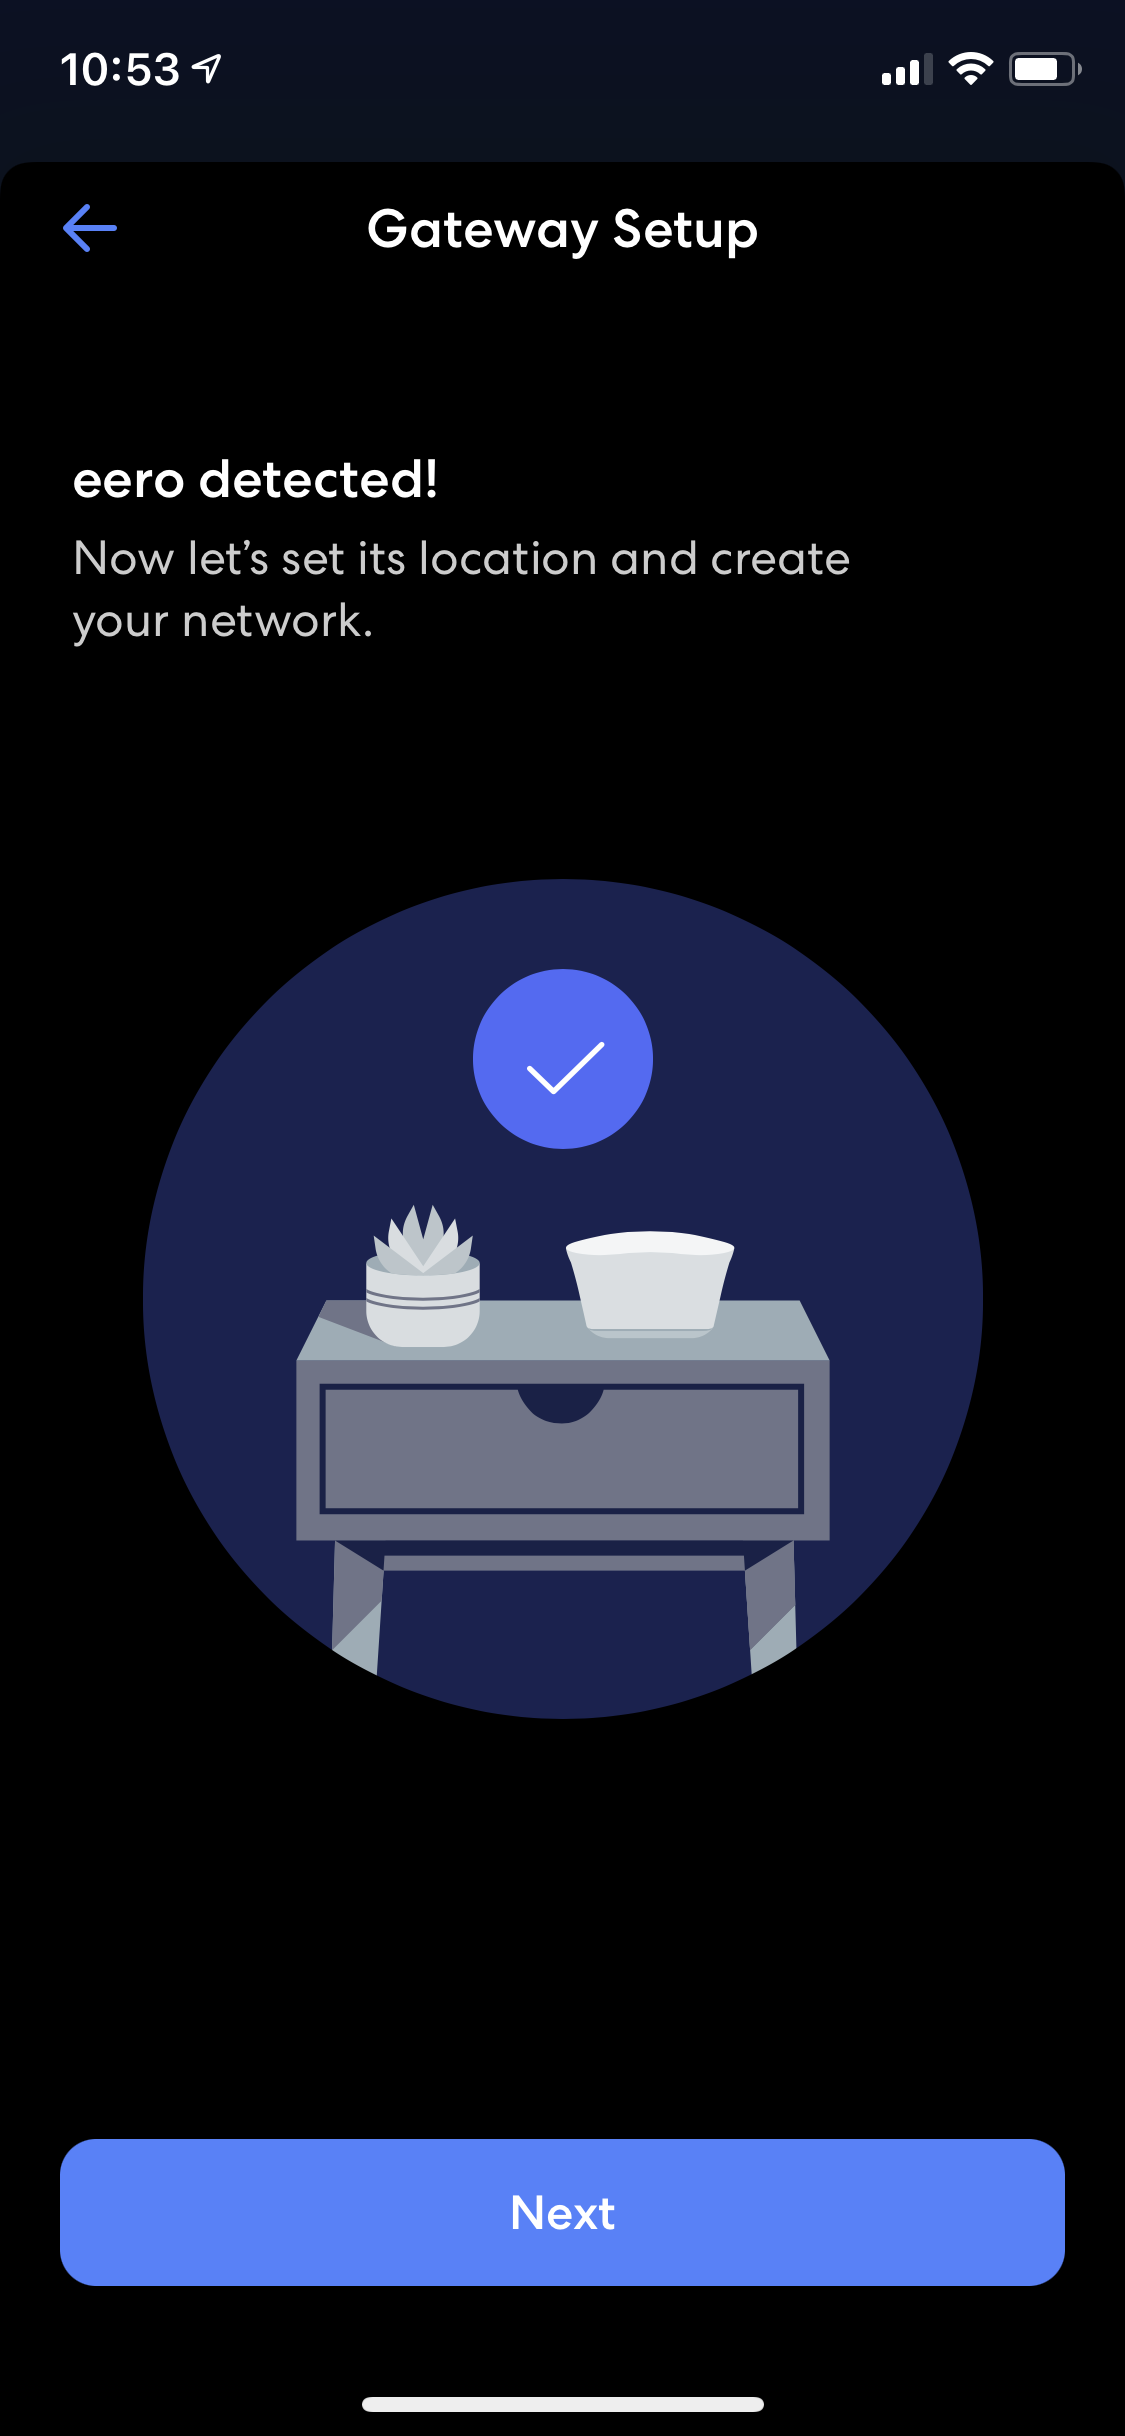
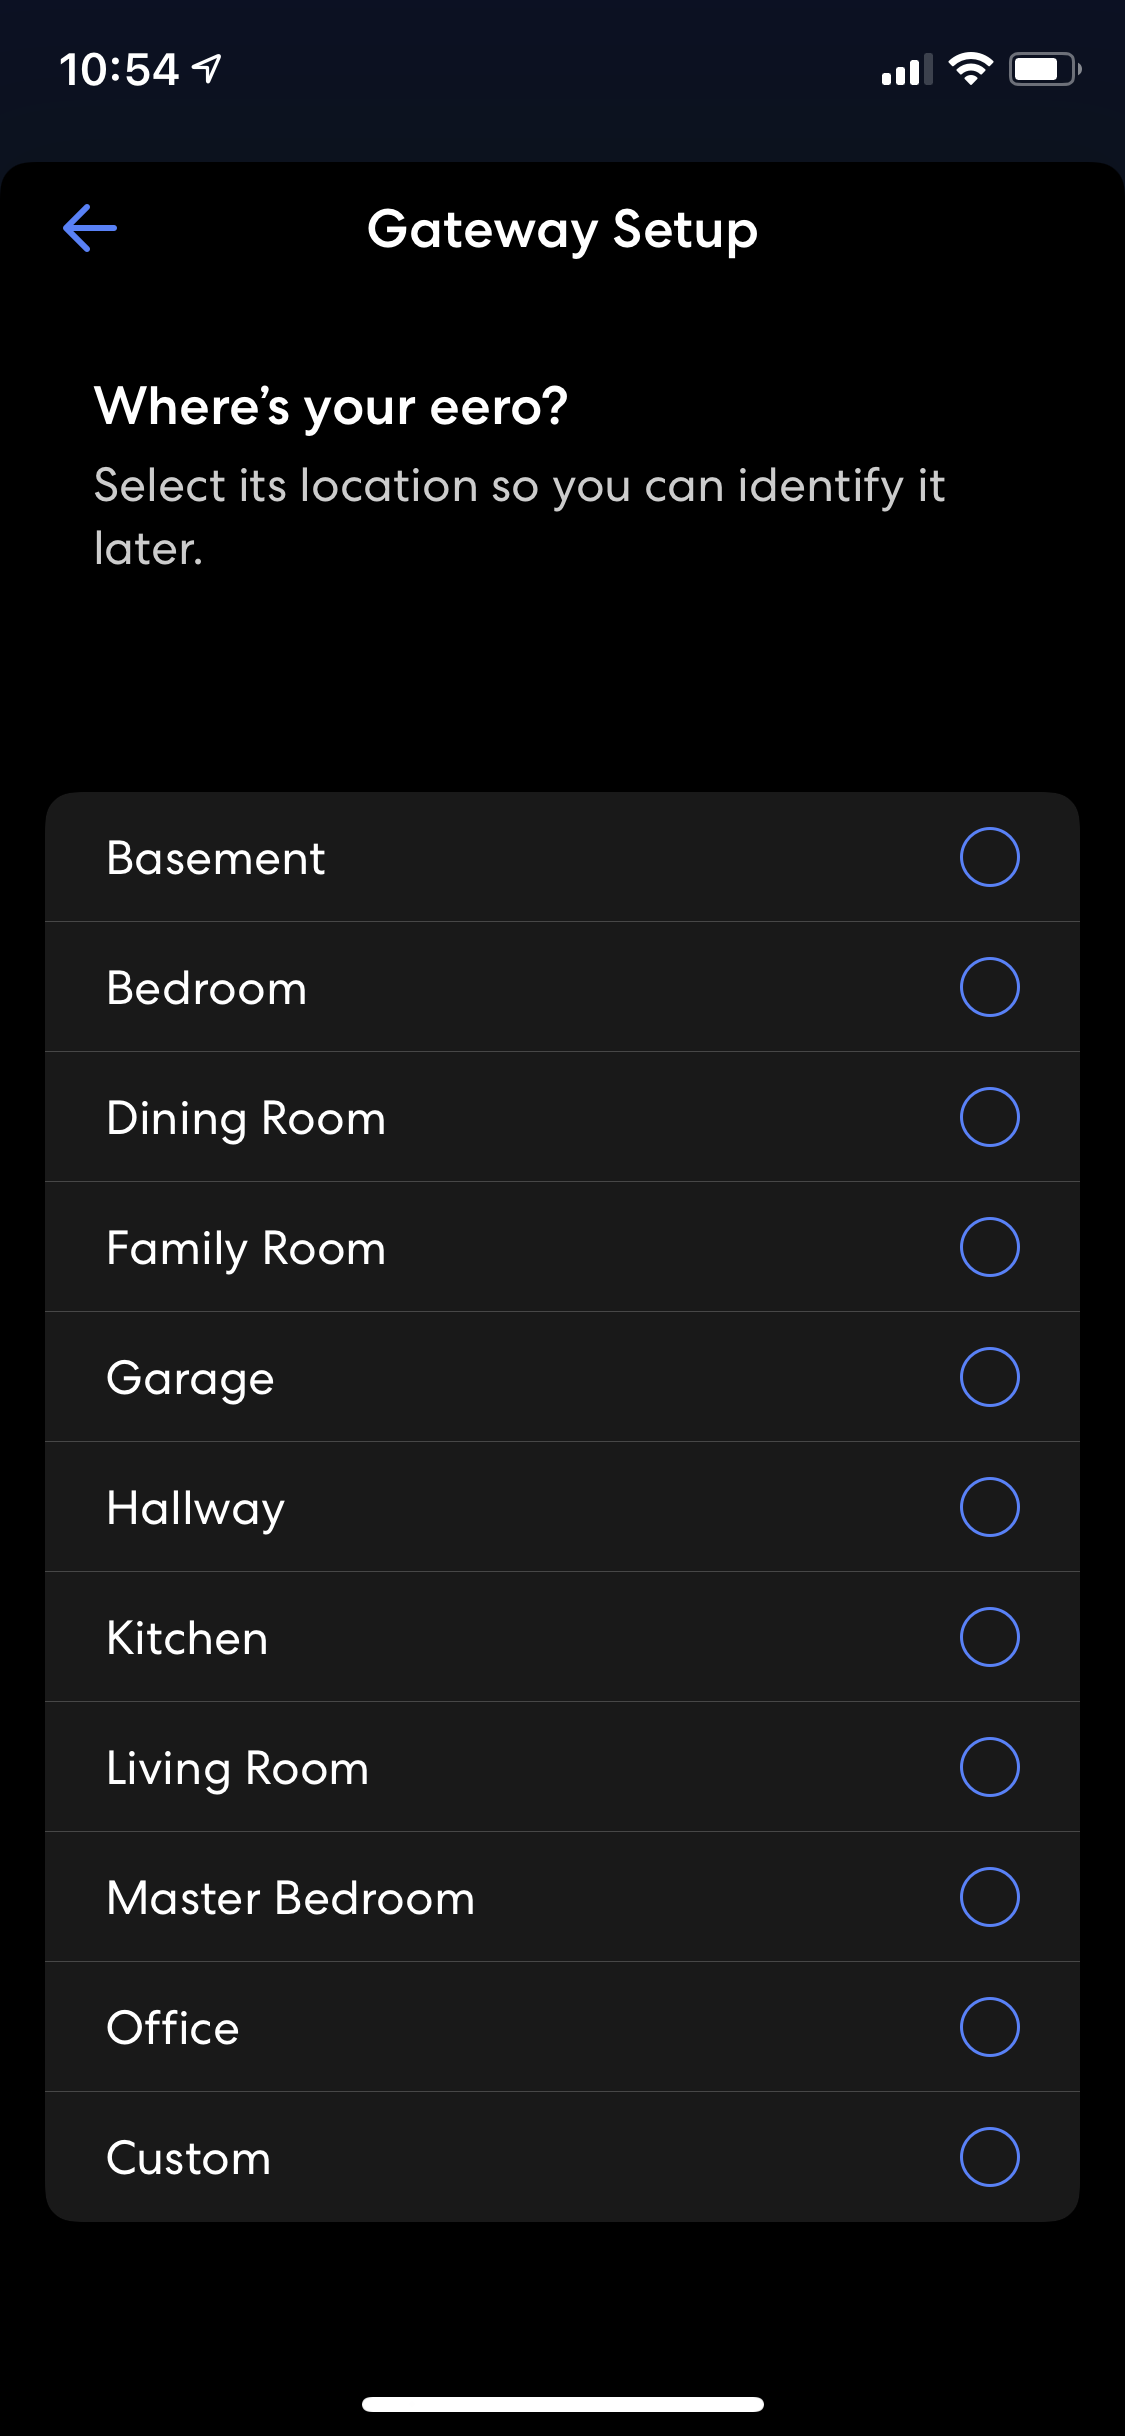
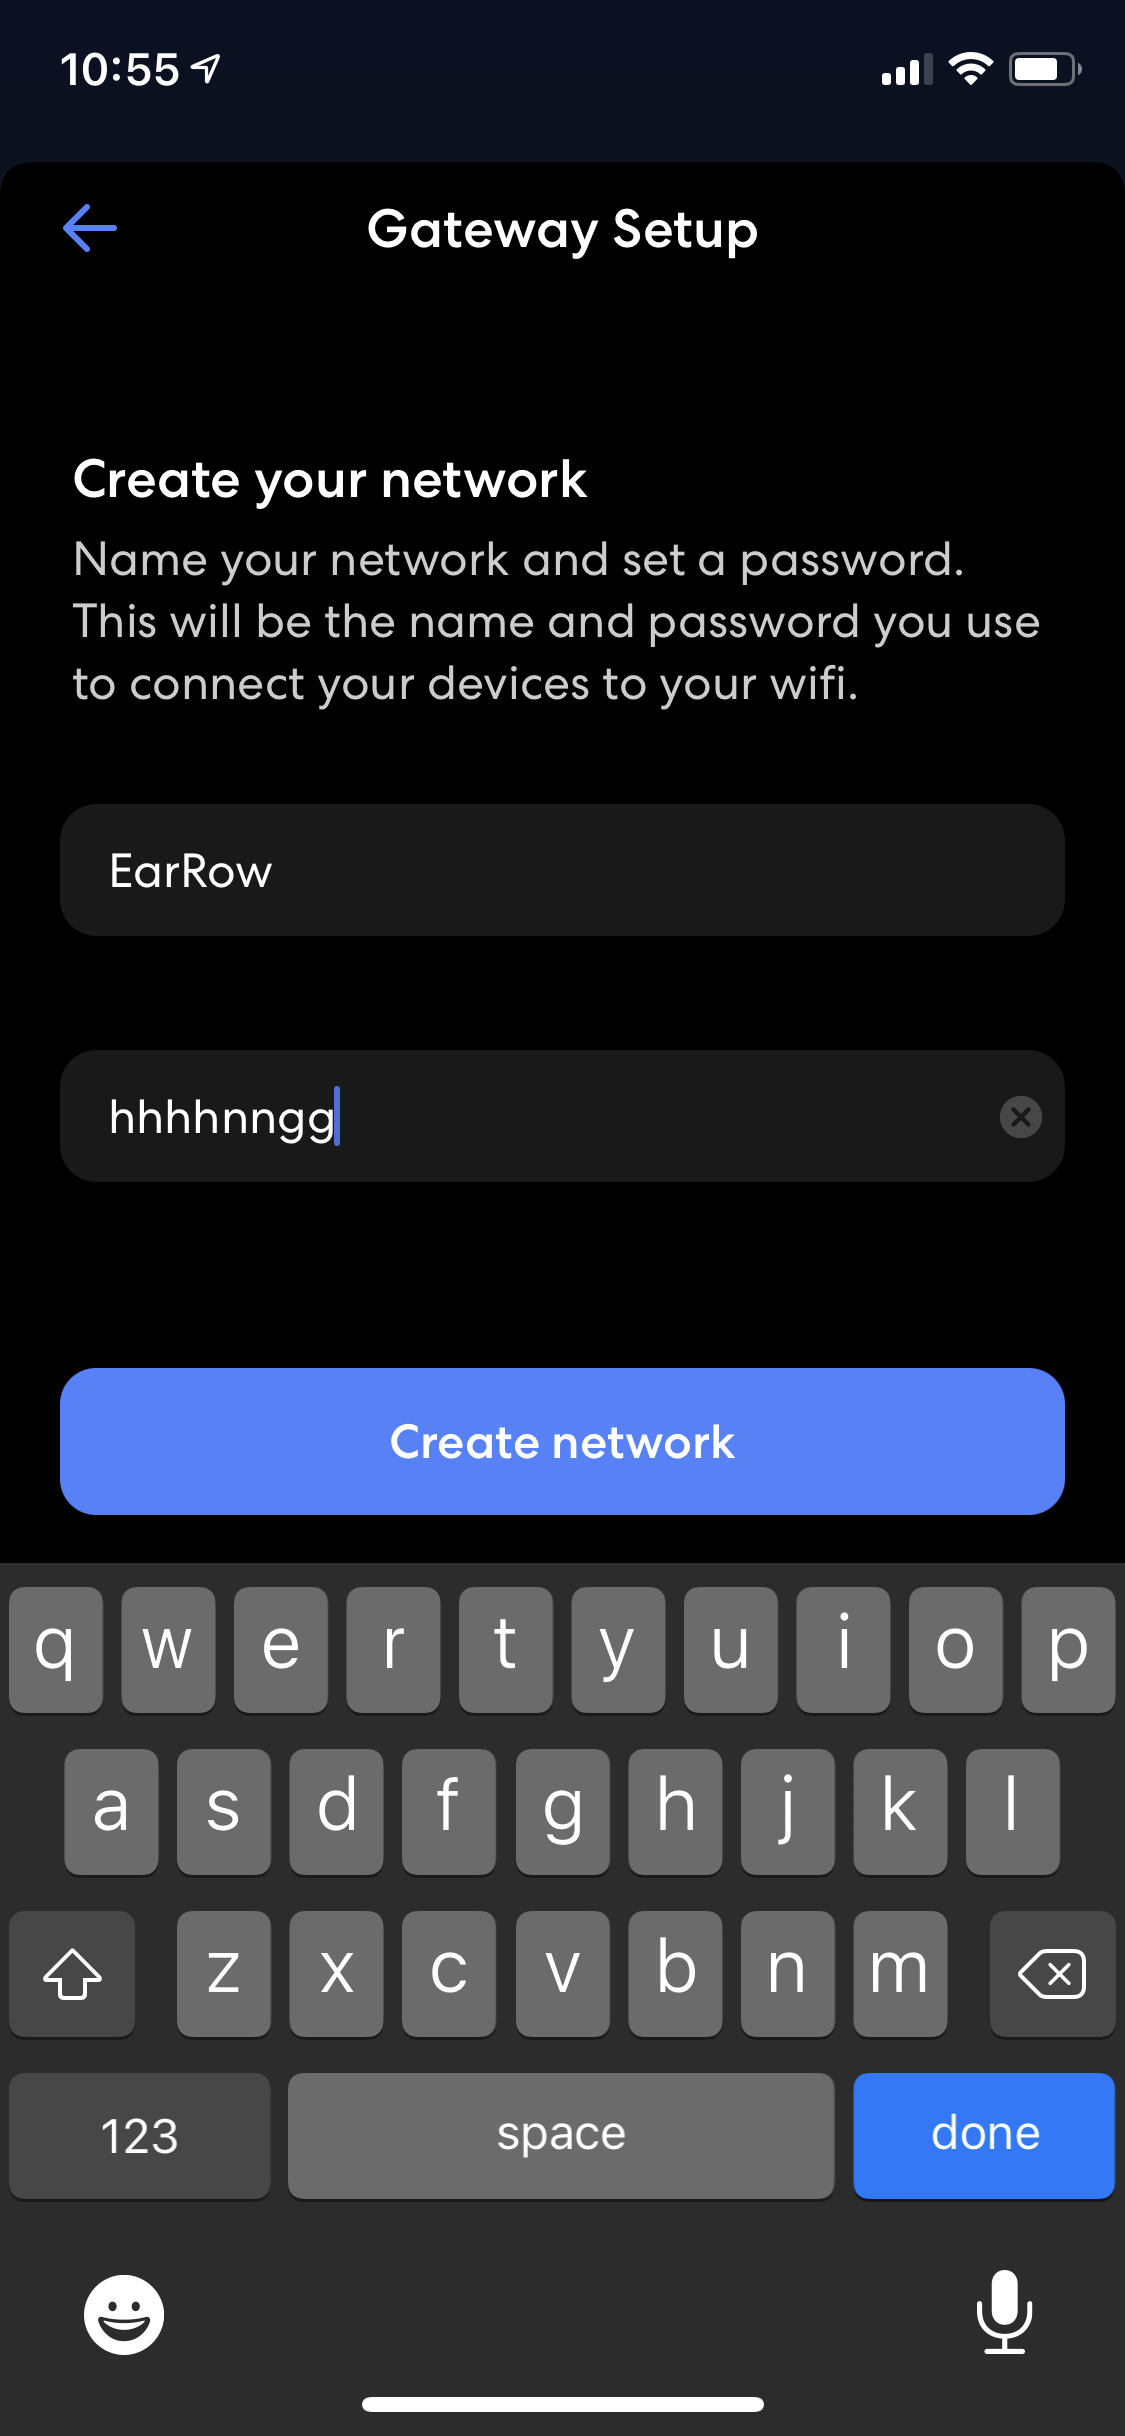
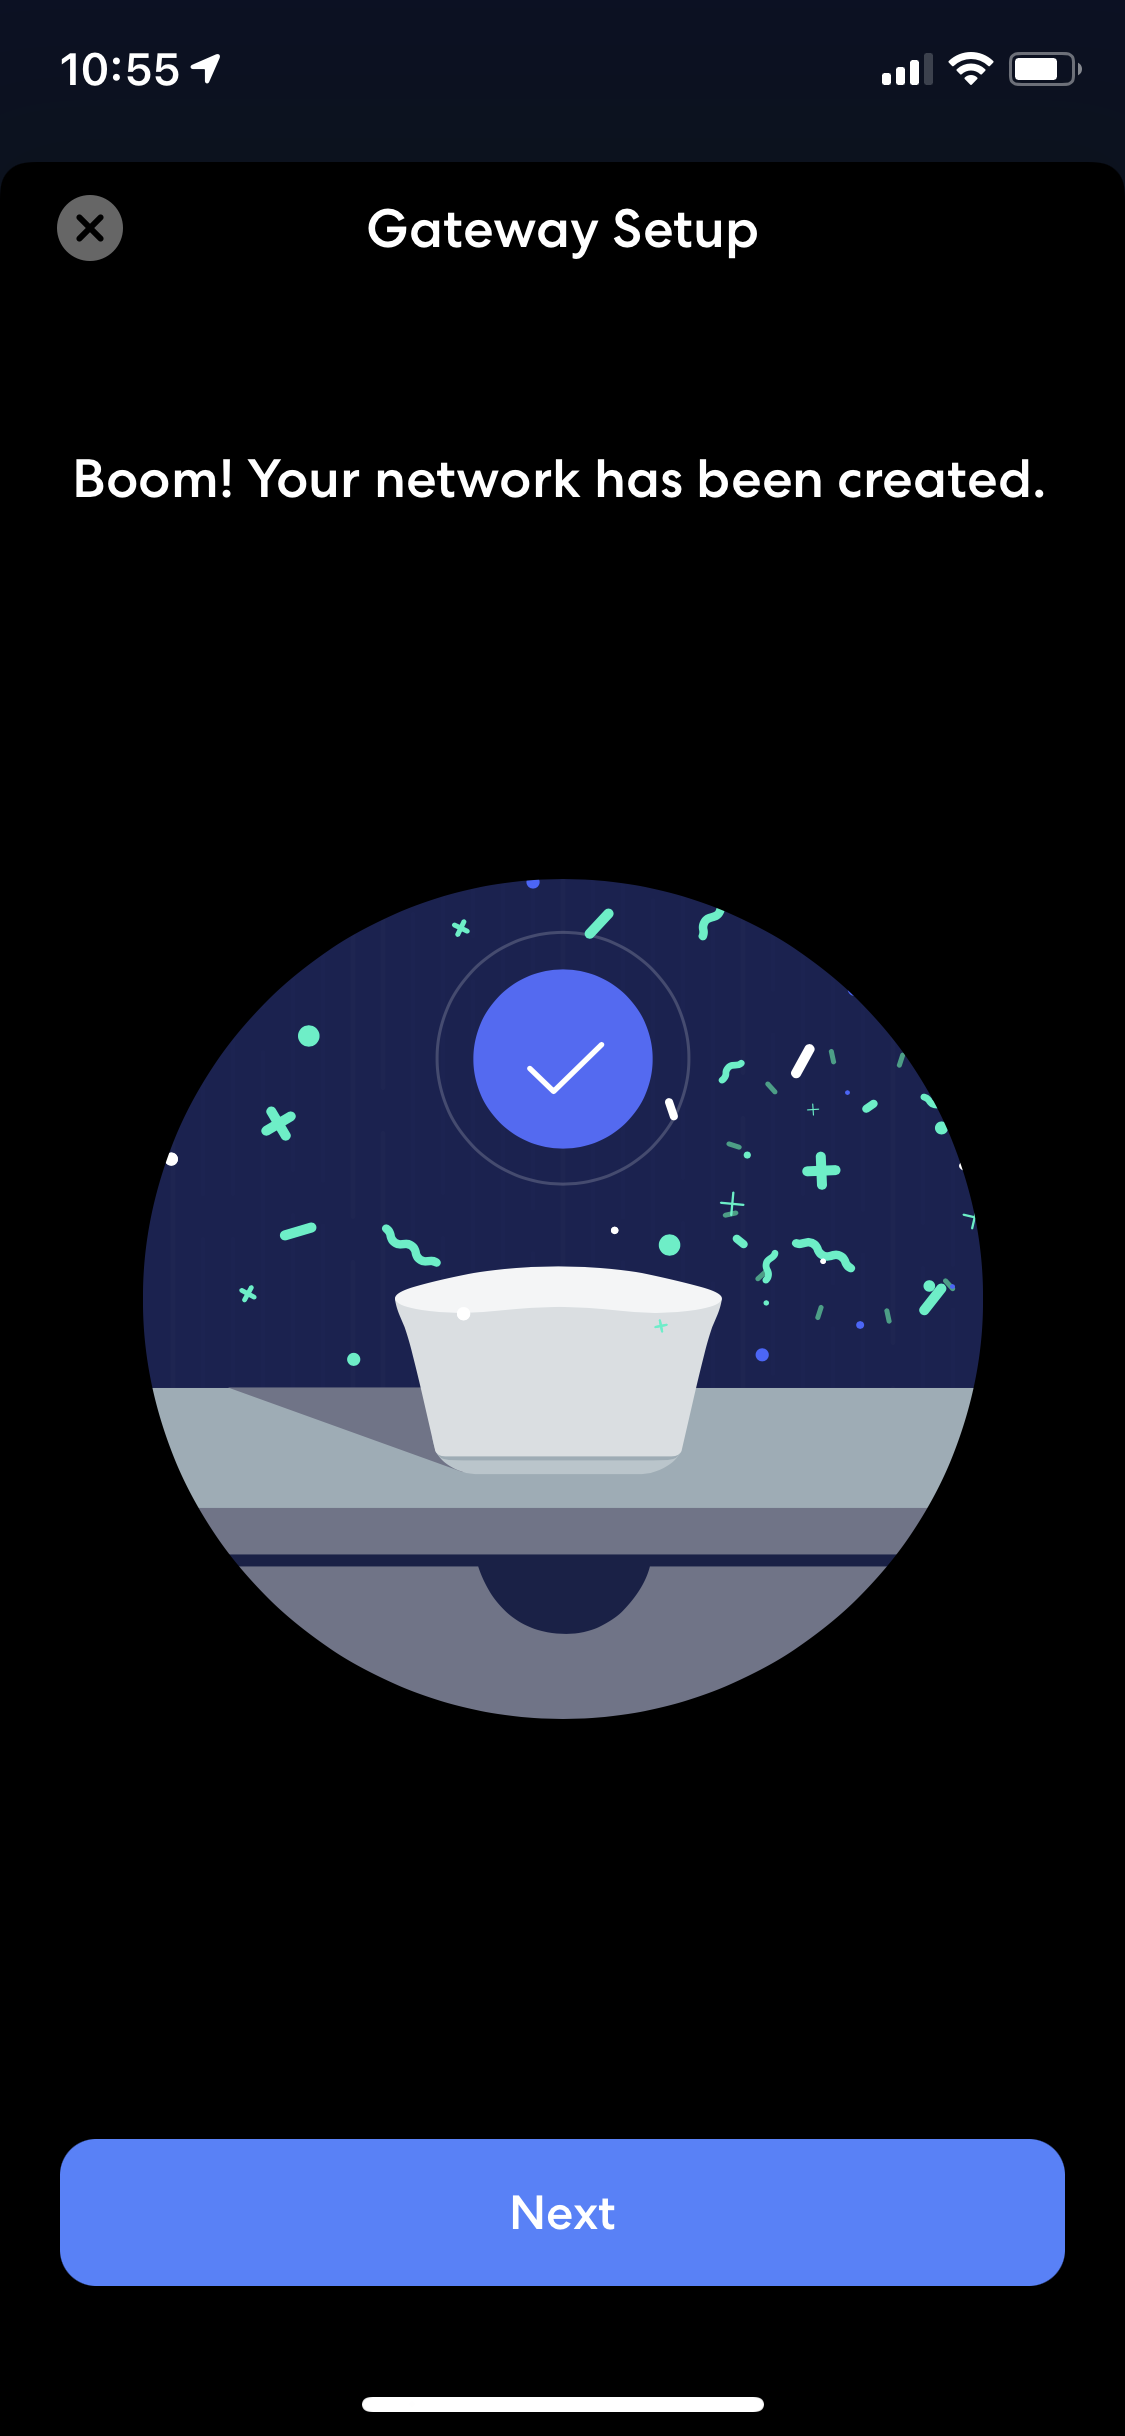
Once you have an Internet connection plugged into your main eero unit, you can continue through the rest of the setup. You get to pick your Wi-Fi network name, pick the room the eero is going into, and add any other eero units you have. Once you figure out how to get Internet into your main eero unit, the rest of the setup couldn’t be simpler. You don’t need to be a nerd like me. It really is painless and quick, which isn’t something I normally say about a consumer Wi-Fi system.
eero Placement and Quantity
One of the most important things to consider when you’re setting up your eero is where to put them. For most people, this is going to be determined by where their Internet connection is, and the layout of their house. If possible, get your main eero as central as possible. If your internet connection is in the corner of your house, that’s fine too. eero systems are smart about figuring out all this stuff for you, and the setup process tells you if there is an issue with your placement.

My Internet connection is in the far corner of my 1st floor, so that’s where I put my main eero. I put another on the other side of my 1st floor, and one on the 2nd floor. I found this gave the best coverage and speeds. eero devices try to make any placement work, but it may require some trial and error to figure out what is best for your setup. Try to place your eero up high, and keep it away from other electronics like TVs, speakers, microwaves, or other sources of interference.
Once you have all your eero units added to your network, you can unplug them and move them if you needed. You don’t need to go through the setup process again, just make sure to update the location in the app, so you know which is which.
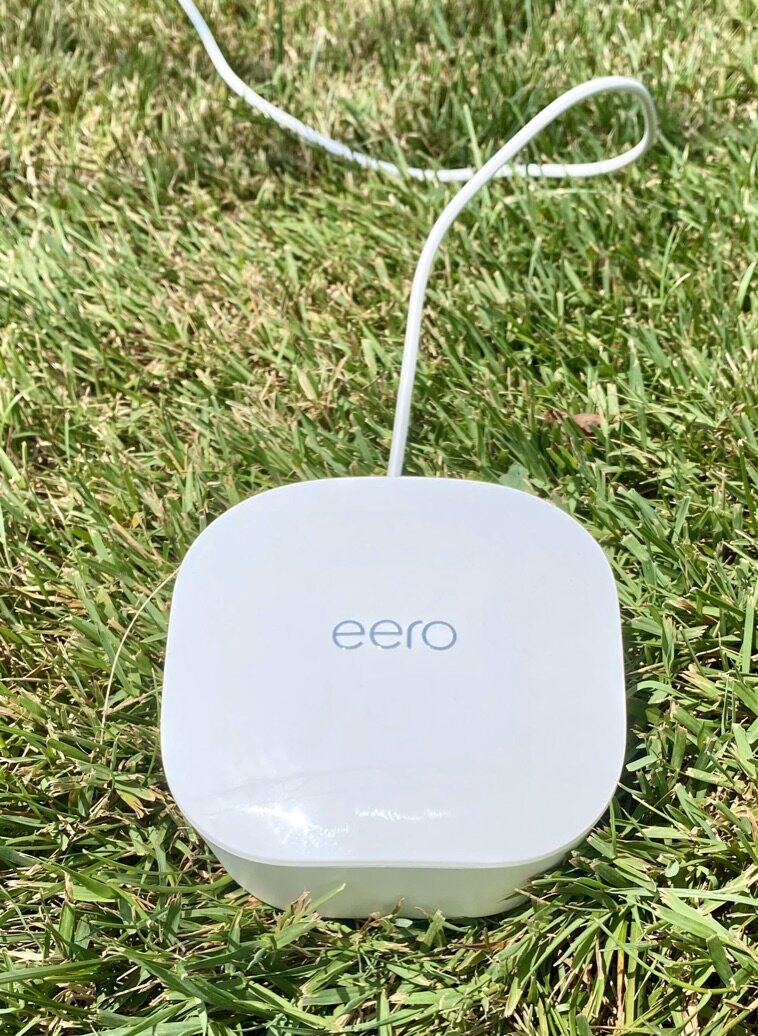
Fun fact that proves how good the coverage of even the basic eeros are: I tried to get a screenshot of the “Your eero is too far away” error message for this review. I could not get that to happen anywhere inside my house, even on the far end of my basement or 2nd floor. I literally had to get an extension cable and plug an eero in at the far edge of my yard. The Wi-Fi coverage is seriously impressive.
What’s in the App?
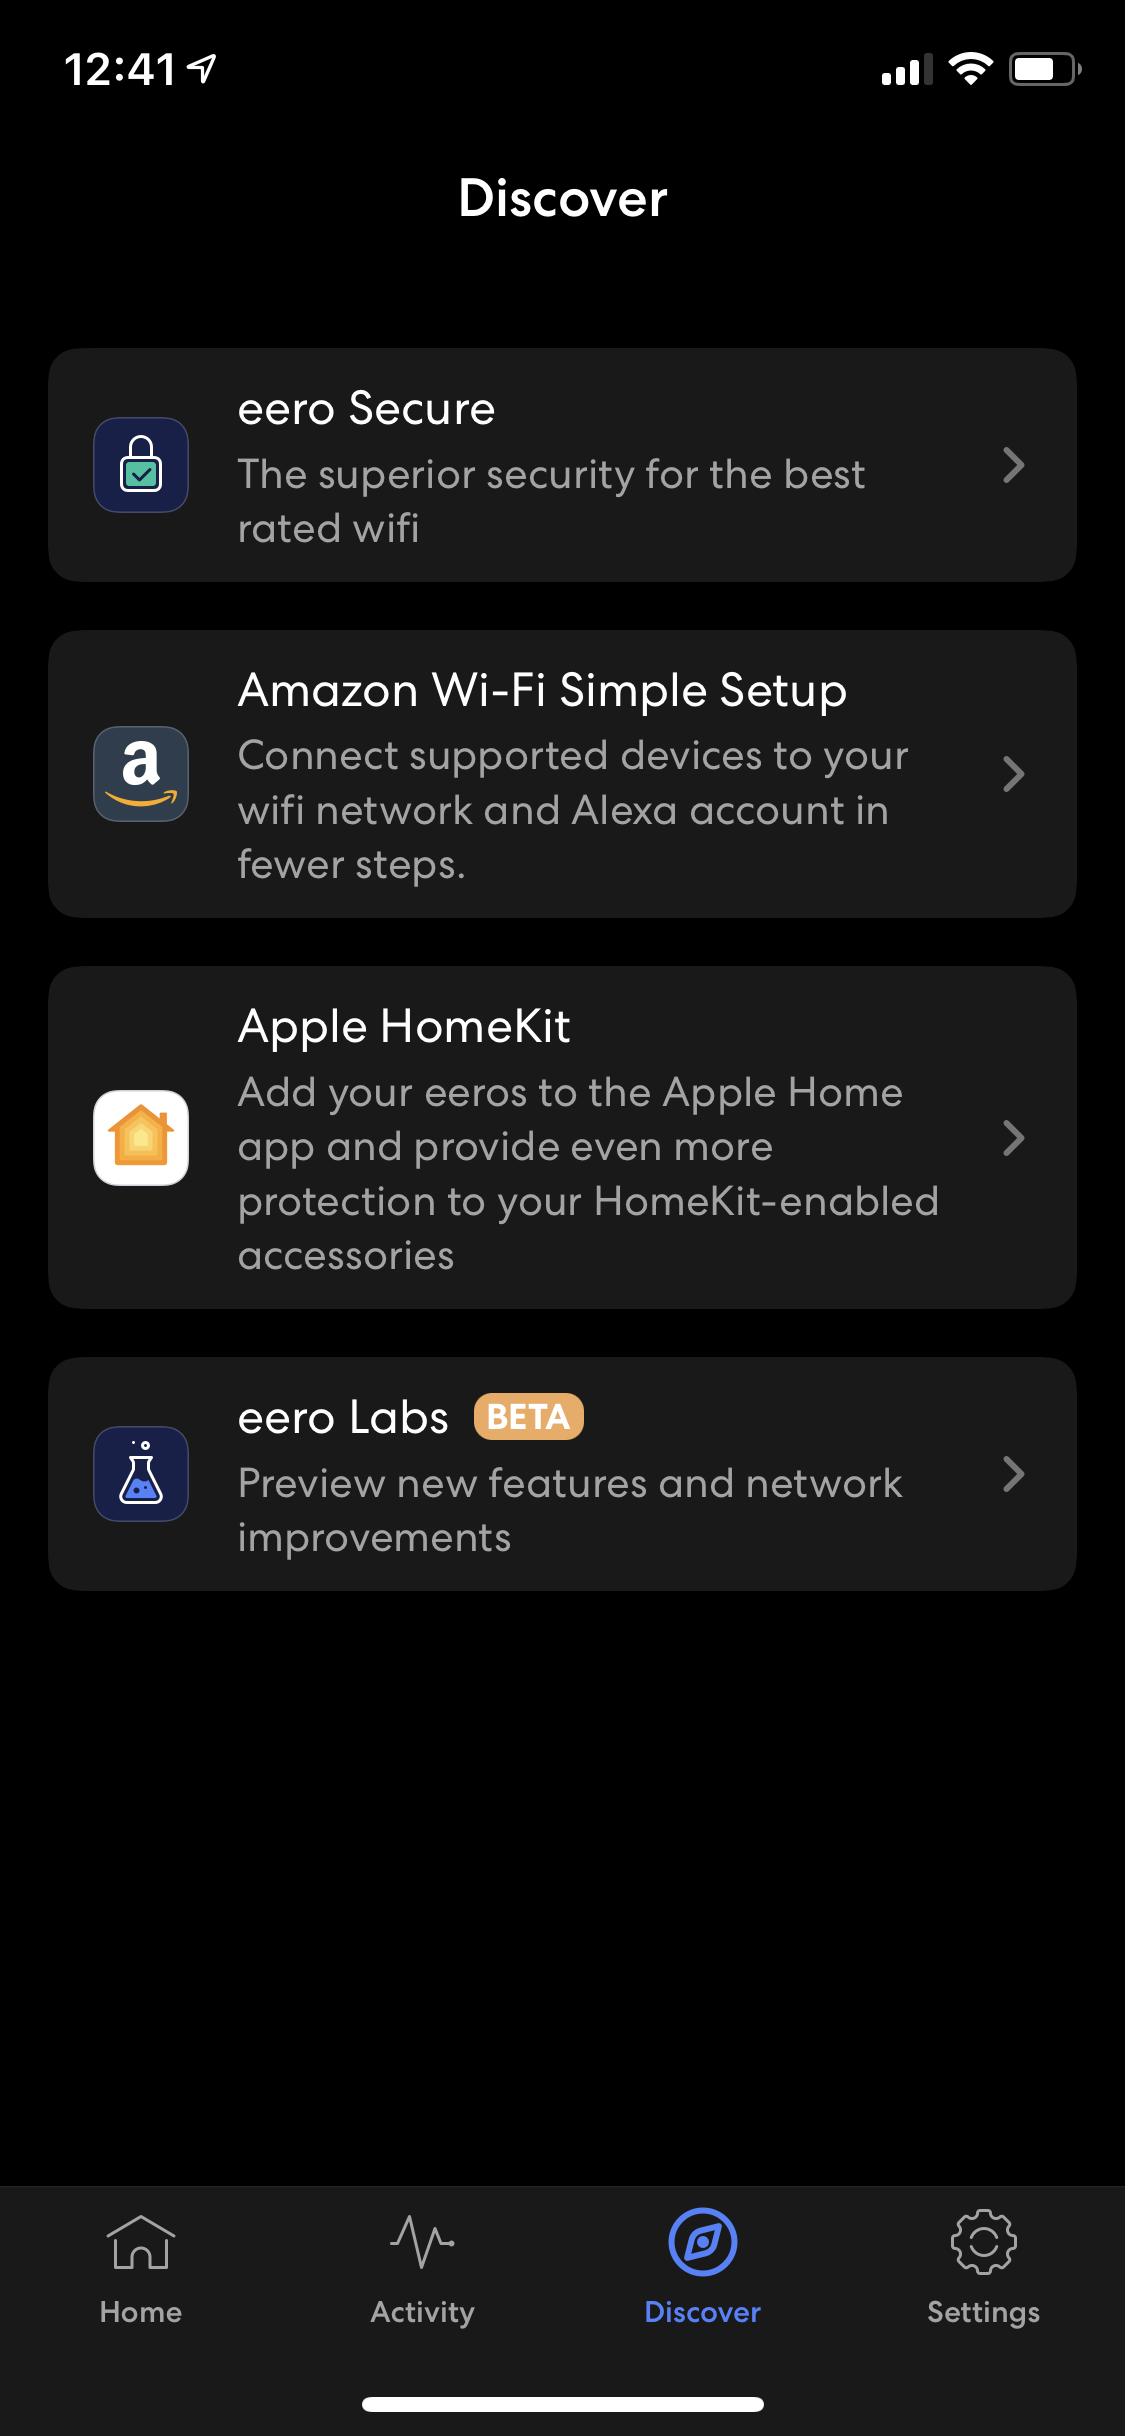
After setup, you can poke around in the eero app if you want to, but your Wi-Fi network is fully setup. You won’t need to go into the eero app for much, unless you want to. Inside the eero app are a few handy features, and the optional Secure and Secure+ services. I covered those in my other eero articles, but I’ll quickly cover them again here.
App Features
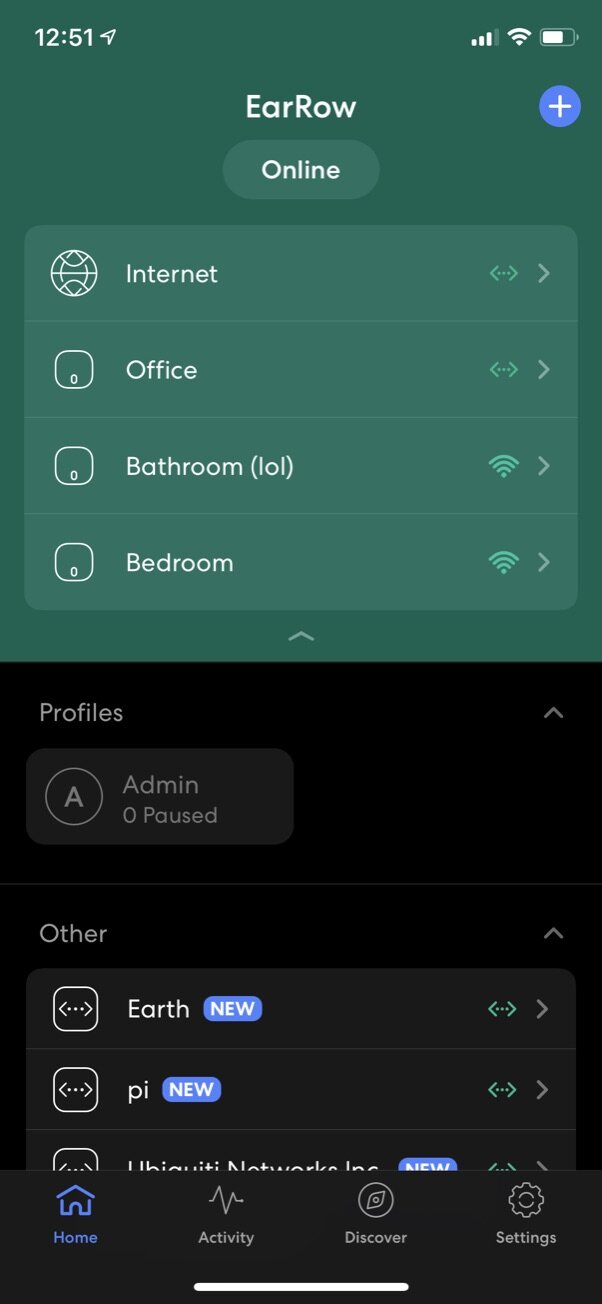
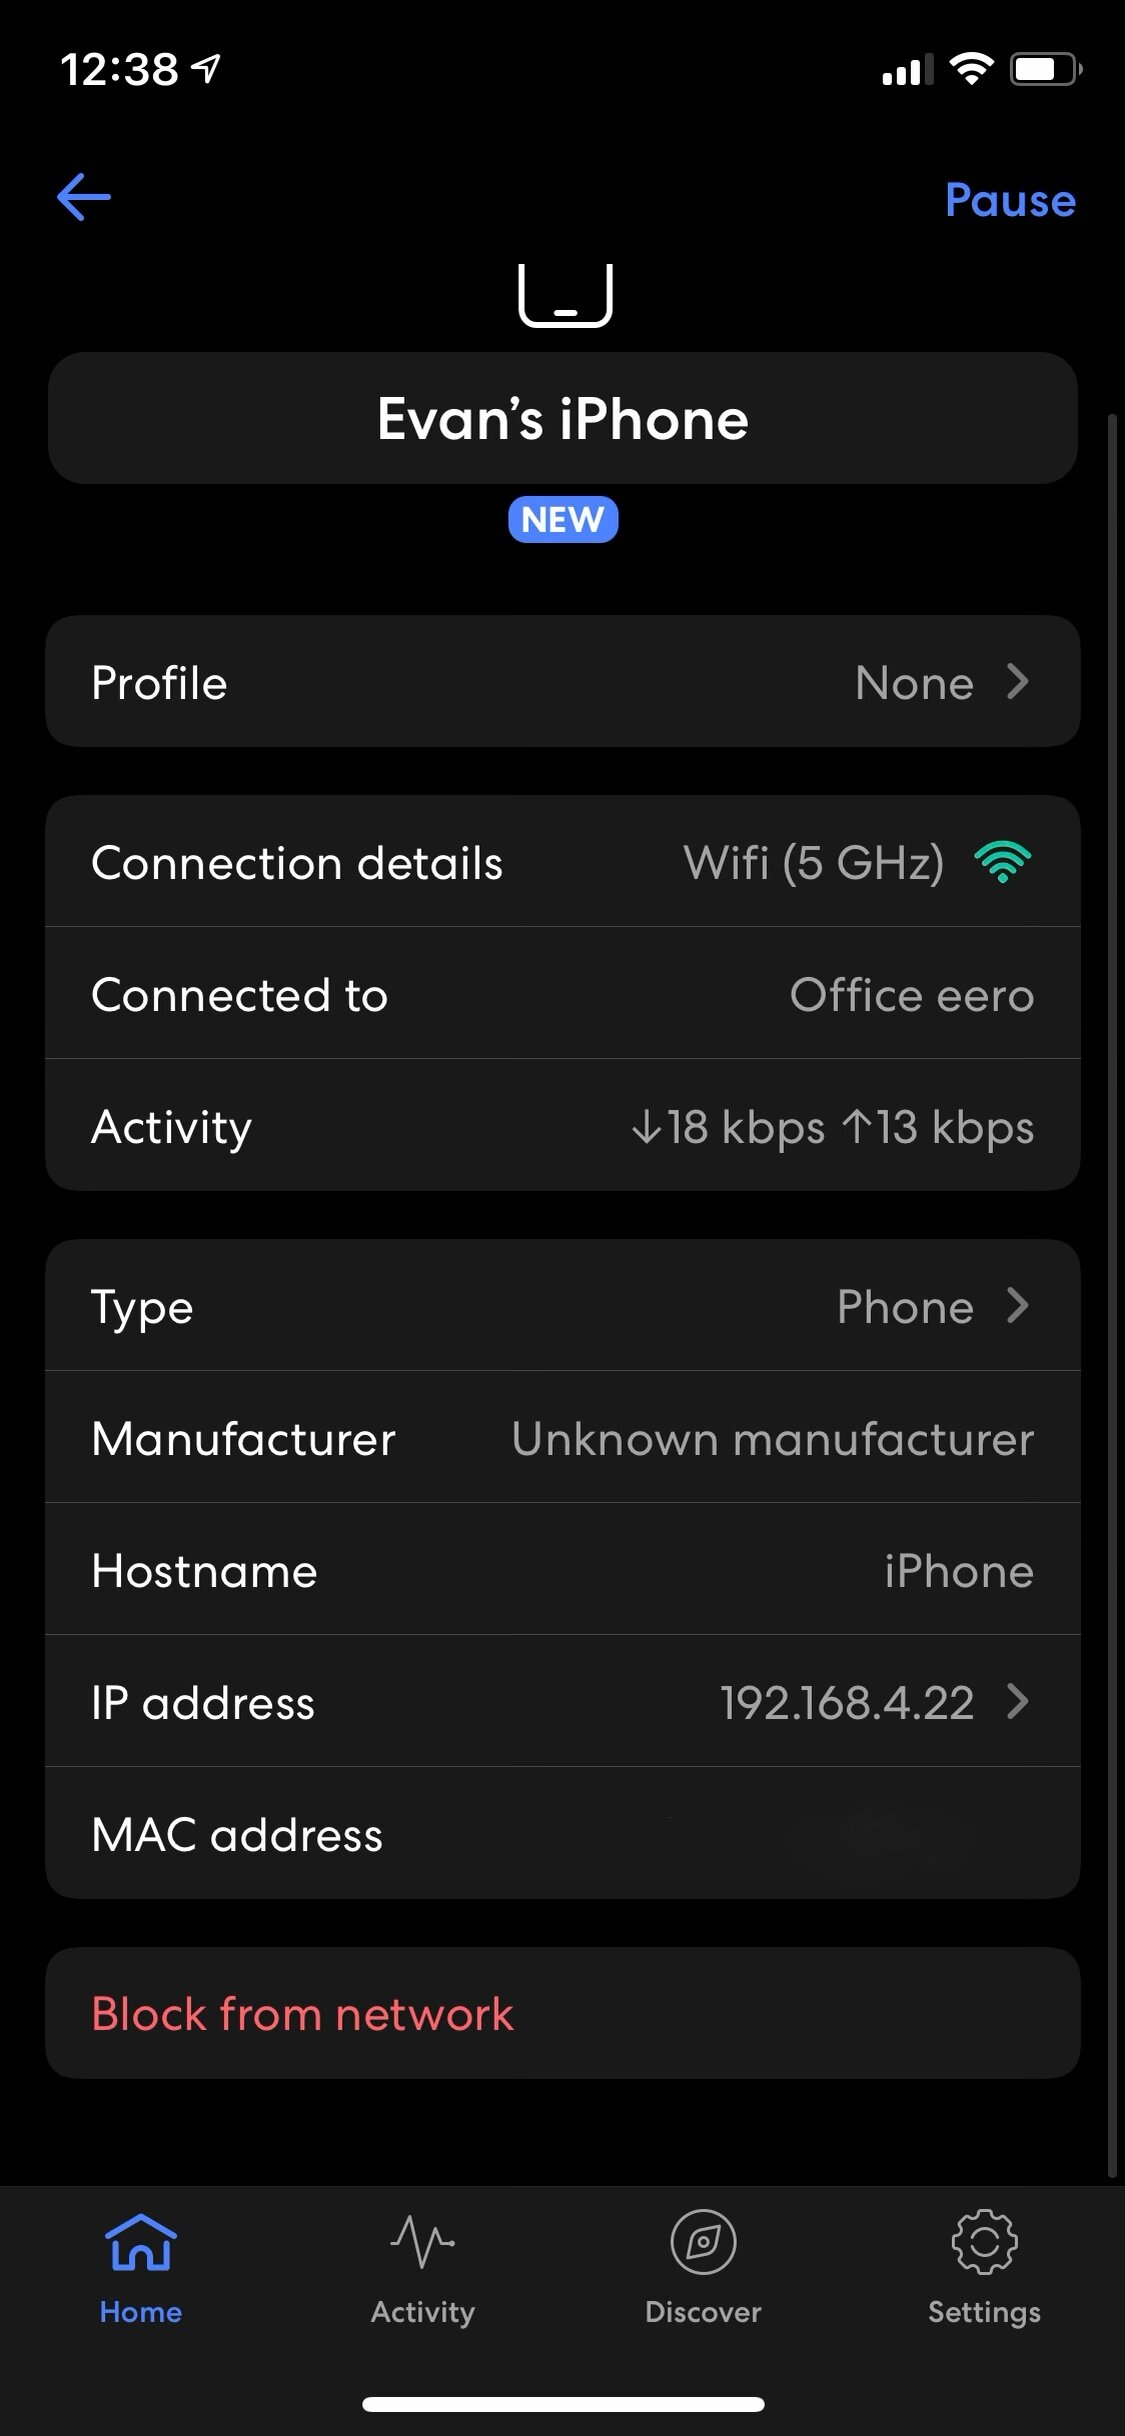
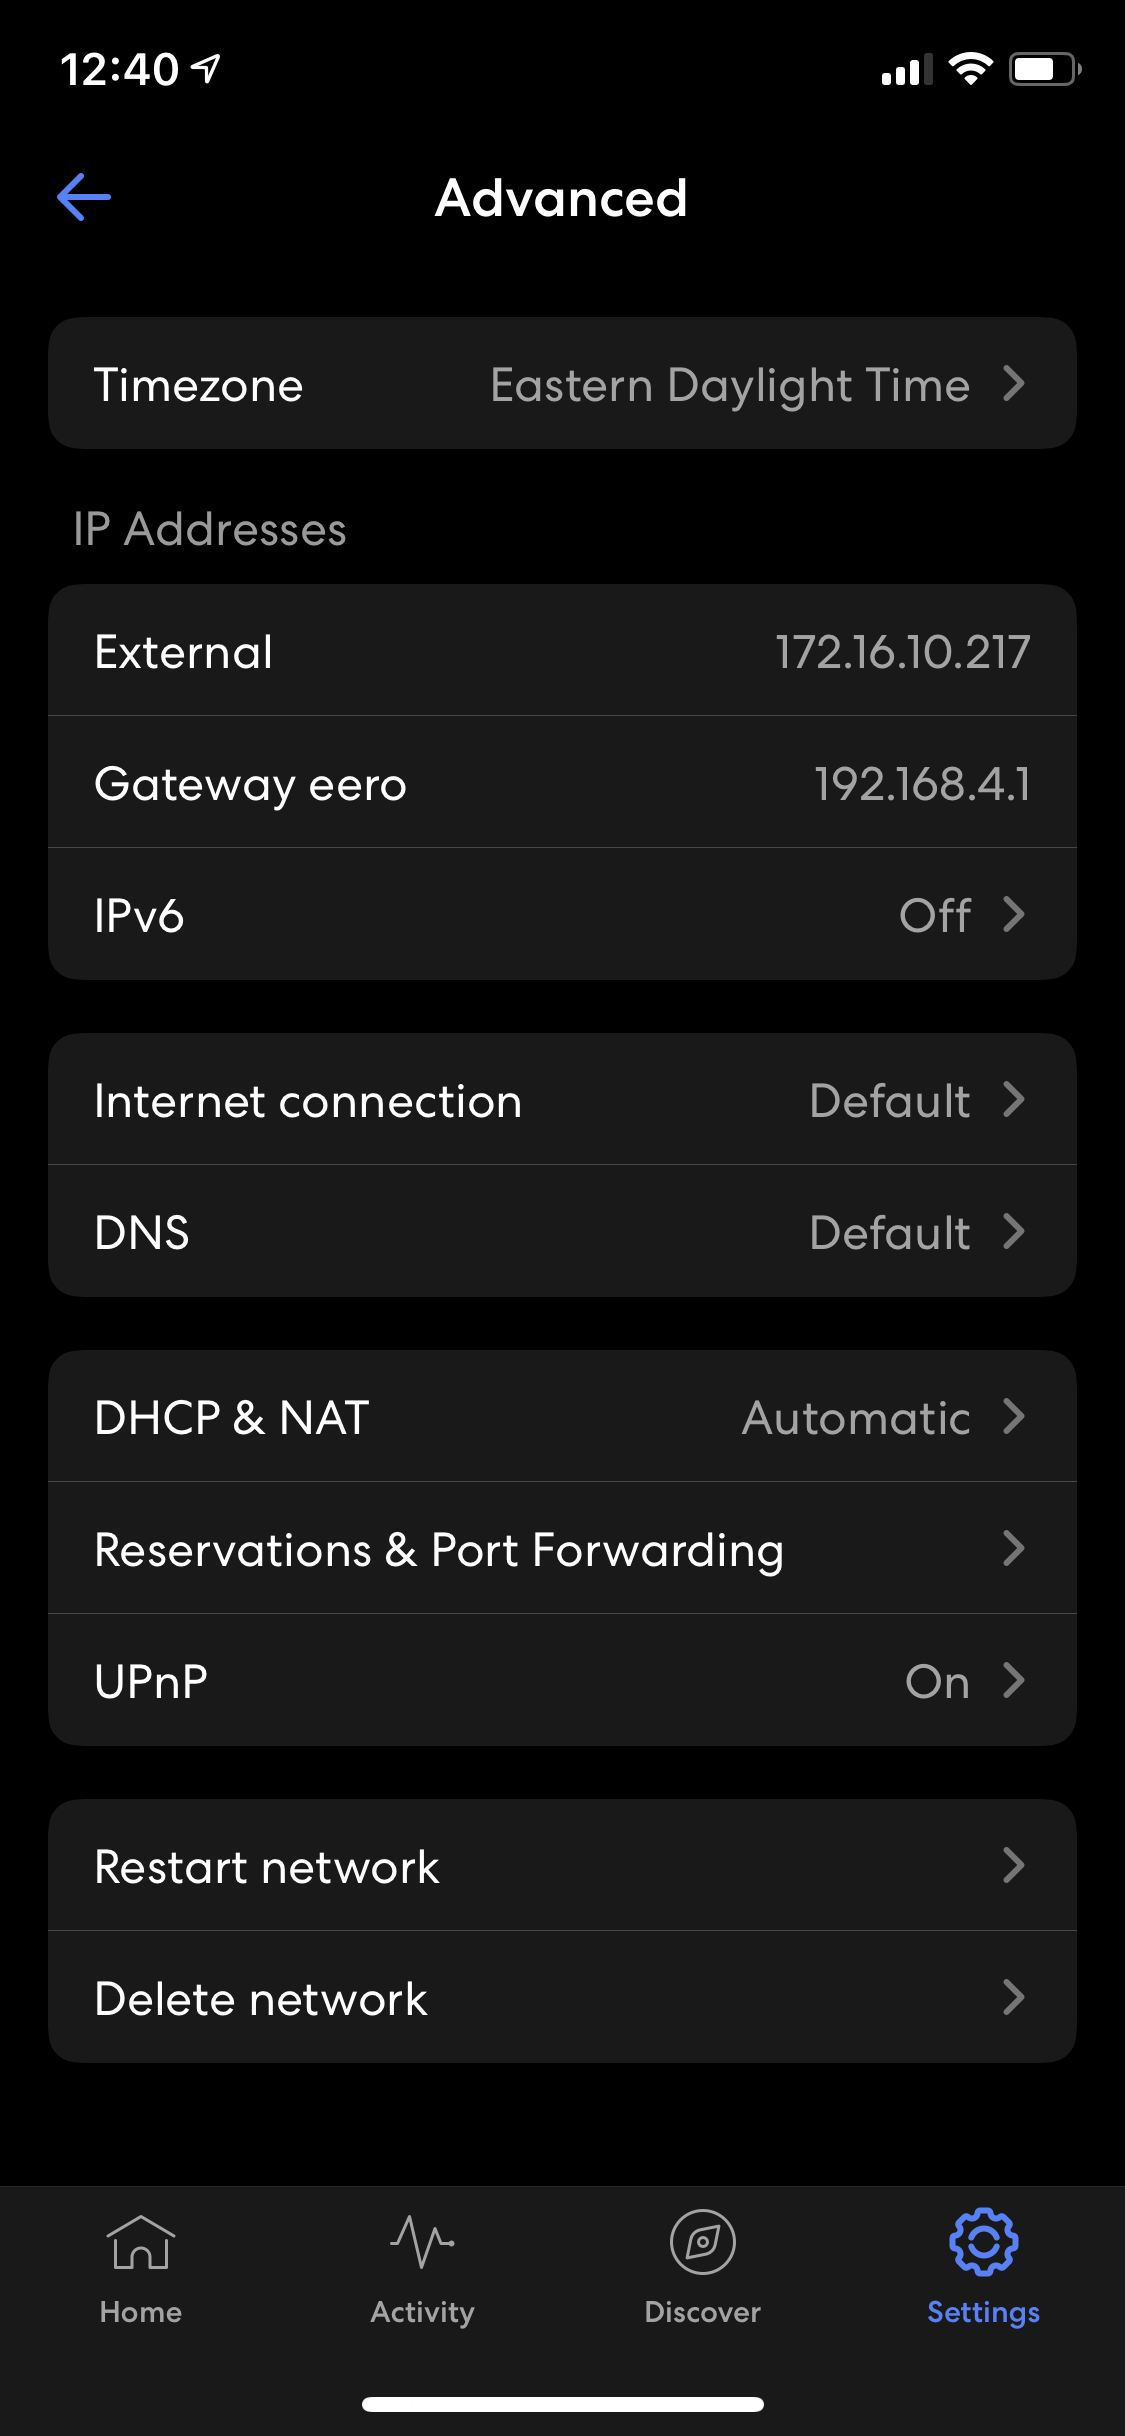
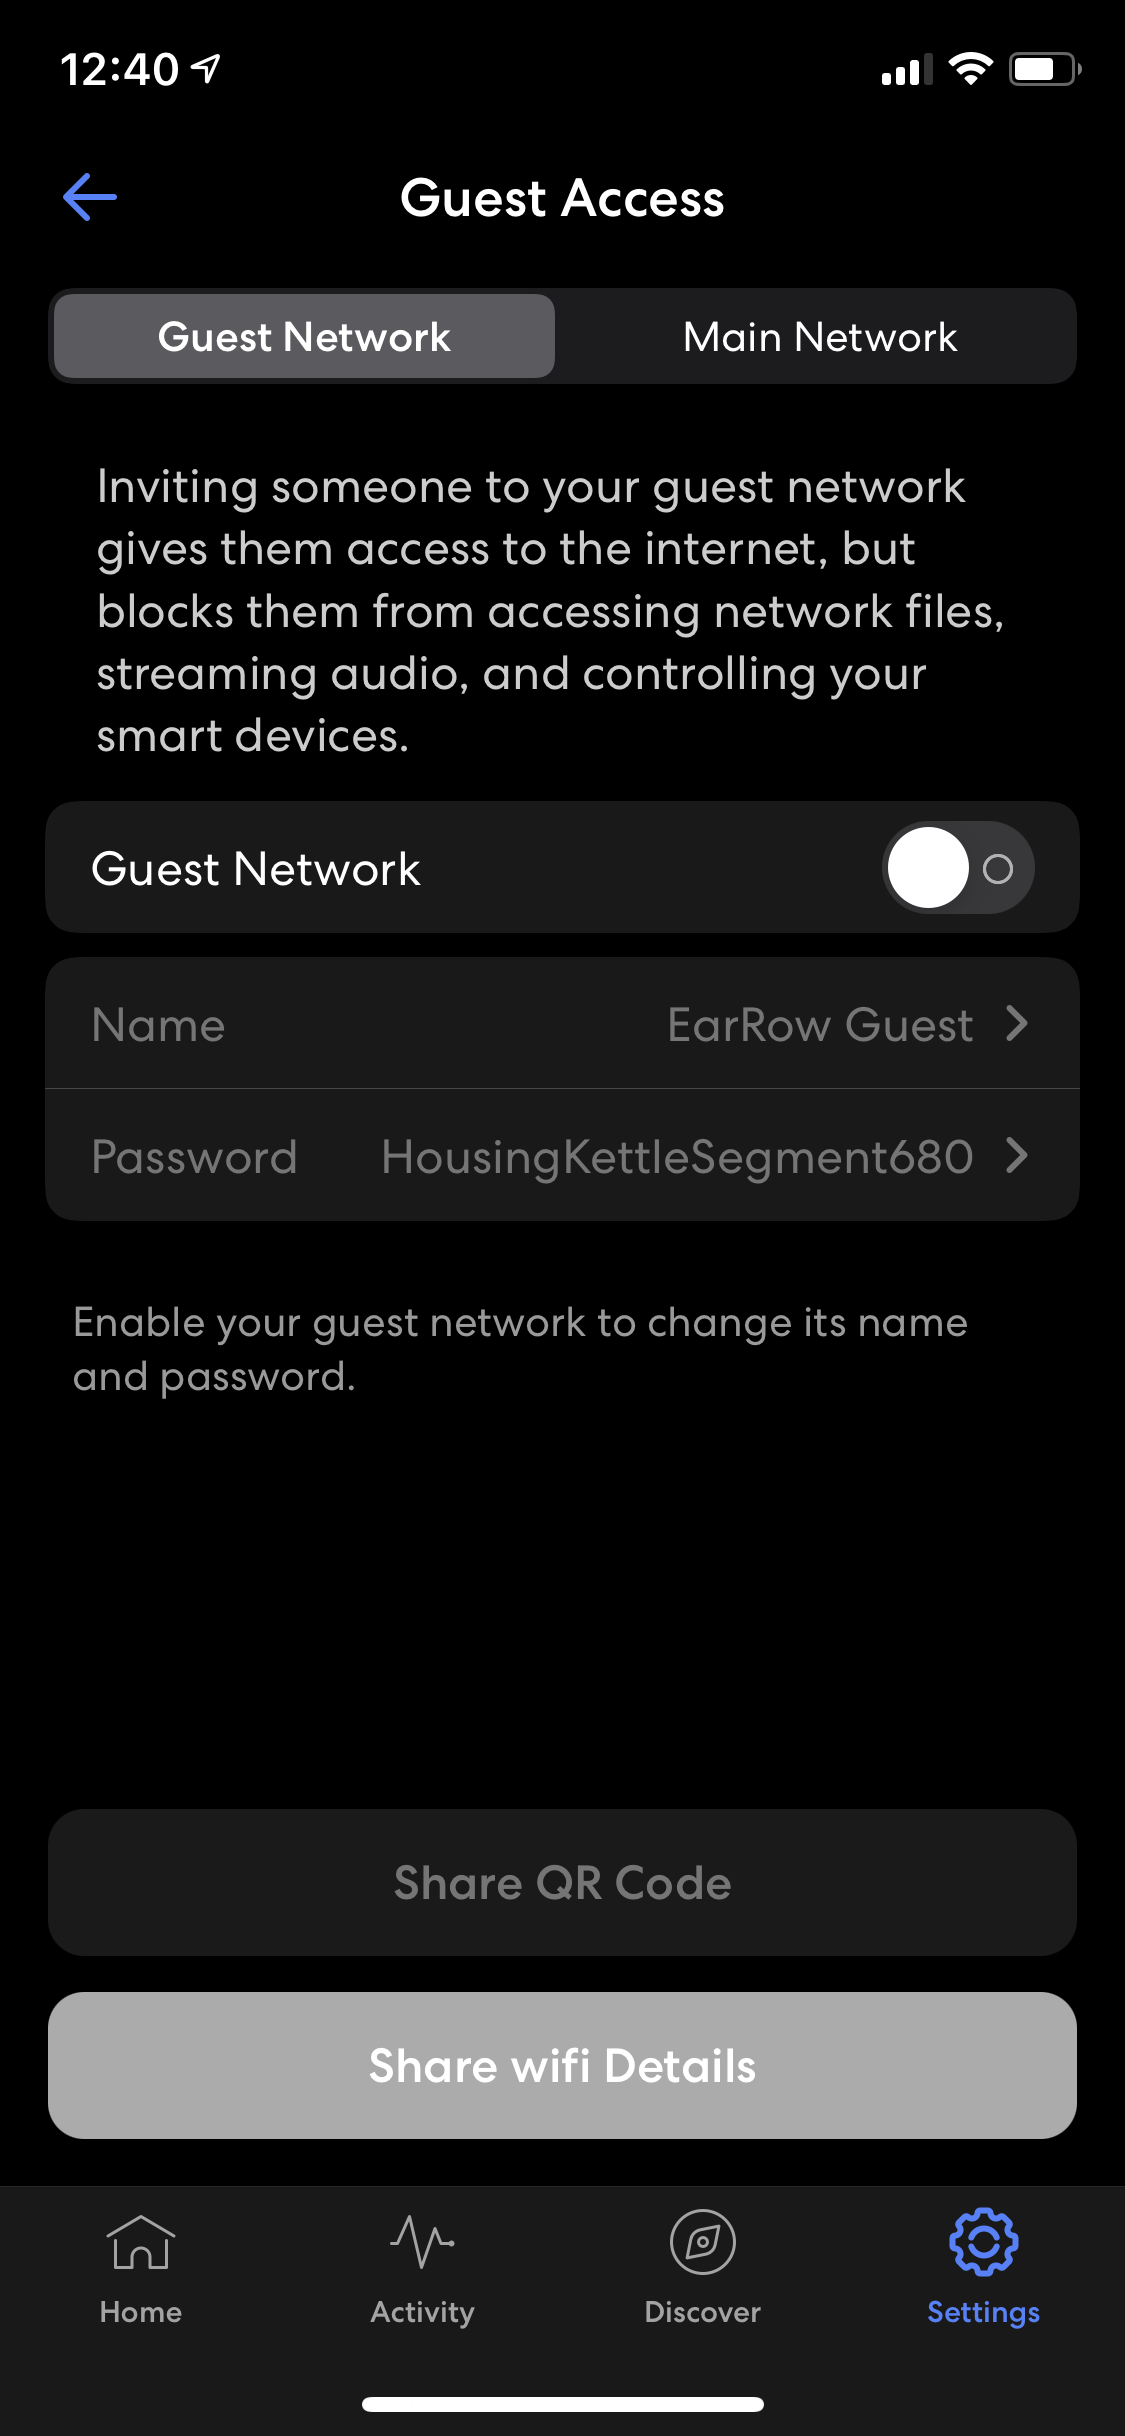

The eero app allows you to see the devices that are connected to your network, and give you control over a few important settings. You can specify your DNS server, enable UPnP, create static IP reservations or port forwards, and enable IPv6 support. There’s not a lot of advanced settings, but what most people need for their home network is there. You can also quickly make a guest network and share the details via a QR code.
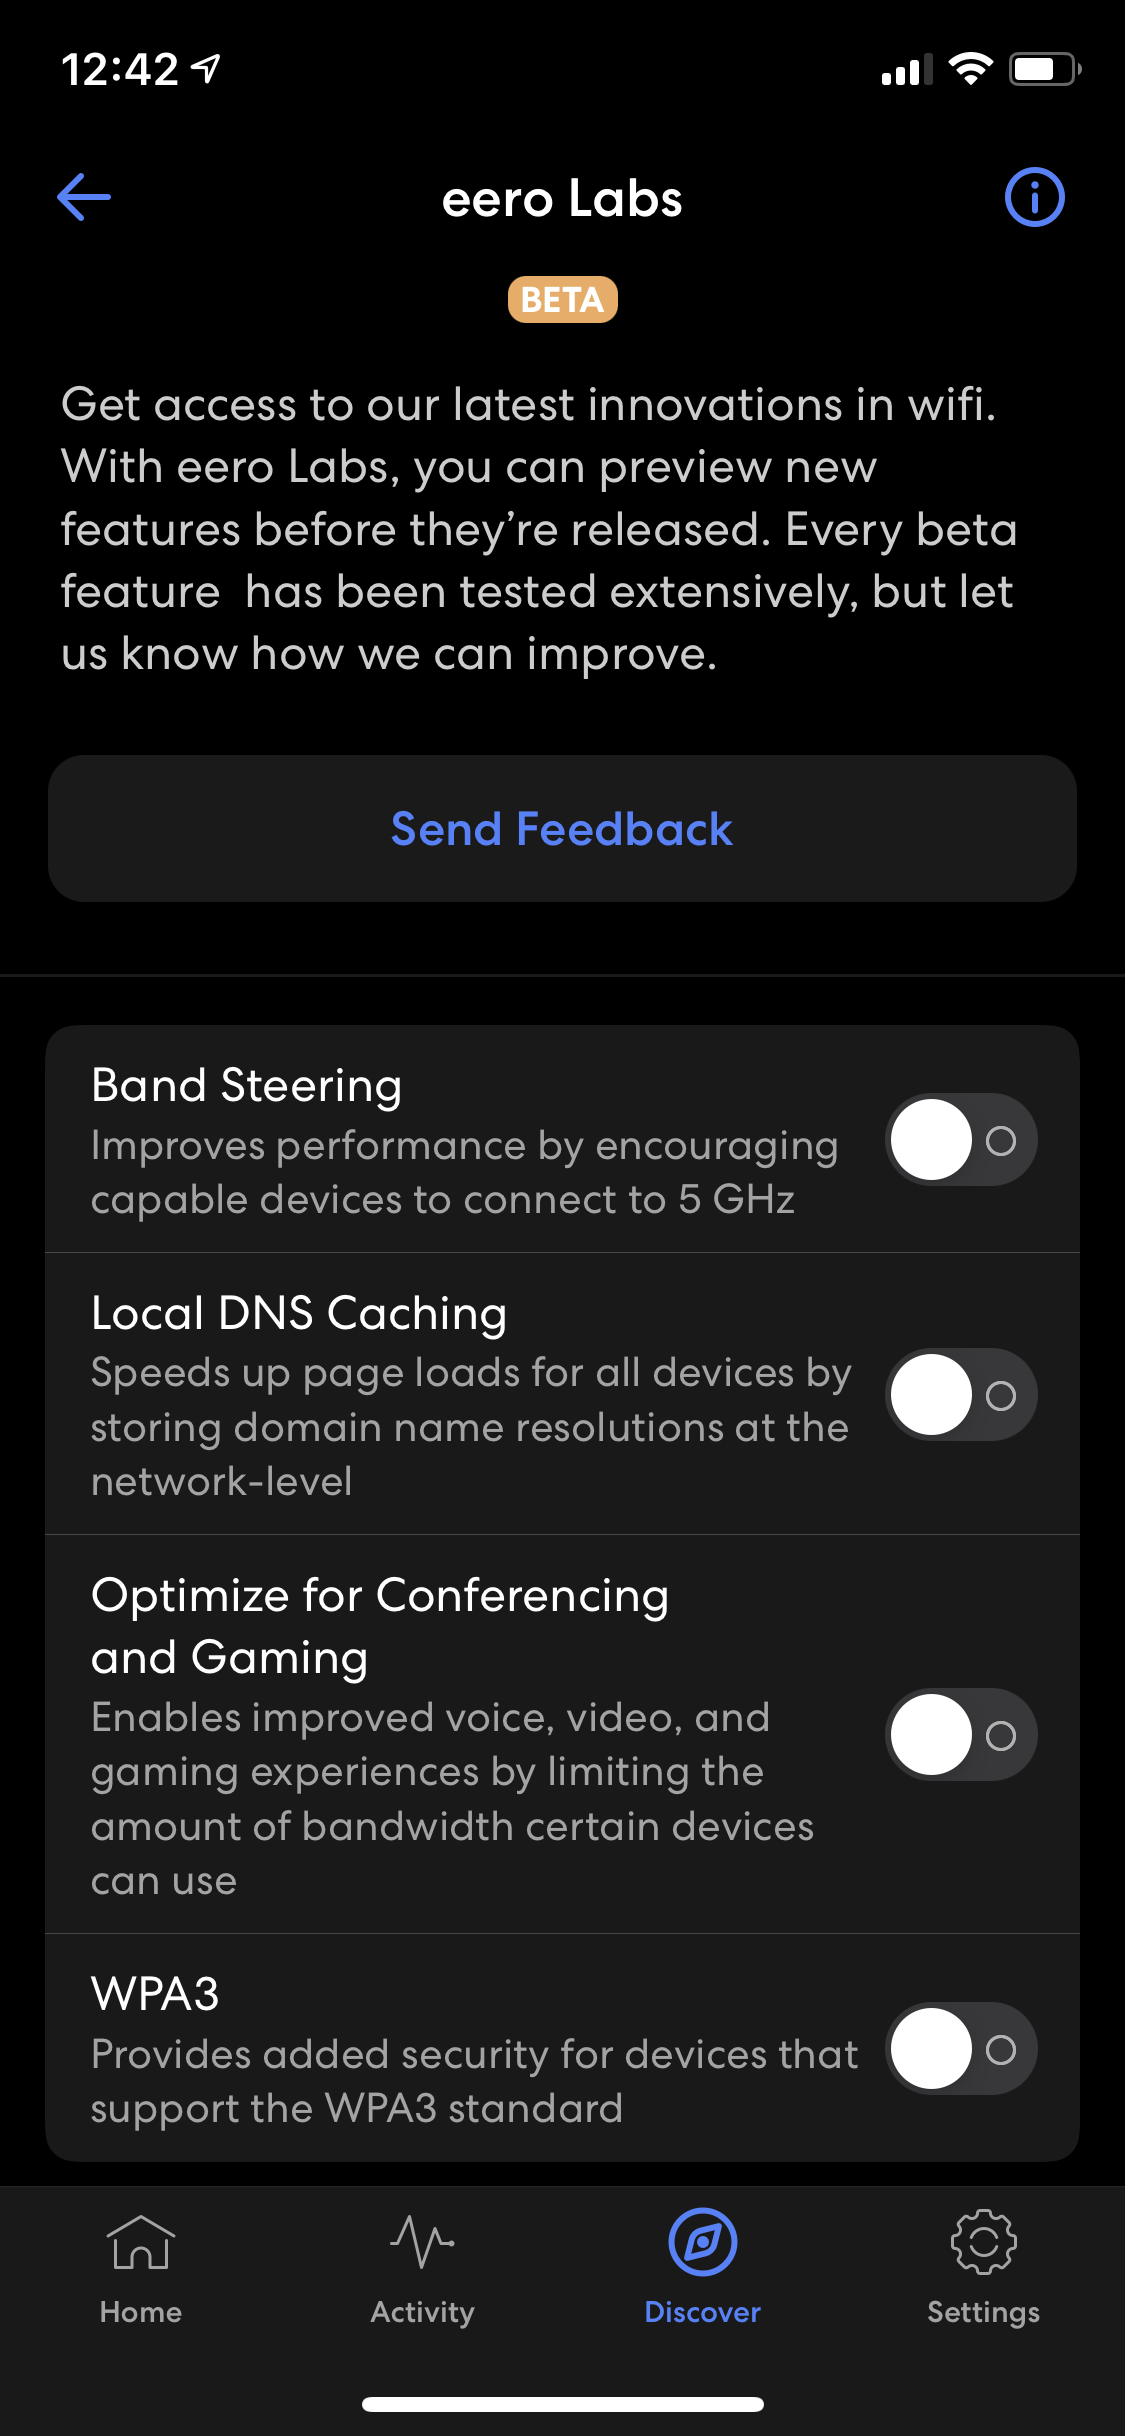
Under the eero Labs section are a few experimental features. Under that section you can enable settings like band steering, local DNS caching, automatic QoS for video conferencing and gaming, or WPA3 support. These settings are in beta, and still in development. A warning pops up that enabling them can cause issues for some networks and some devices, so proceed at your own risk. One setting I would recommend turning on here would be band steering. Band steering makes your devices more likely to roam from AP to AP as you walk around. This helps give you better speeds and a more stable connection. If you notice any of your devices have an issue with band steering enabled, it’s easy to turn it back off.
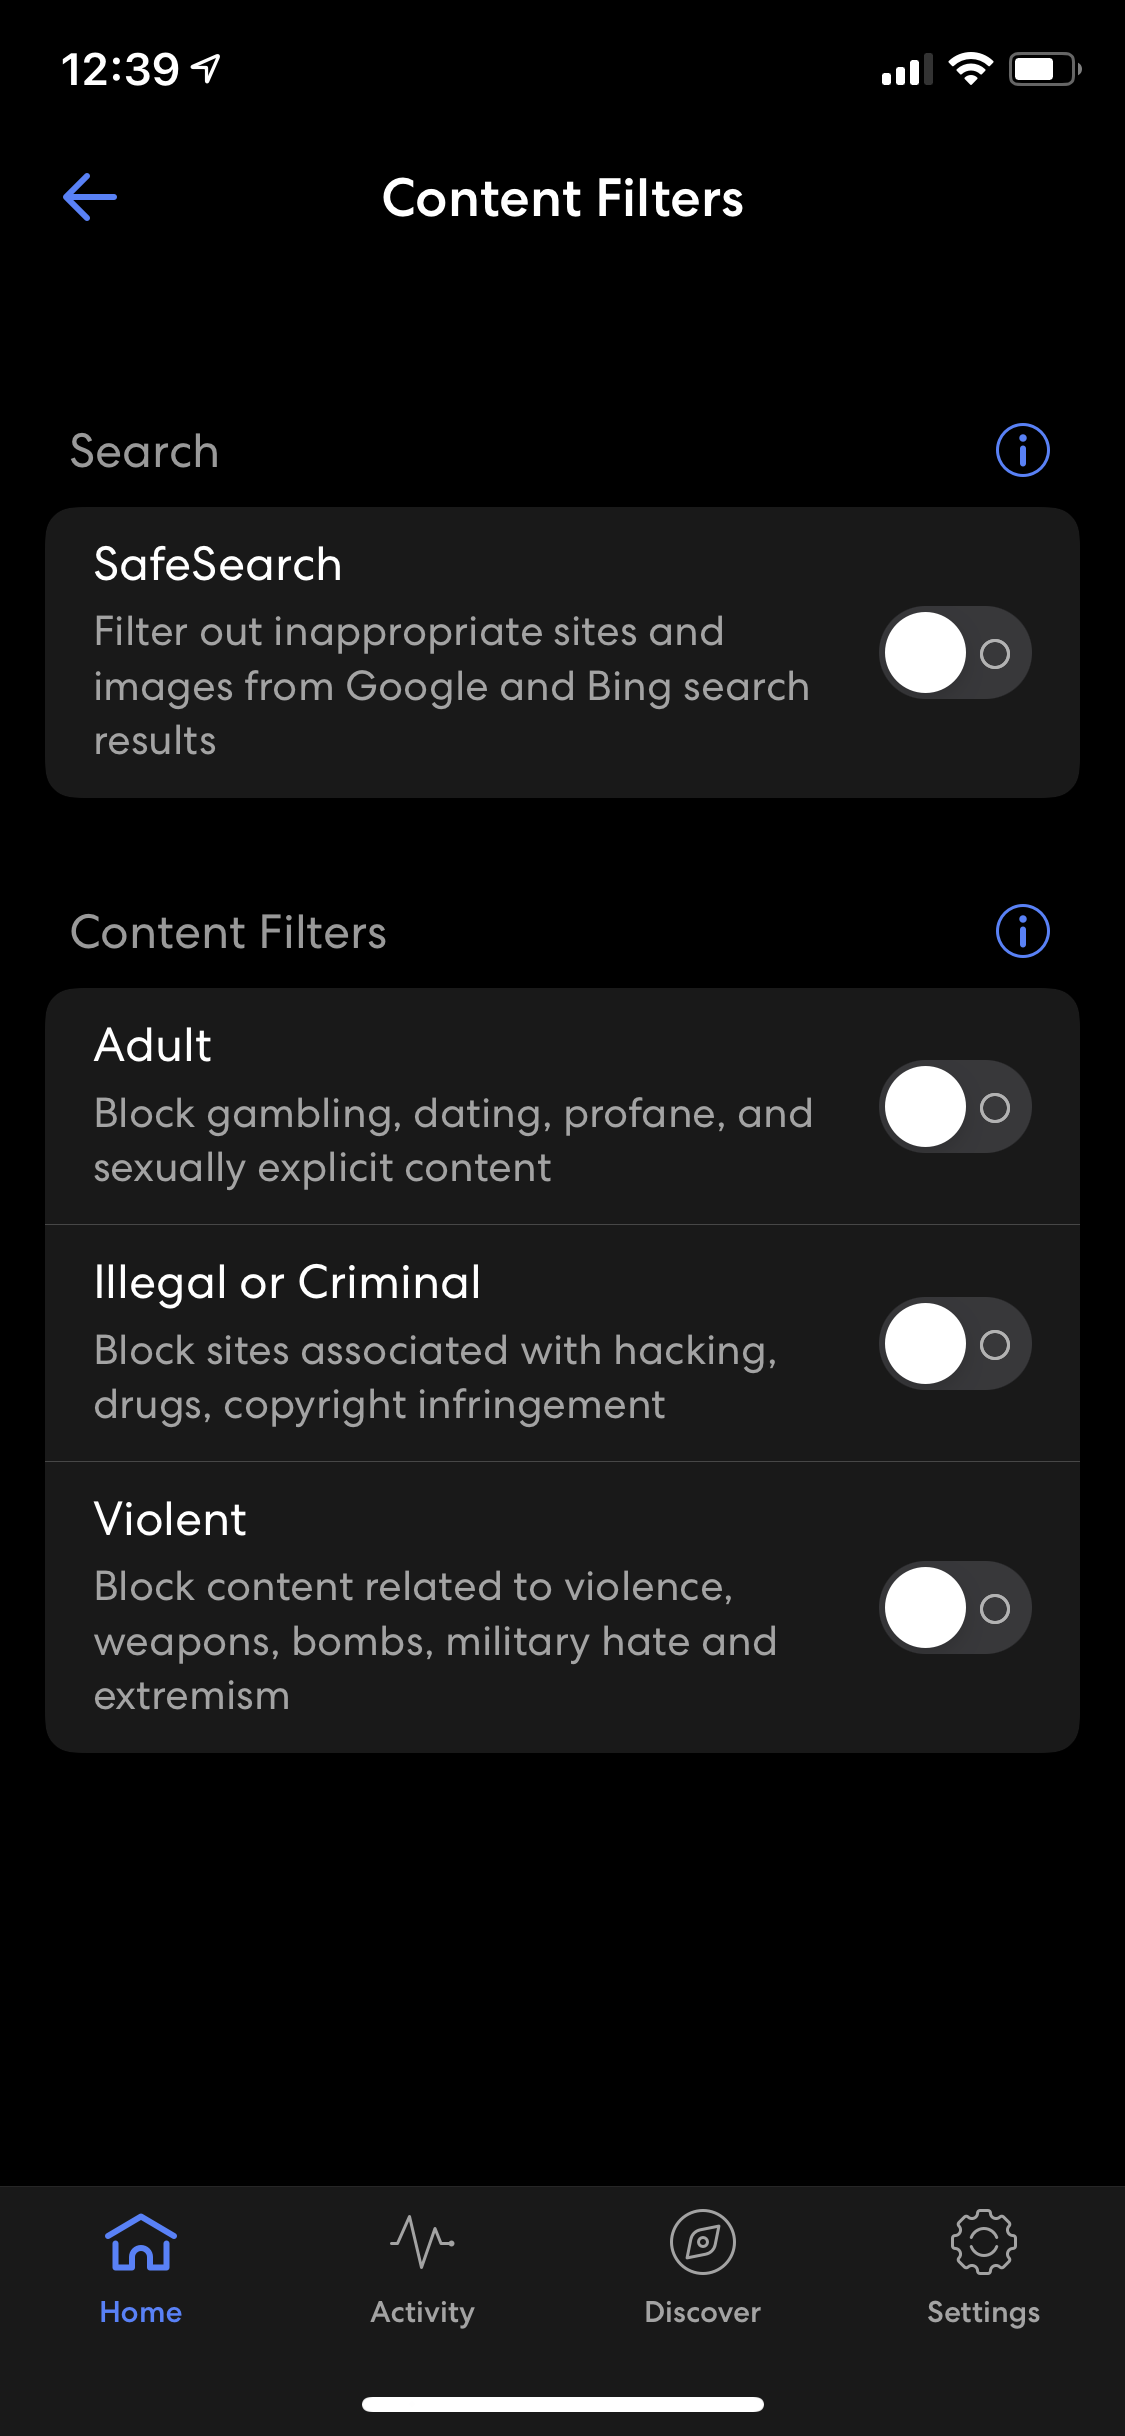
In addition to the network-wide settings you have, you also have a few per-device settings to consider. You can be notified when a new device joins your network, and kick them off. You have the ability to create device profiles, which let you control what that device is allowed to do. For example, you are able to make a “kids” device profile, turn off access for their devices at a certain time, and block access to adult content. Content blocking and filtering requires a subscription to the eero Secure or Secure+ service, but the other features are free.
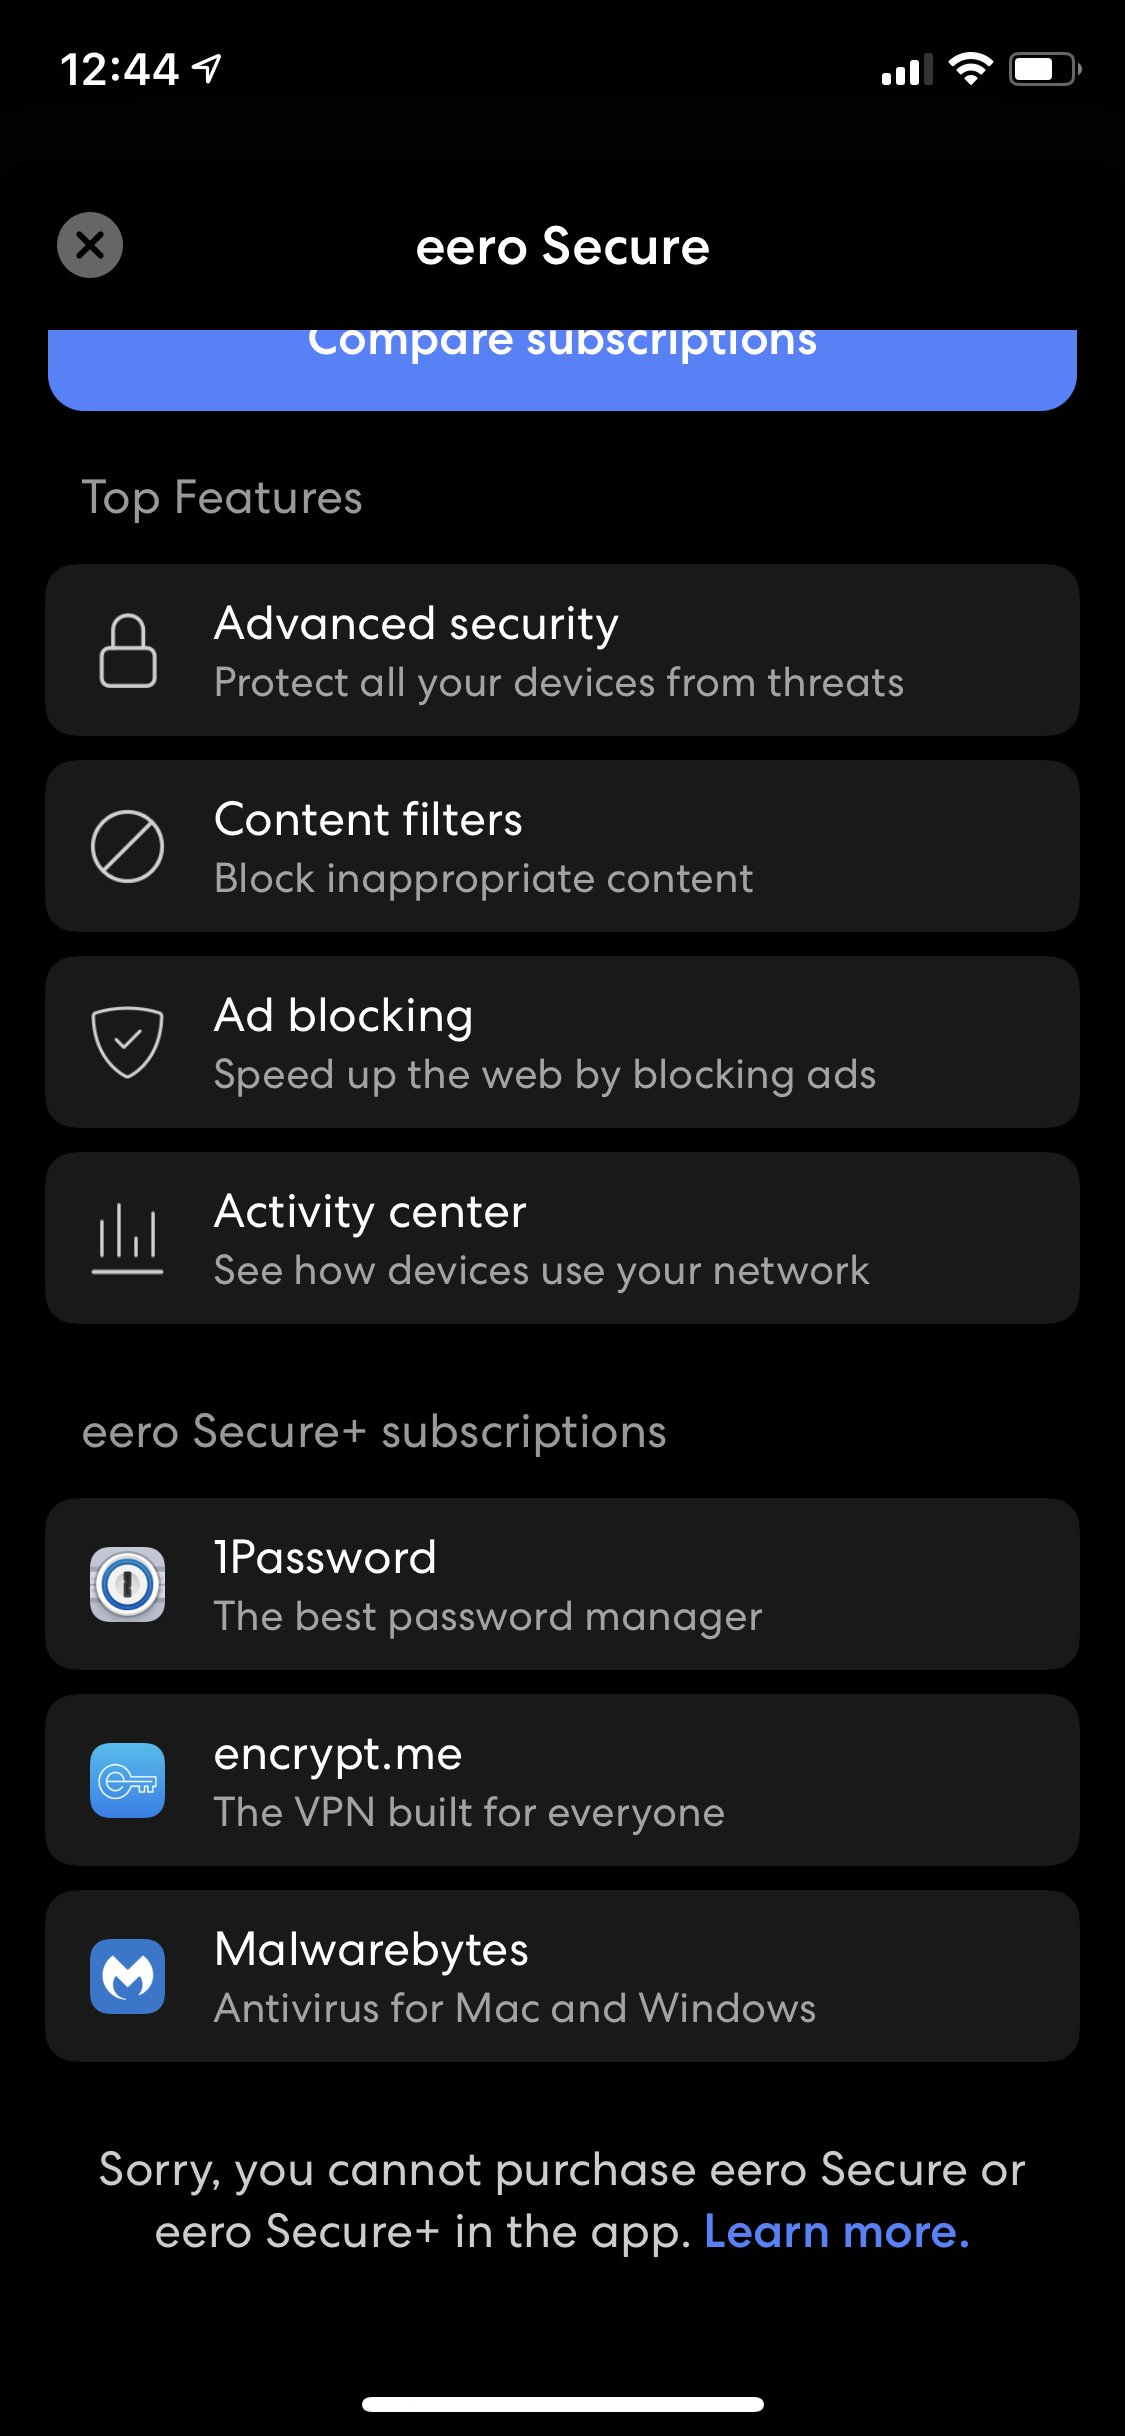
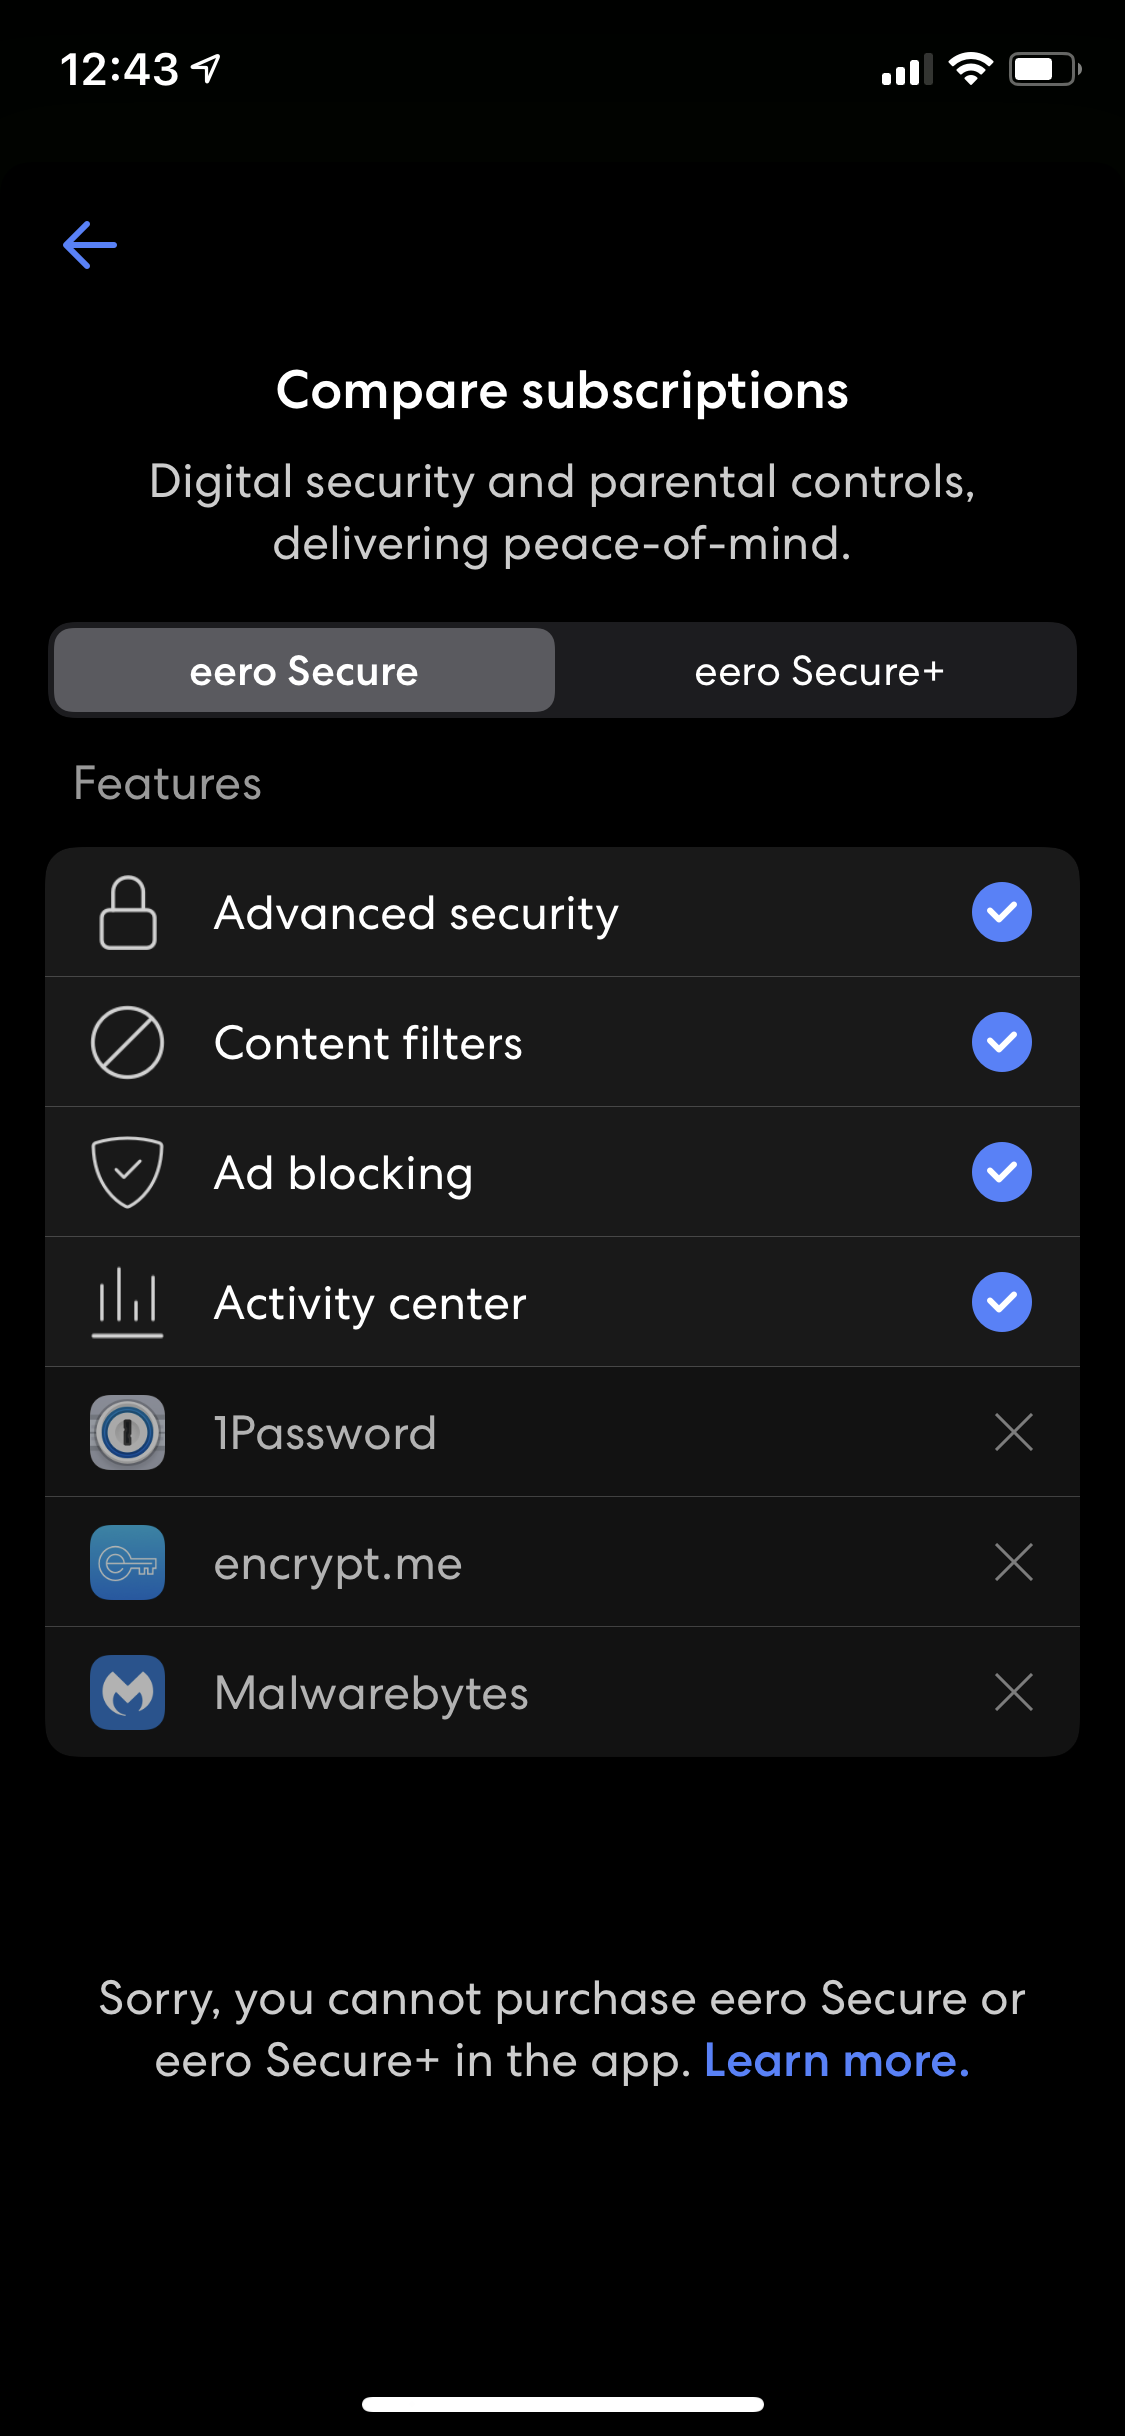
eero Secure and Secure+ Services
eero lists the features of eero Secure on their website:
Advanced protection against online threats for all the devices on your network
Ad Block to remove ads from websites and applications
SafeSearch to feel rest assured that Google search results are appropriate
Content Filtering to set profile-specific filters against different types of content
VIP support that jumps you to the front of the line when you need help
Jumping up to Secure+ gives you all of the above, and also adds 1-year premium accounts for 1Password, Encrypt.me, and Malwarebytes.
The basic eero Secure services cost $29 per year. Secure+ is $99 per year. Keep in mind all the Secure and Secure+ features are optional. There is no cost to keeping an eero up and running as a normal Wi-Fi router.
If you’re tech-savvy, you can accomplish most of these things on your own with other tools. You can block ads by making your own Pi-Hole DNS server, you can do most of the same parental controls on the devices themselves, and sign up for your own password manager, VPN, or anti-virus solution. The benefit of eero Secure is that it’s a one-stop shop for all of these things, and $29 a year is a fair deal for what you get with the basic package. This also supports the ongoing development of these features, since things change online all the time. For some people it’s worth it just to have one less thing to worry about.
Mesh Wi-Fi Made Easy
If you want more detail on the performance of the eero system, I wrote about my experience using the new eero 6+ and eero Pro 6E. If you have a slower connection, or only have a dozen or two Wi-Fi devices at home, you might be better off saving some money and going with the basic system. The eero Pro excels with a lot of devices, faster connections, and bigger homes. No matter which system you get, eero excels at a few things:
Being very easy to setup and use.
Providing great Wi-Fi coverage, especially in bigger or older homes that can’t be covered by a single access point.
Doing a lot of smart things in the background to make your Wi-Fi good without you having to do any work.
If you’re tech-savvy, you might be a little disappointed in some of the features you don’t get with eero. If you just want good Wi-Fi coverage and don’t want to hire someone or bother that tech-savvy family member or friend, buy an eero. They really are that good. If you’re not sure which system to buy, I compared the eero, eero 6, eero 6+, eero Pro 6, and eero Pro 6E here.
I recently gave my sister and brother-in-law an eero system. Before, they were renting a combination Xfinity modem/router from Comcast, like a lot of people do. They were spending around $15 every month for bad Wi-Fi. They had spent more on the rented Comcast modem/router than it cost to get a modem and an eero system! American ISPs stink, but that is a topic for a different post.
As a nerd, their setup deeply bothered me. I helped them buy their own modem, get it setup, and gave them the 3-piece eero system I am writing about. Their house has a fairly long, but narrow layout. Before, they were never able to get Wi-Fi in some corners of their house, especially on their back or front porch. With the eero installed, all those areas are covered, and I can finally rest easy knowing that Comcast is ripping them off slightly less.
If you struggle with your Wi-Fi coverage, or just need Wi-Fi that is easy and good, get an eero system. You won’t regret it.